|
|
Door Lock Rebuild | |
|
|
This is a little side project I got into while waiting for parts for my
2.2L engine build. After 32 years of always locking and unlocking
the driver's side door the original door lock finally died. It was
hit or miss if you would get the key into the lock and then you needed
to wiggle it around a little to get it to work. I lived with it
for over a year because it is a pain to pull the lock but I finally
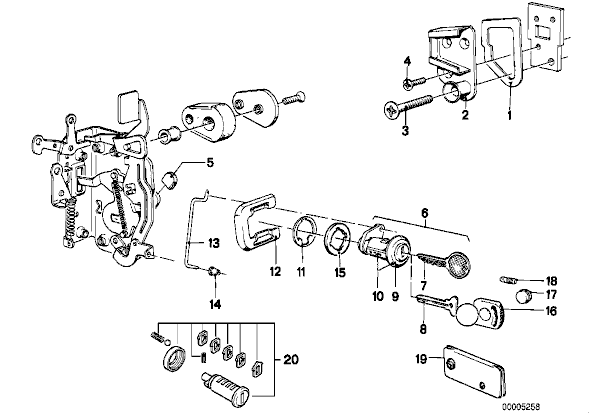
caved in and fixed it. I'm writing this project up because I discovered that although BMW does not sell the pre-coded locks to match your original key any more they do sell a repair kit that is an entire door lock with "some assembly required". This repair kit contains all the parts to build a brand new lock to match your current key. I thought this was useful information for anyone who needs a new lock or wants to get the door locks to match a specific key (like when you end up with different keys for the ignition and doors). This repair kit cost about $35. The BMW part number for this kit is 51 21 9 556 331. It is #20 in the diagram below:
It is a good idea to also order new #14 which is a plastic grommet that is easily broken when removing the lock and rod #13. I ordered my parts from Maximillian Importing. I will not write up the details of removing the lock from the door, this is covered in detail in Section 51 of the repair manual available in the library page. To summarize the procedure, you need to do the following:
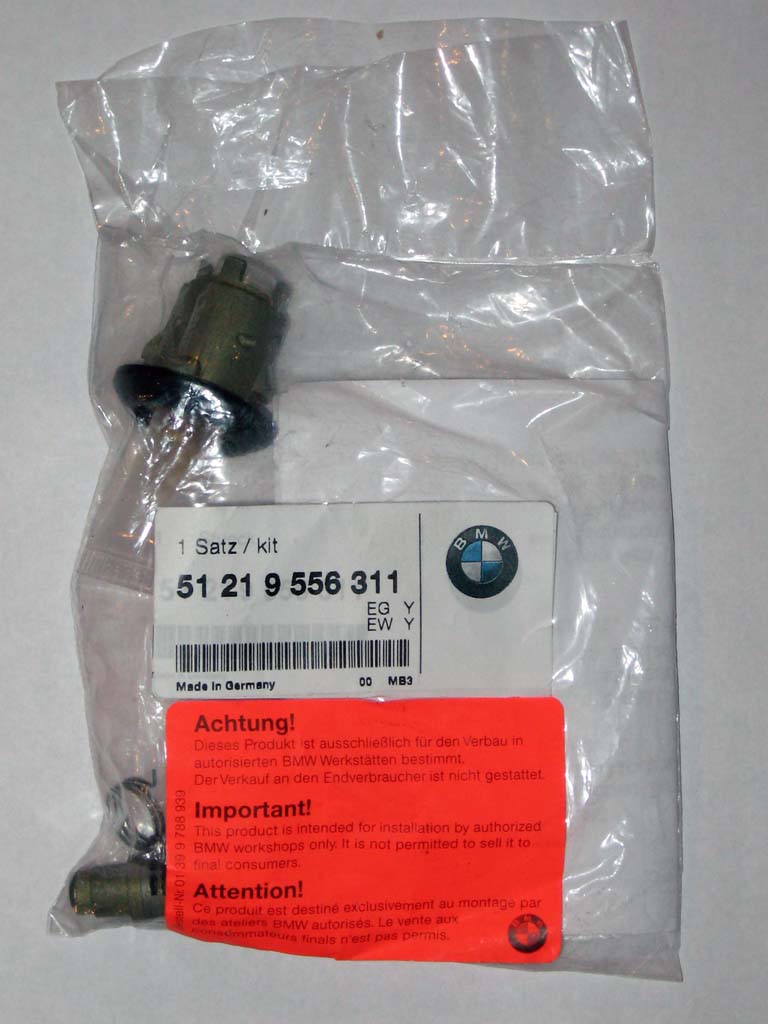
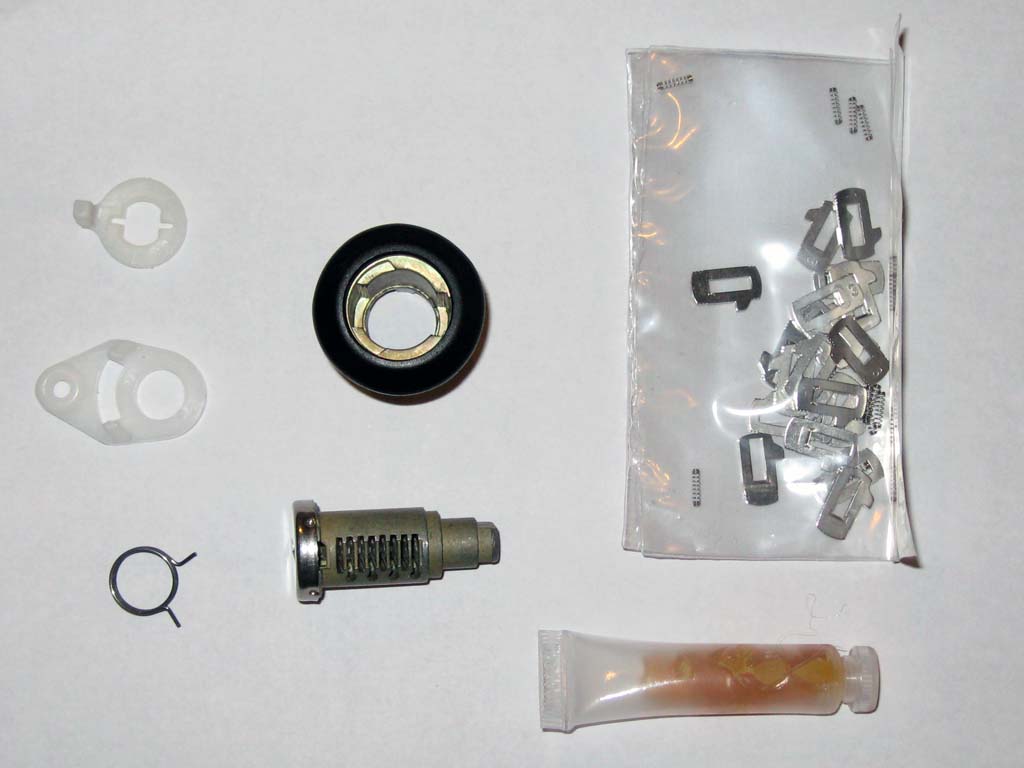
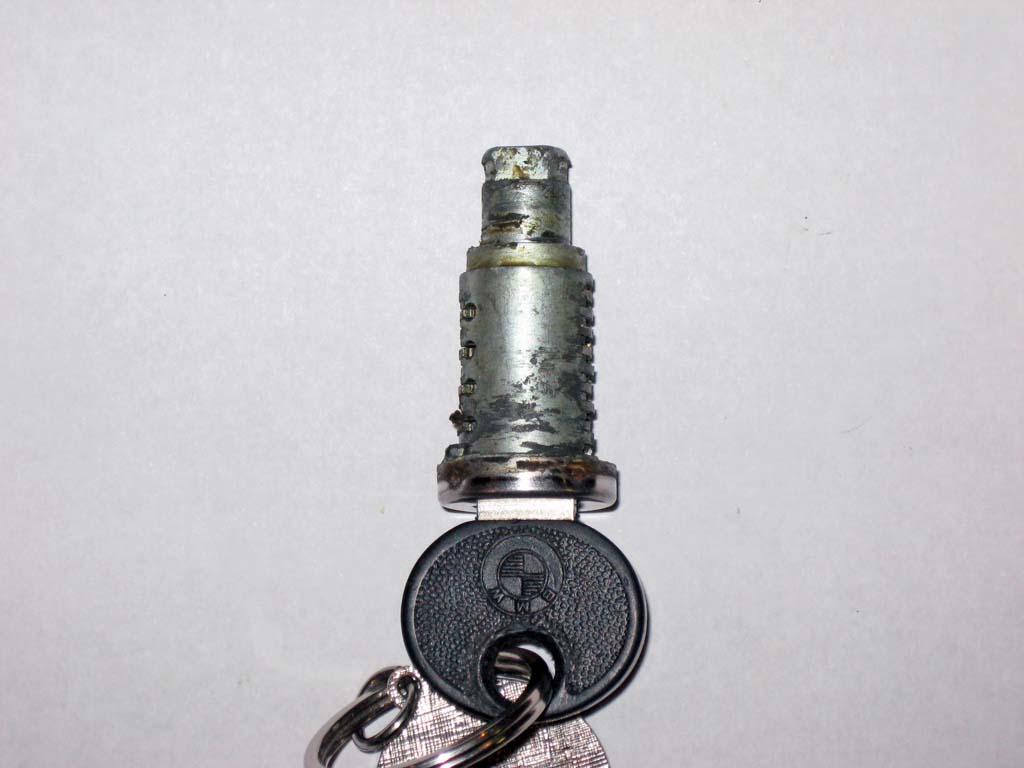
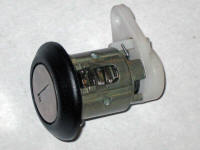
The door lock is a wafer tumbler type. You can read about this here. Here are a couple pictures of the repair kit. I found the orange note on the bag interesting.
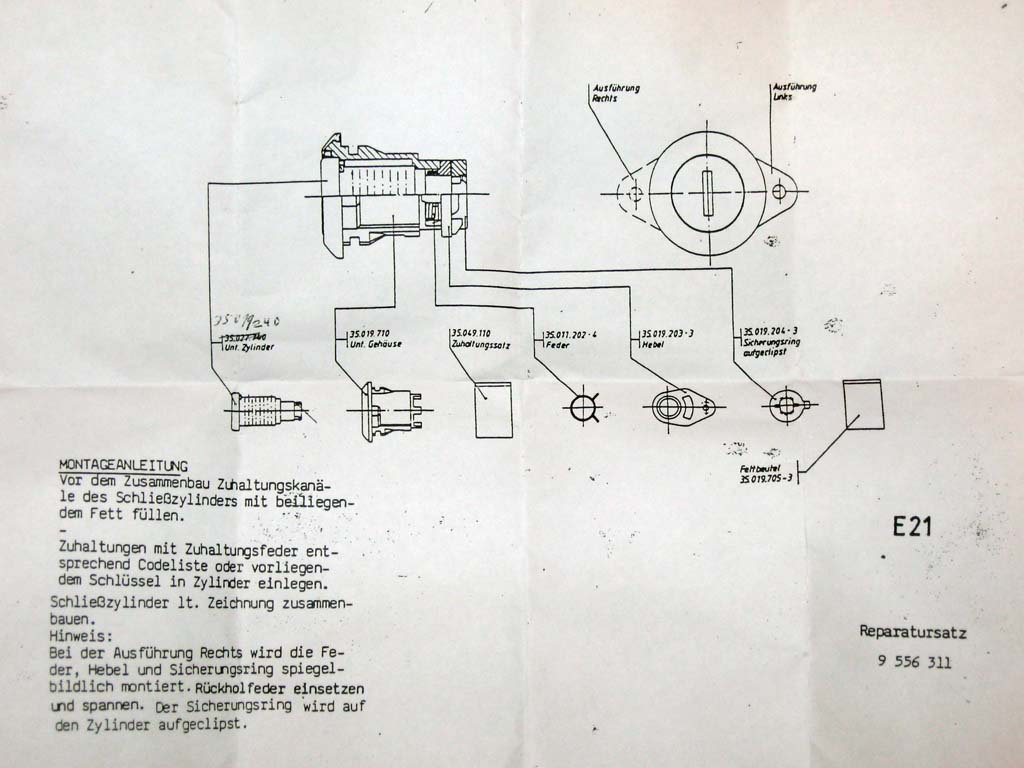
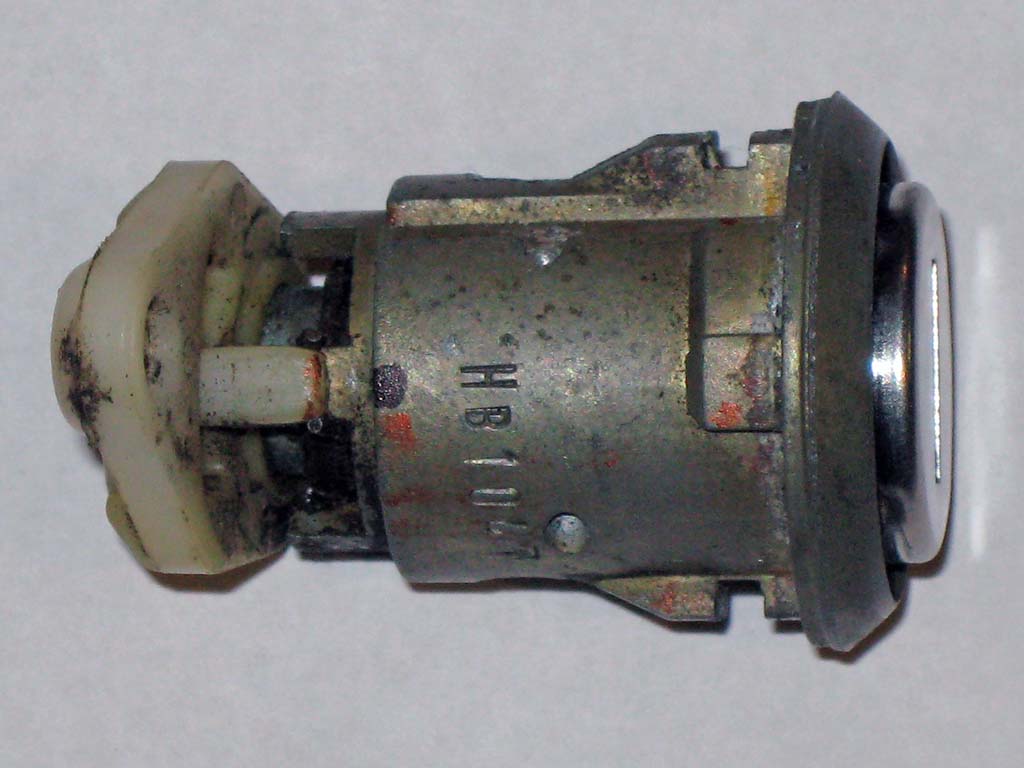
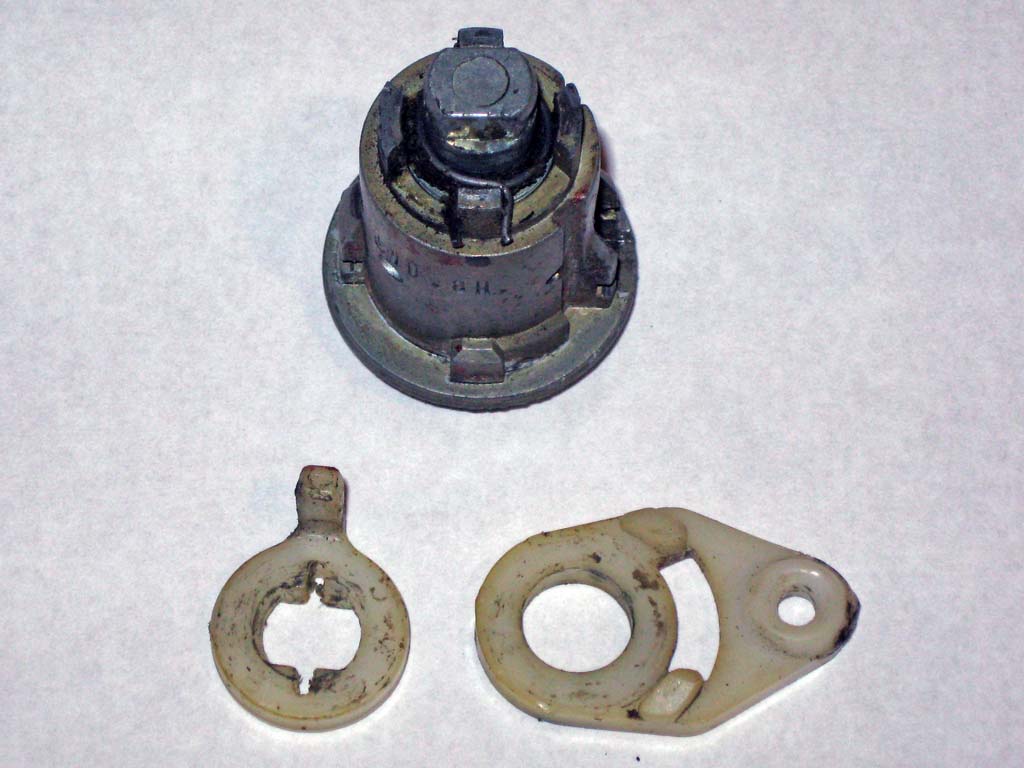
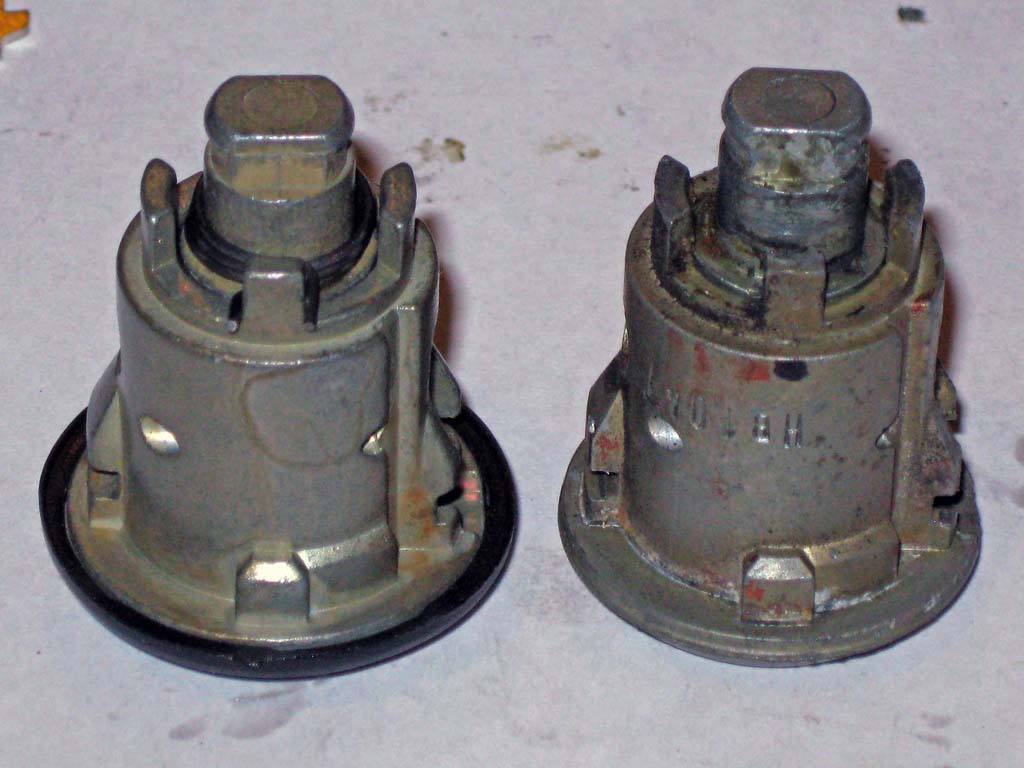
The first step is to take the original lock apart. First mark the tab on the lock housing where the spring is attached. This will be important for assembly of the new lock since the same parts can make a left or right side lock. The only difference is the direction of the lever on the back which is set based on where the spring is attached. You pry the plastic lever off the back of the lock using a large flat blade screwdriver.
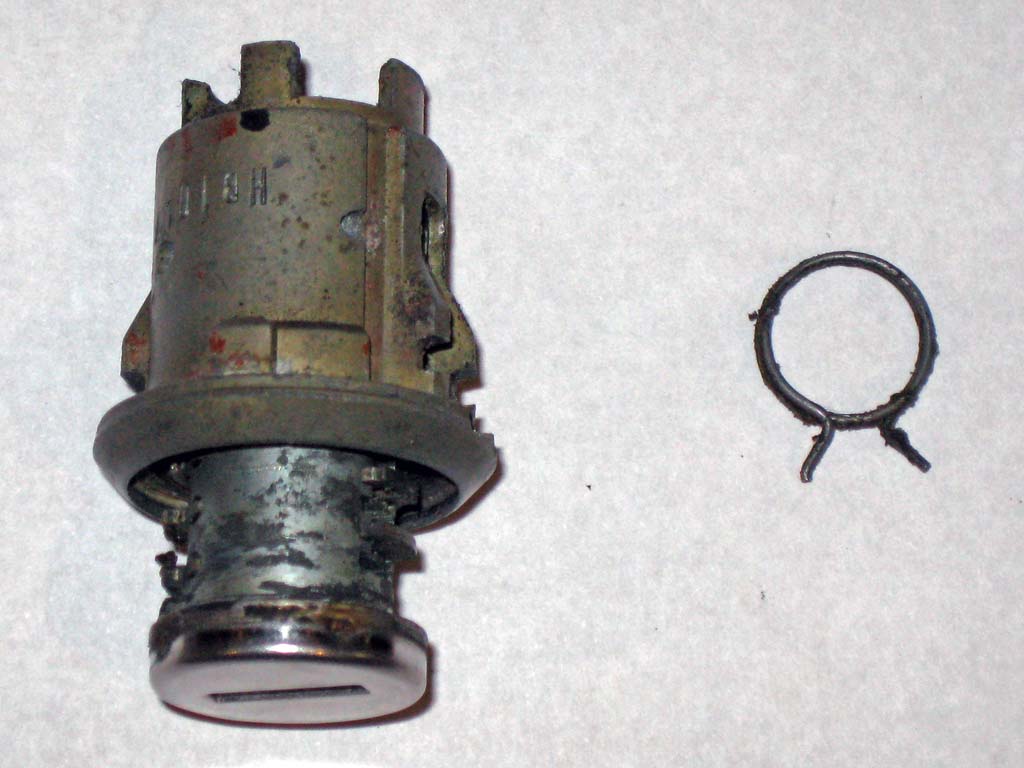
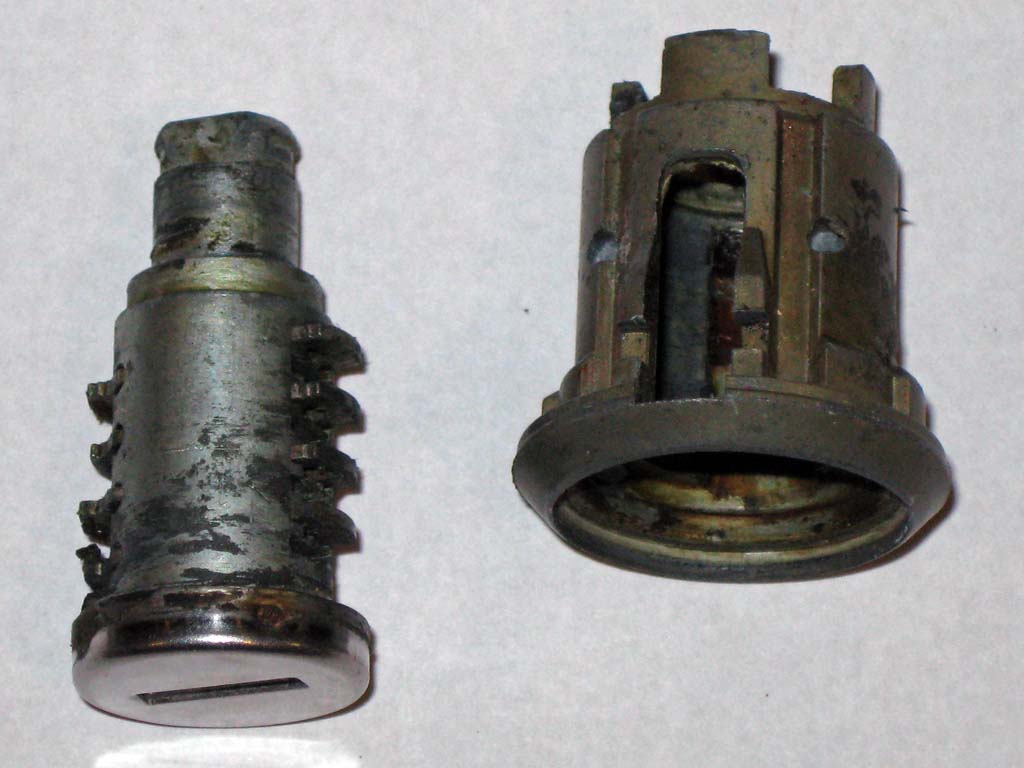
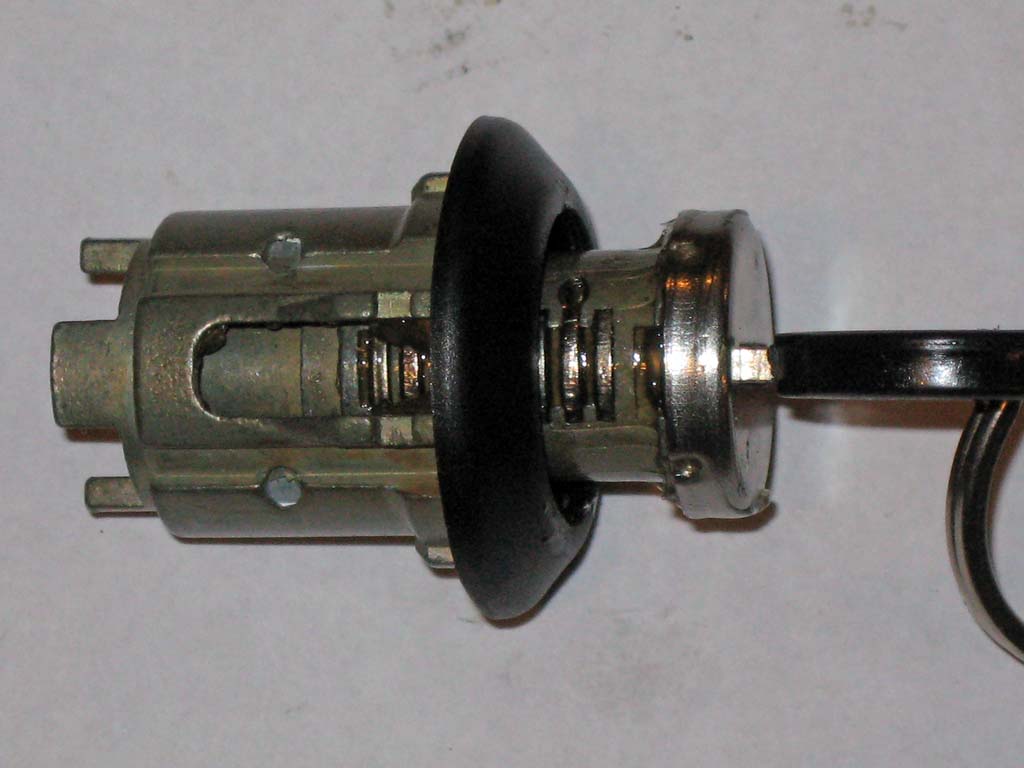
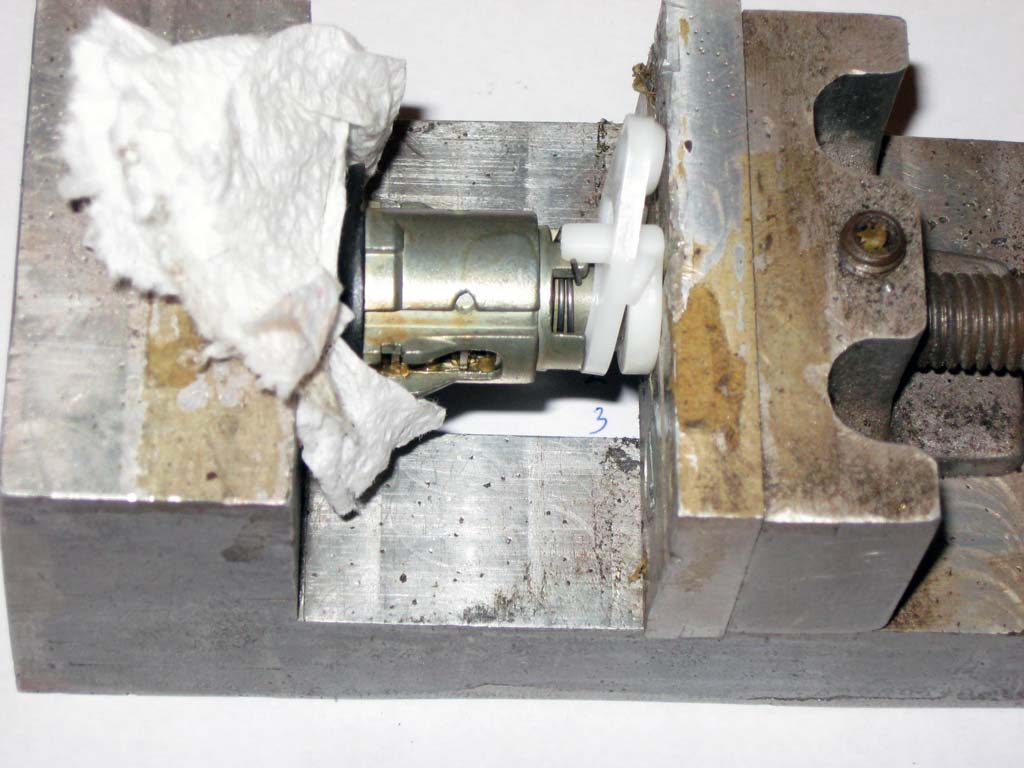
A couple pictures showing how the door lock works. With the key removed the wafers in the inner cylinder stick out on two sides and prevent the cylinder from rotating. When you insert the key the wafers are pulled inward by the key until the wafers are flush with the cylinder allowing it to rotate.
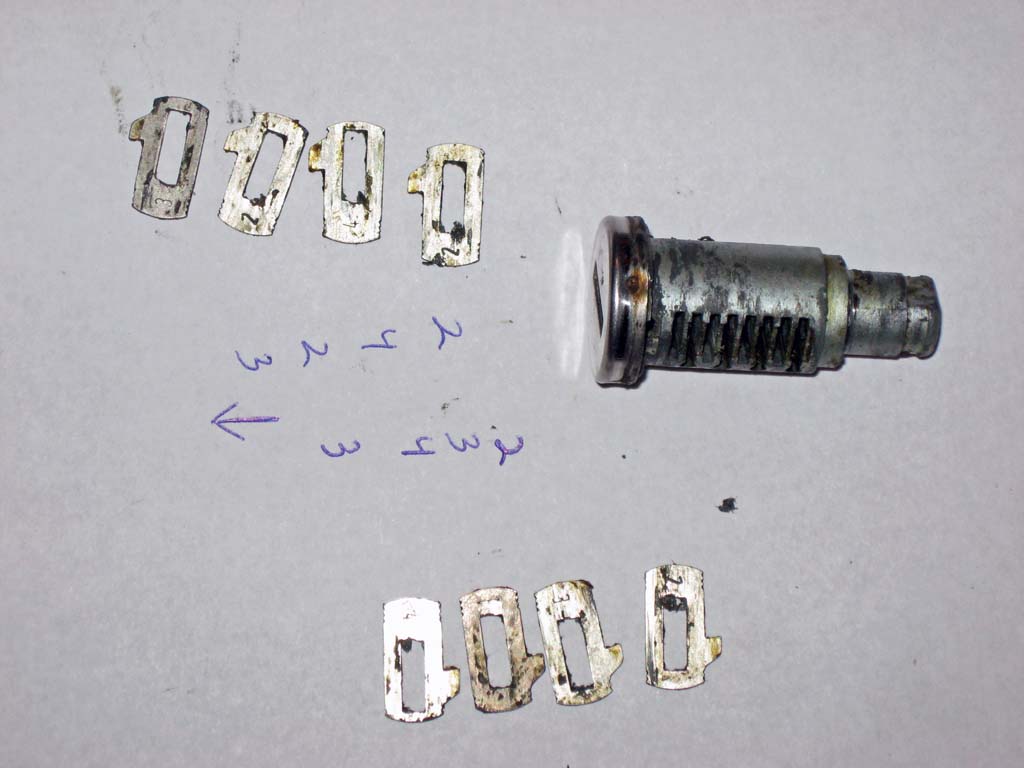
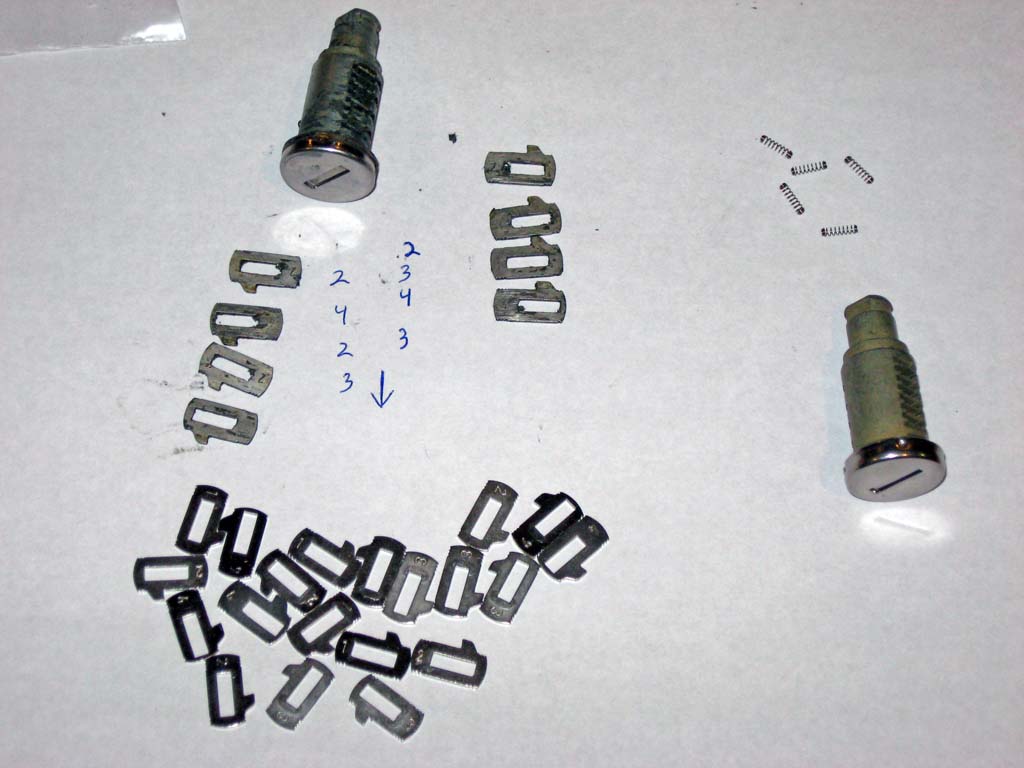
If you are replacing a lock that matched your key you will need to carefully remove the wafers from the cylinder keeping track of their original location in the cylinder. There are 4 different shaped wafers identified by a number stamped into them (1 through 4). Each of the 4 shapes corresponds to a different height portion of the key. You will use this information to select the correct new wafers from the repair kit to install into the new lock cylinder. If you are attempting to build a lock for a unknown key code then you will need to do some trial and error to select the correct wafers for each position so that all wafers are flush with the key inserted. Each wafer is held in the "out" position by a small coil spring that is installed in a hole in the lock cylinder next to the slot for the wafer. This arrangement creates a lot of tiny pieces just waiting to fly all over the place. Use a small amount of the grease supplied in the kit to help all these pieces "stick" in the lock cylinder and stay put while assembling them.
Assembly of the lock is the reverse of the disassembly. You will need to test fit the lock cylinder with the key inserted to make sure all the wafers clear the lock body and the cylinder is free to rotate with the key inserted. Make sure you assemble the spring and the plastic parts so they align with the same tab as you marked on the original lock. This is what make the lock a left or right hand unit (driver or passenger side). The lever on the back of the lock should point towards the latch end of the door when the lock is installed in the door.
That's it. $35 and a few hours work and you have a new door lock that matches your key. |
|||||||||||||||||||||||||||||||||||||||||||||||||||||||||||||||||||||||||||||
This site was last updated 12/29/09