|
|
Rear Disk Brakes | |
|
|
Although there is nothing really wrong with the drum brakes on the E21,
I have always hated the need to manually adjust them a couple times a
season, as well as the relatively more involved process required to
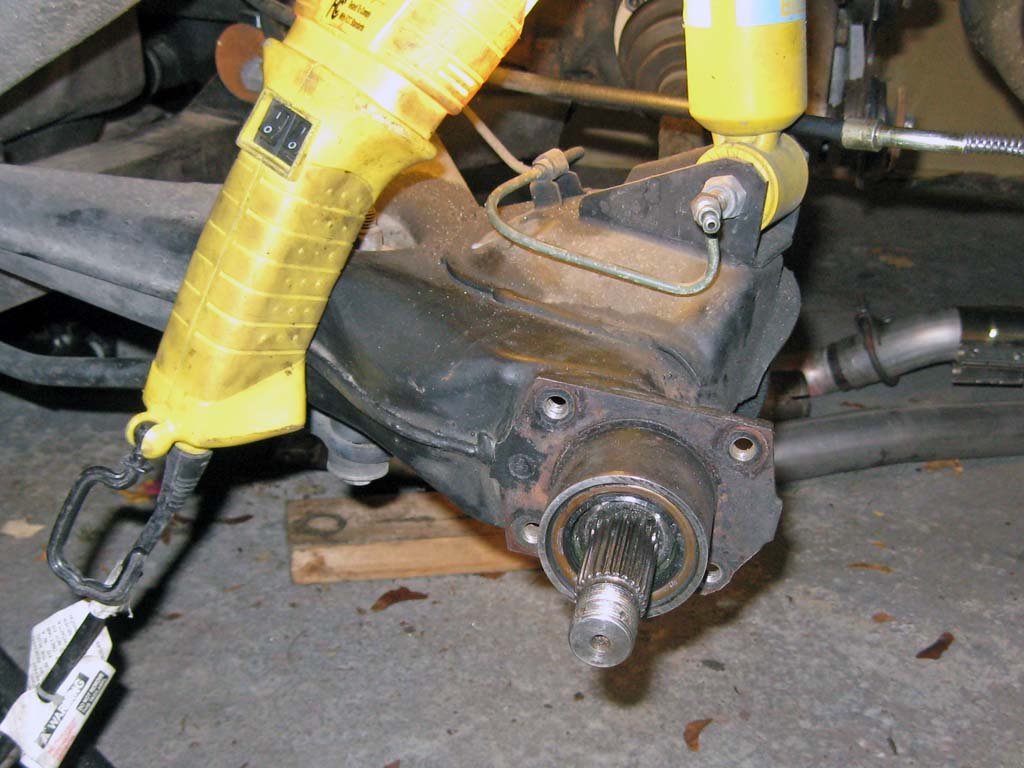
replace the brake shoes vs. replacing pads on disk brakes. A disk brake conversion has been on my list for several years but has never really been a priority. I finally got around to doing the conversion in February of 2010. I spent a fair amount of time researching this conversion. There are many write-ups on adapting various Volkswagen rear brakes but I decided I did not want to mess around with fabricating the mounting brackets and dealing with any needed modifications to the calipers or hubs. I found two bolt-on kits for the E21, one from Aardvark Racing and one from Massive Brakes. I have used parts from both these places in the past and both offer great service. Since I am not building a dedicated track car and did not want to upgrade my front brakes as well, I decided to go with the kit from Aardvark. The rear brakes from Massive, are well, massive! The braking force from the massive kit would be way out of balance with my stock front brakes. Aardvark claims that the rear braking force with this setup is well matched to the stock vented front disks that come on my car when using good quality metallic pads, and that a brake bias valve should not be necessary. I will do some test drives and see how it goes. I'm half expecting that a bias valve will be needed but I might be surprised. I ordered the kit from Aardvark. The kit arrived in a timely manner and included the following:
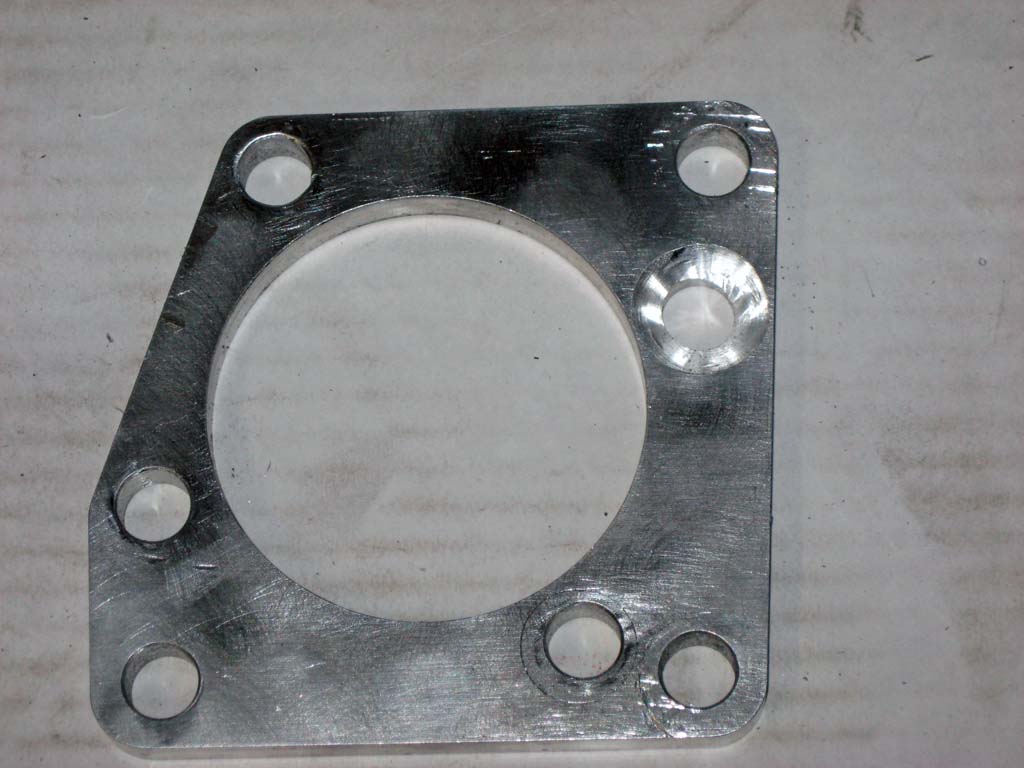
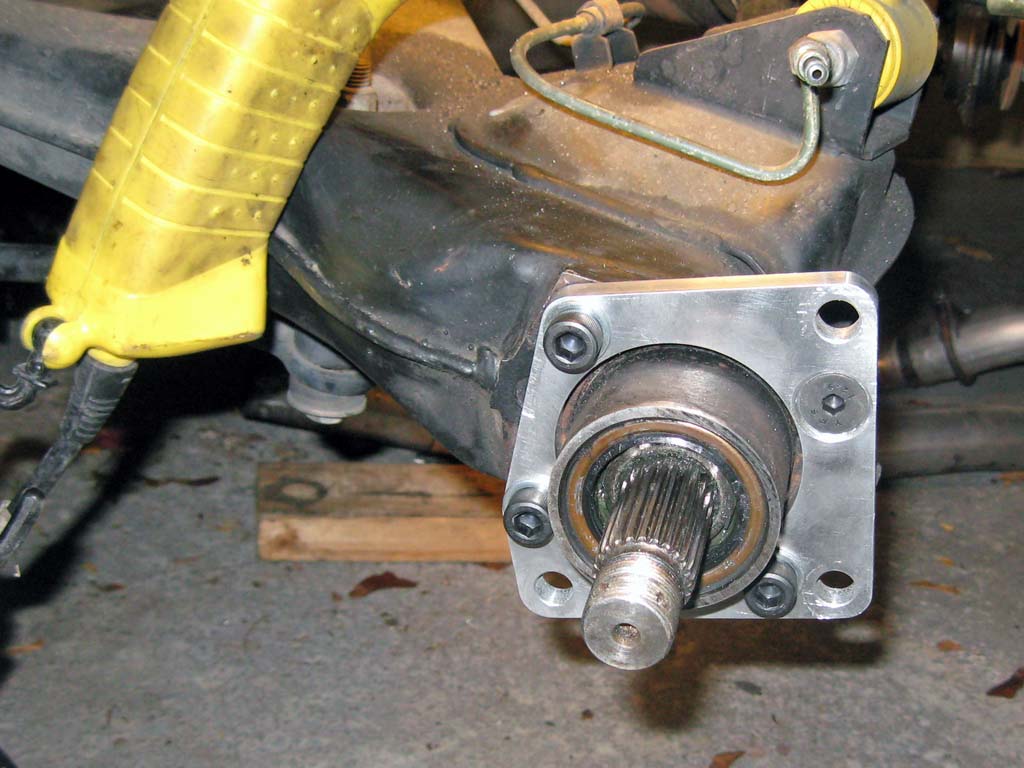
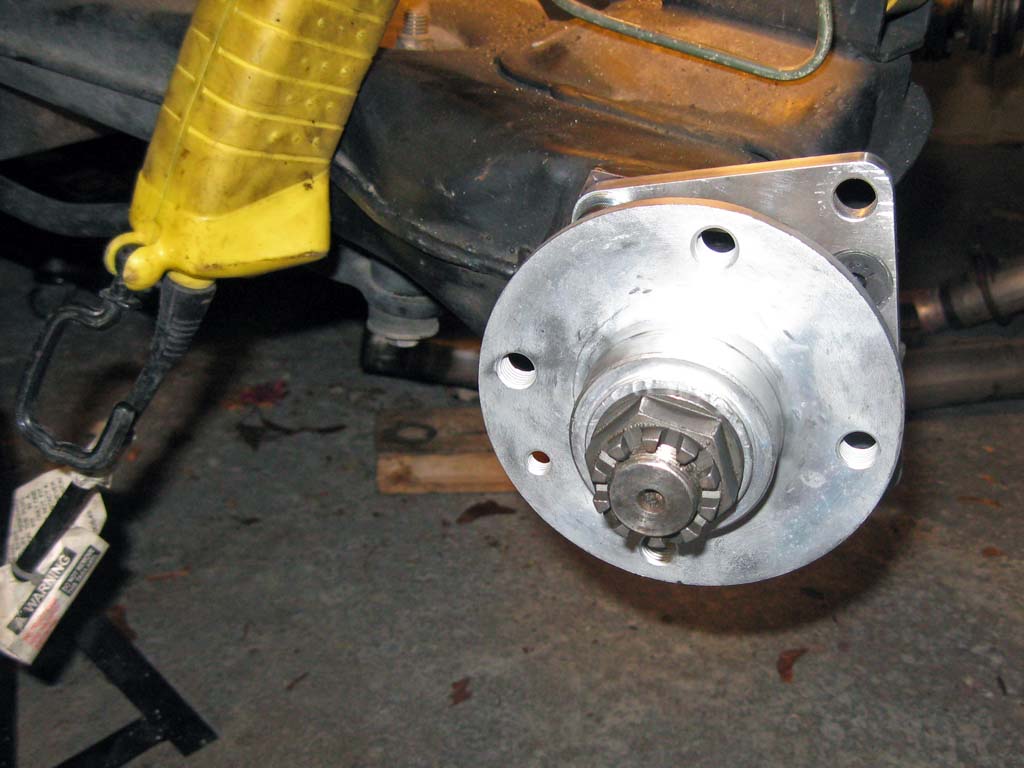
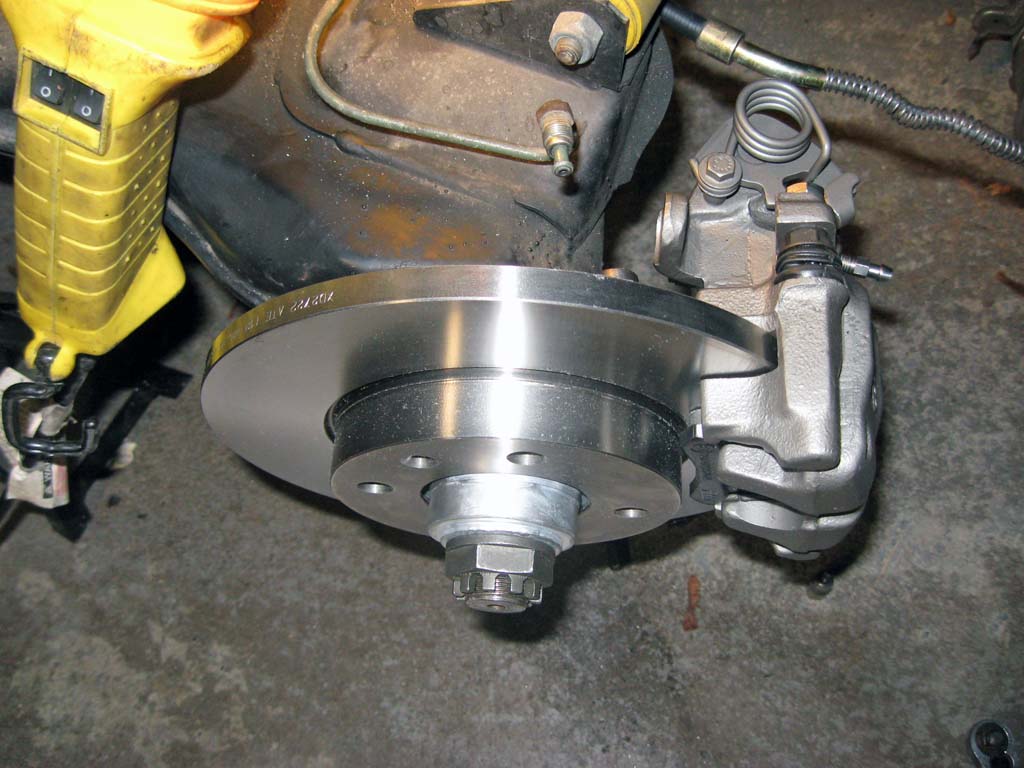
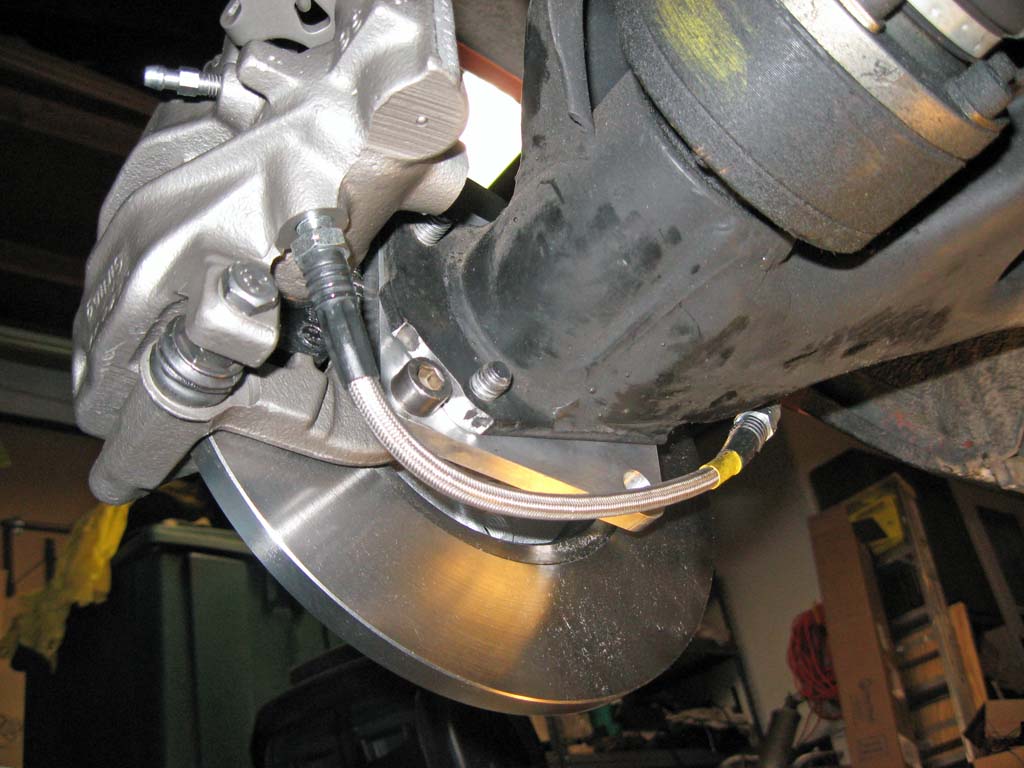
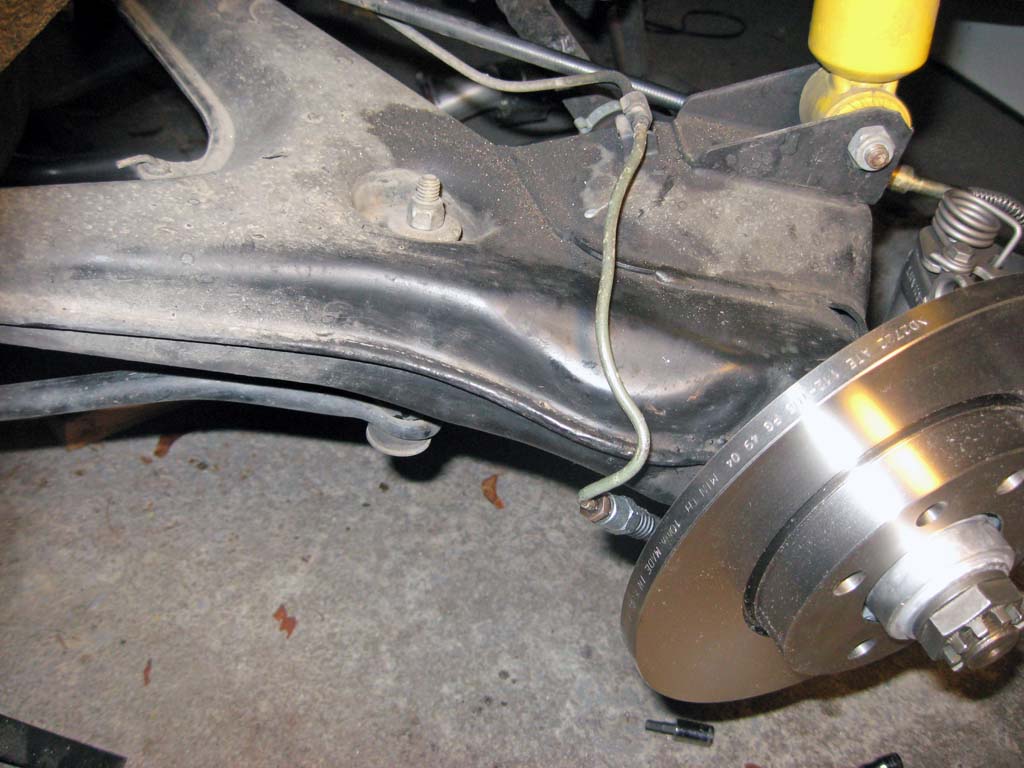
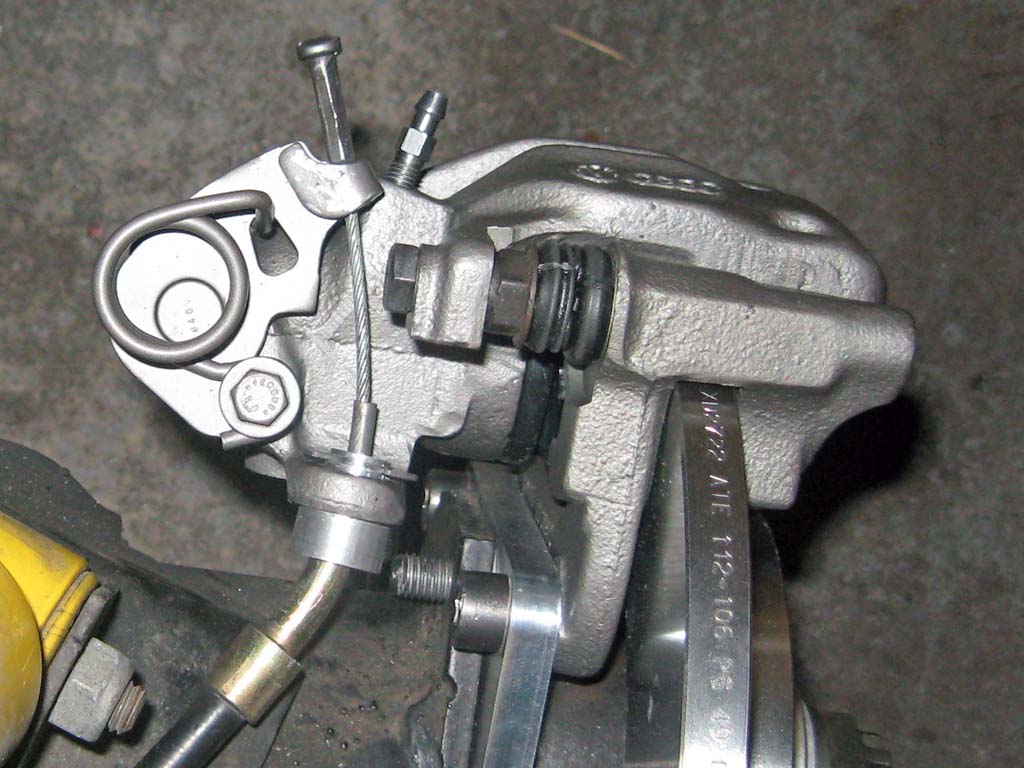
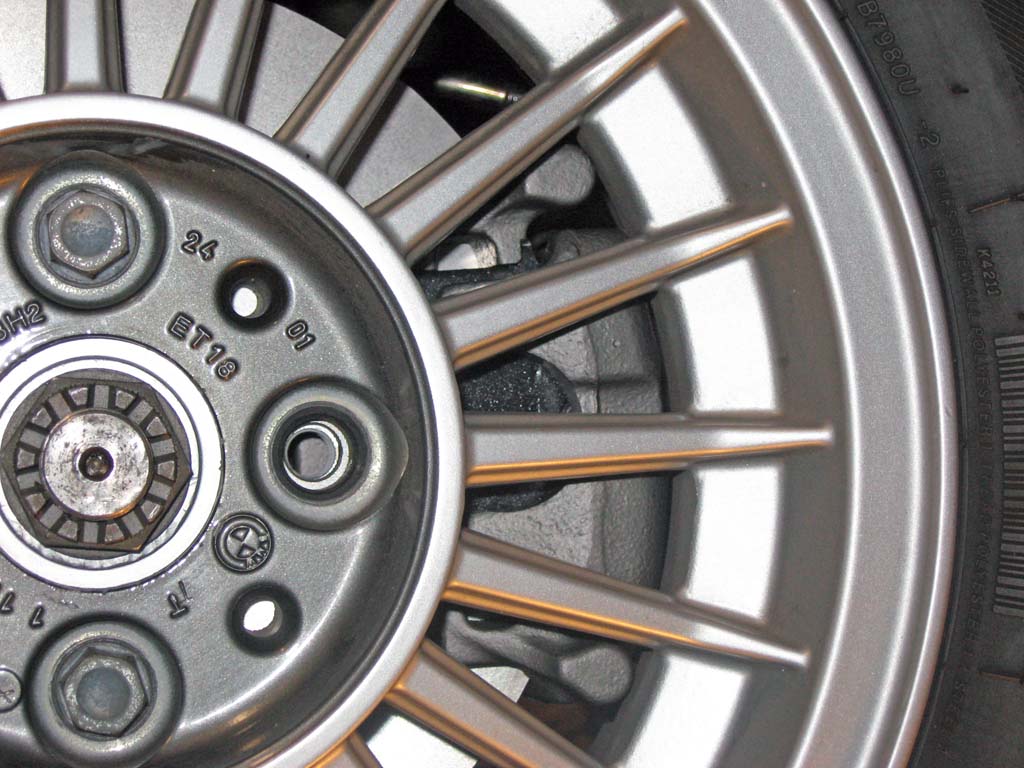
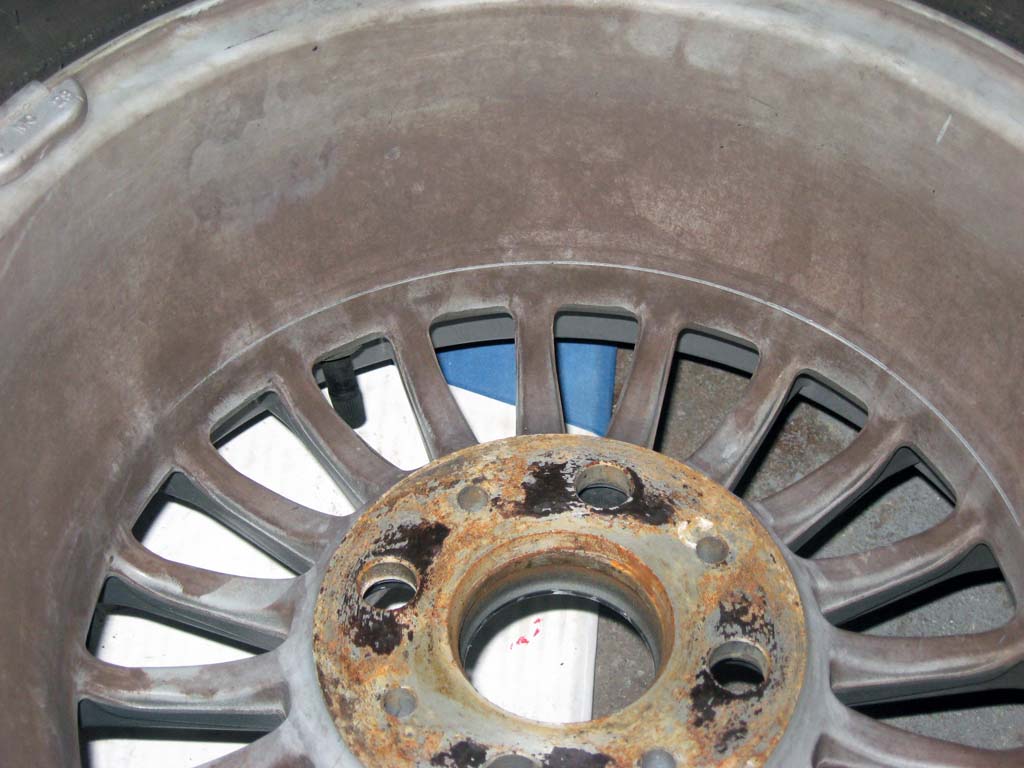
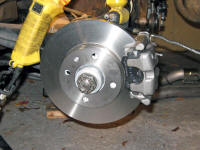
The calipers and pads are from a second generation VW Jetta GLI or Scirocco 16V. The rotors are from a first generation VW Rabbit. The kit includes a set of E21 hubs that have been turned down to fit inside the rotors. The stock emergency brake cables are modified by cutting off the slotted portion on the end and removing the spring. The kit provides an adapter bushing for fitting the stock E21 cable to the VW caliper. The setup appears to work pretty well although I might need to fabricate a crimp-on spacer for the end of the cable. The only other modification I will make to the kit is to add a hold-down to the flexible brake hose that is included with the kit. The hose could potentially contact the rear surface of the rotor. There is a convenient extra hole in the mounting bracket that I plan to use for this purpose. This kit will fit inside stock 13 inch wheels with a little careful alignment of the caliper and maybe some minor grinding to the caliper as well. On my car, the caliper does contact the inside of the stock 13 inch turbine wheel just a little. I could easily fix this but I'm ordering a set of 15inch wheels anyways so I'm not worried about it.
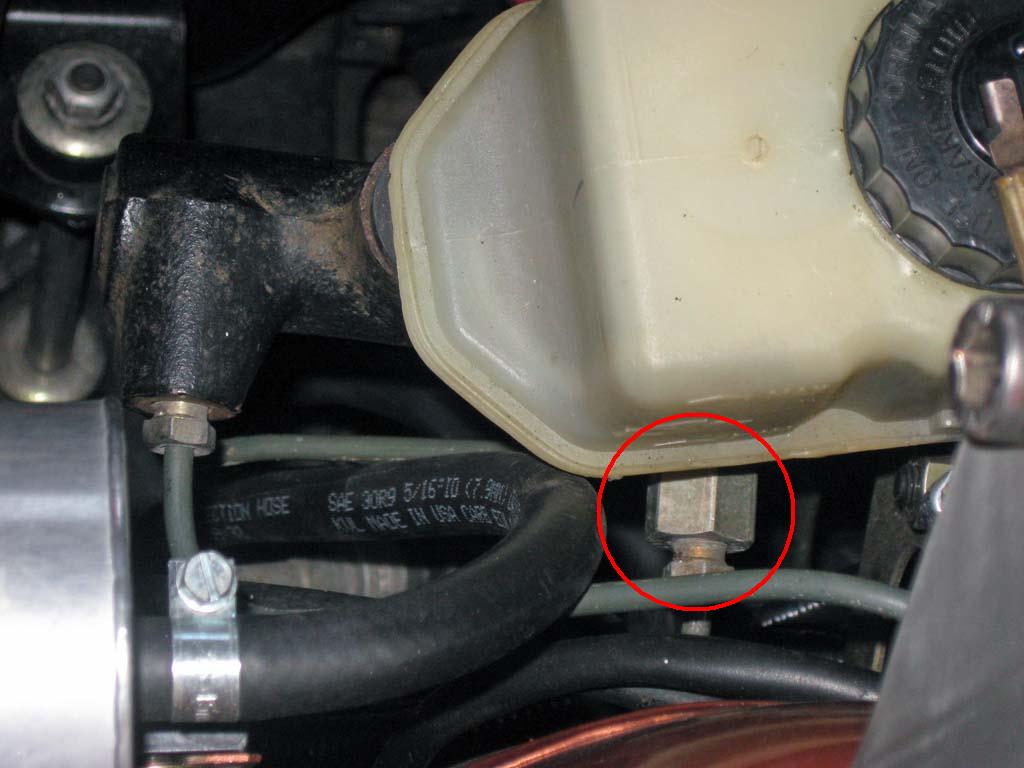
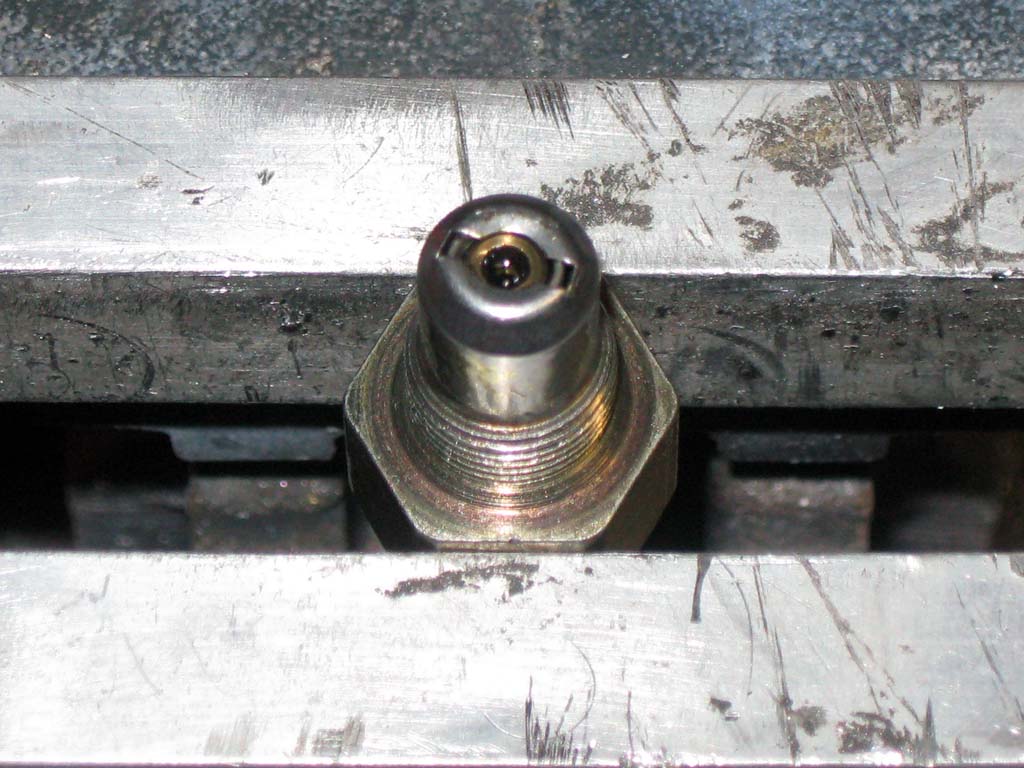
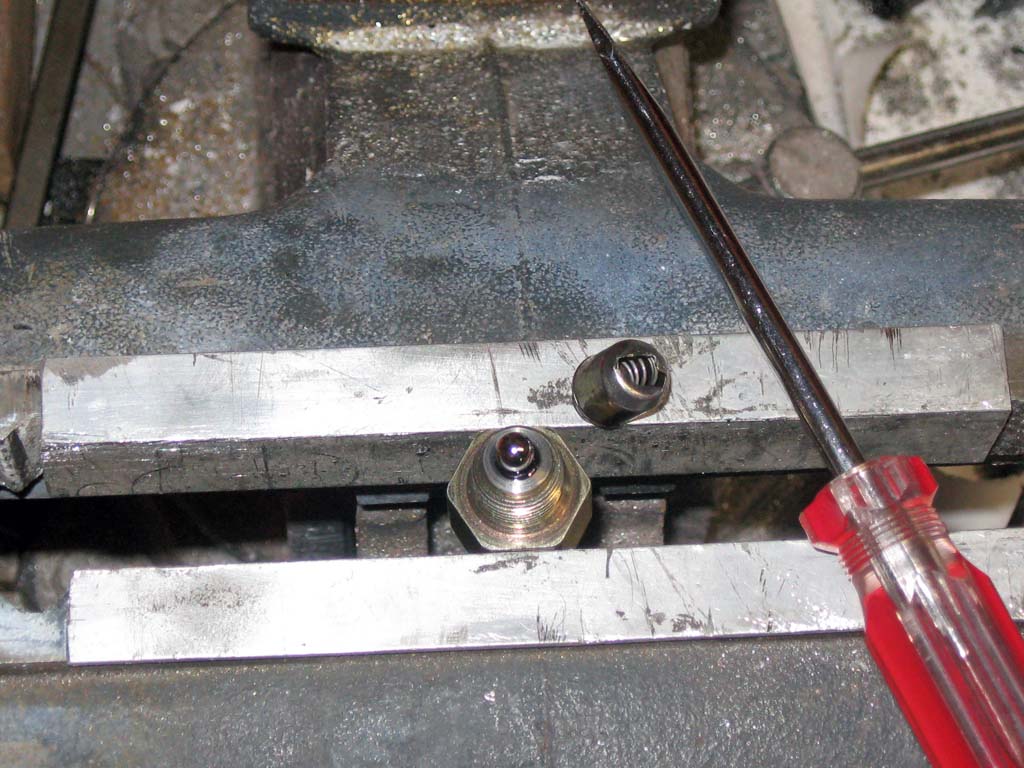
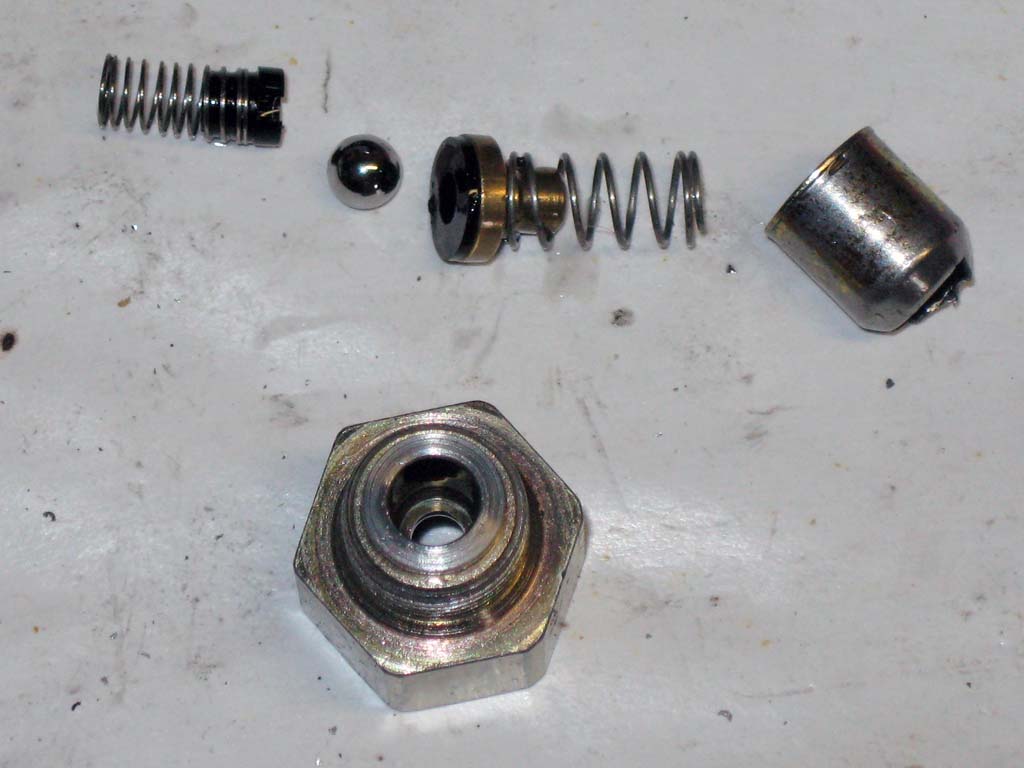
Dragging Brakes
|
||||||||||||||||||||||||||||||||||||||||||||||||||||||||||||
This site was last updated 04/07/10