This page documents the complete disassembly of one of my Recaro seats.
I took these pictures to help me put mine back together again. I
hope they are useful to others who may want to recover their seats.
|
|
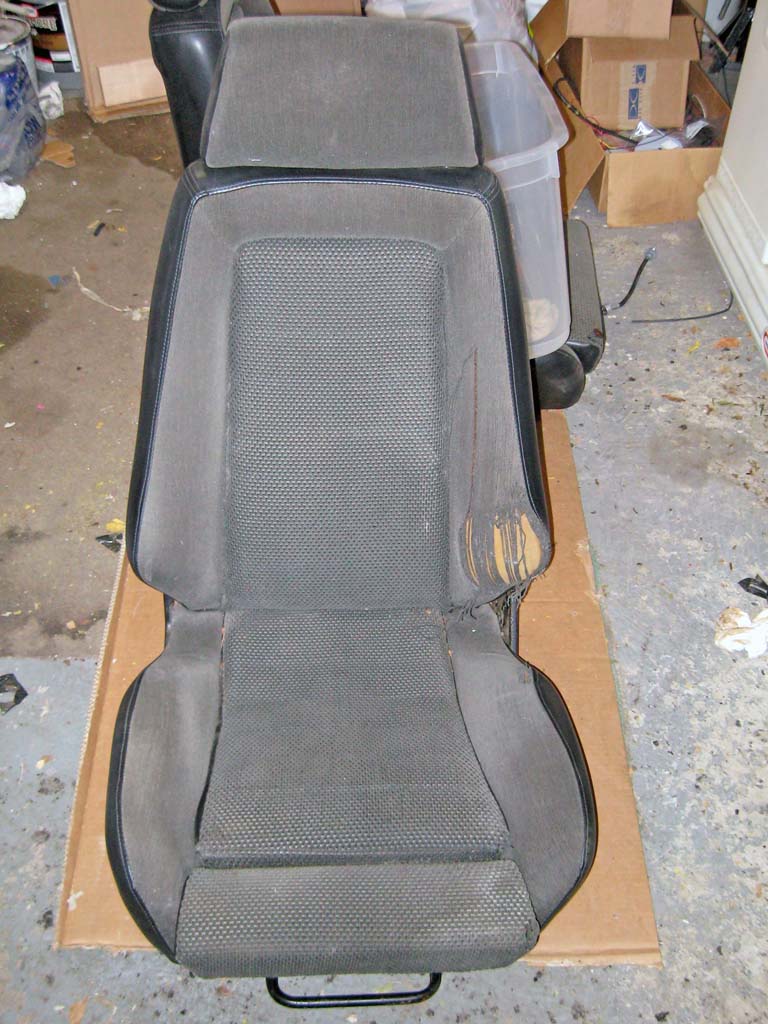
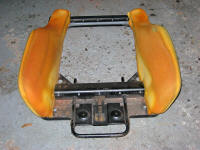
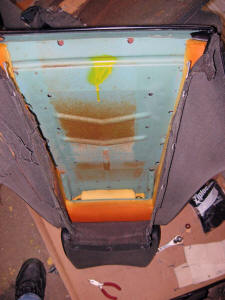
This is the driver's seat. It was in the worst
condition of the two. The left rear bolster is obviously
worn and the left seat bolster felt a little soft. |
Removing Controls and Trim
The first thing I did was remove the seat back release levers, they
simply pulled off. I also removed the recliner adjuster knobs.
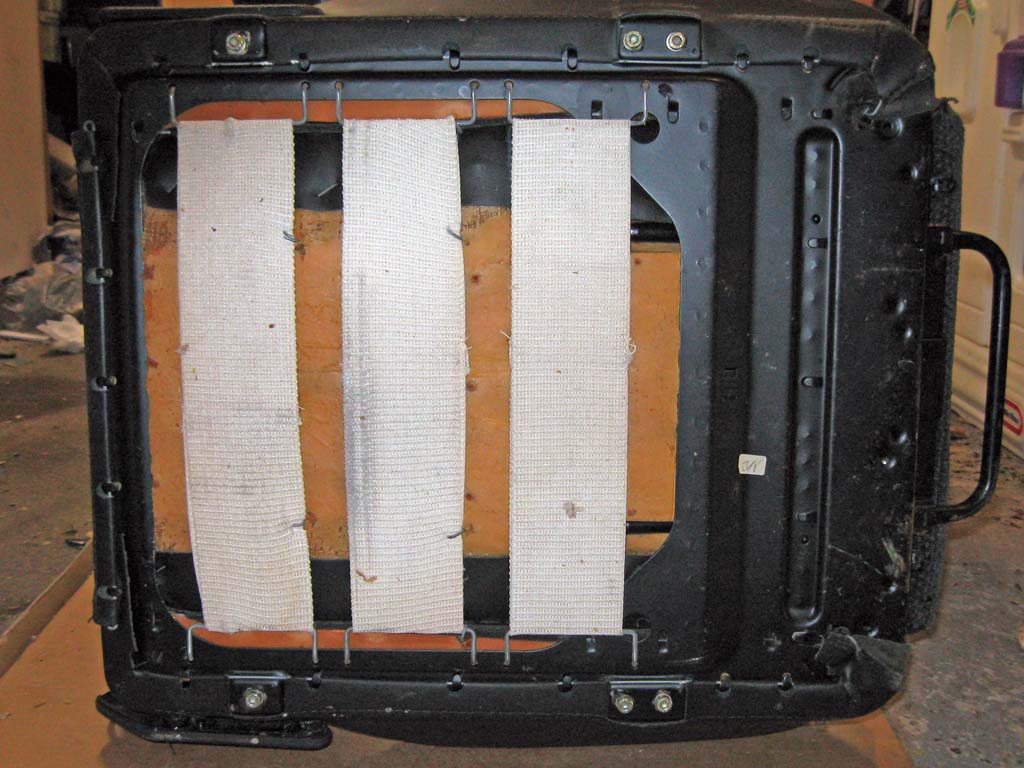
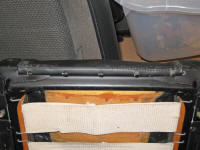
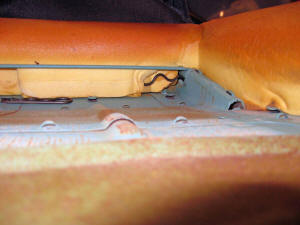
Under Seat Details
I took this series of shots to document how the seat cover is attached
to the seat frame. There are very few hog rings visible.
Most of the seat cover is held into place with a series of wires that
are inserted into pockets in the cover and held in place using metal
tabs on the frame.
|
|
|
|
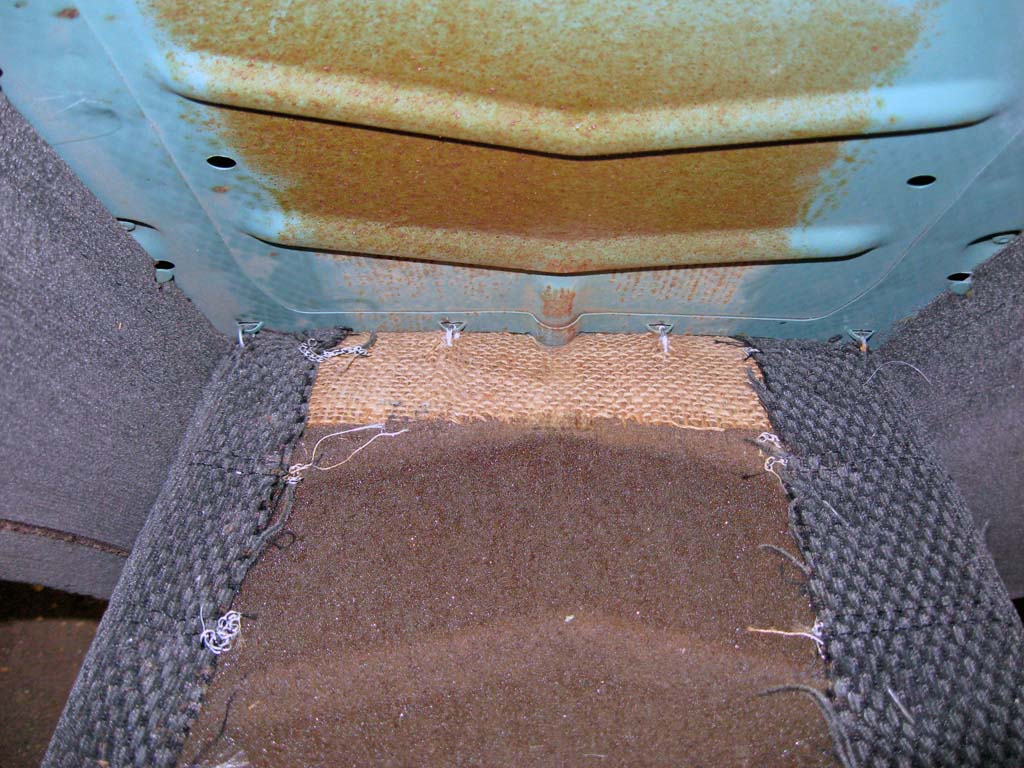
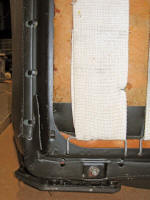
Seat webbing. The two rear straps have a couple hog rings going into the seat pad foam.
|
|

|
|
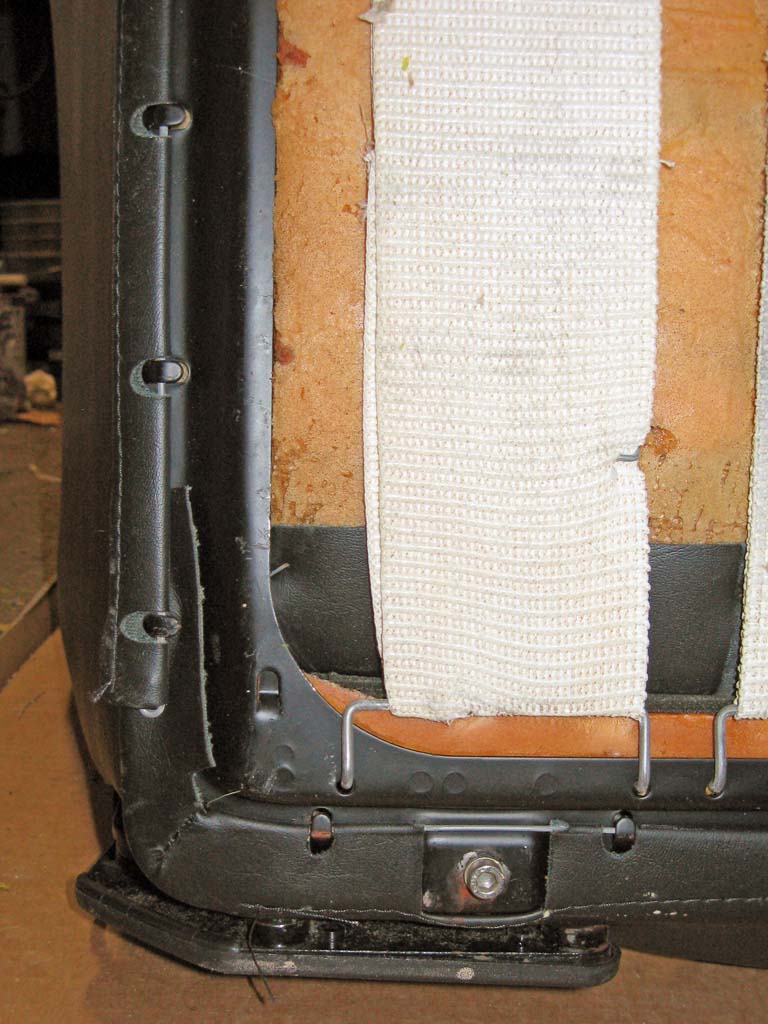
Front right corner. One hog ring visible.
|
|

|
|
Front left corner. One hog ring visible.
|
|
|
|
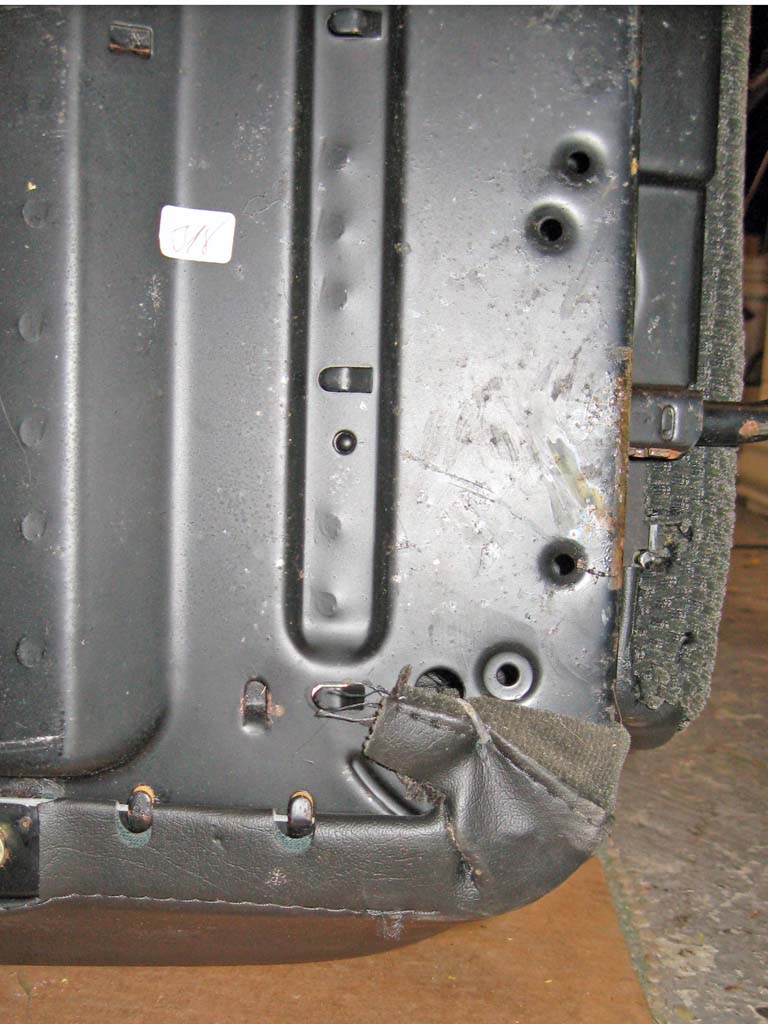
Rear right corner. No hog rings visible.
|
|
|
|
Rear left corner. No hog rings visible.
|
|
|
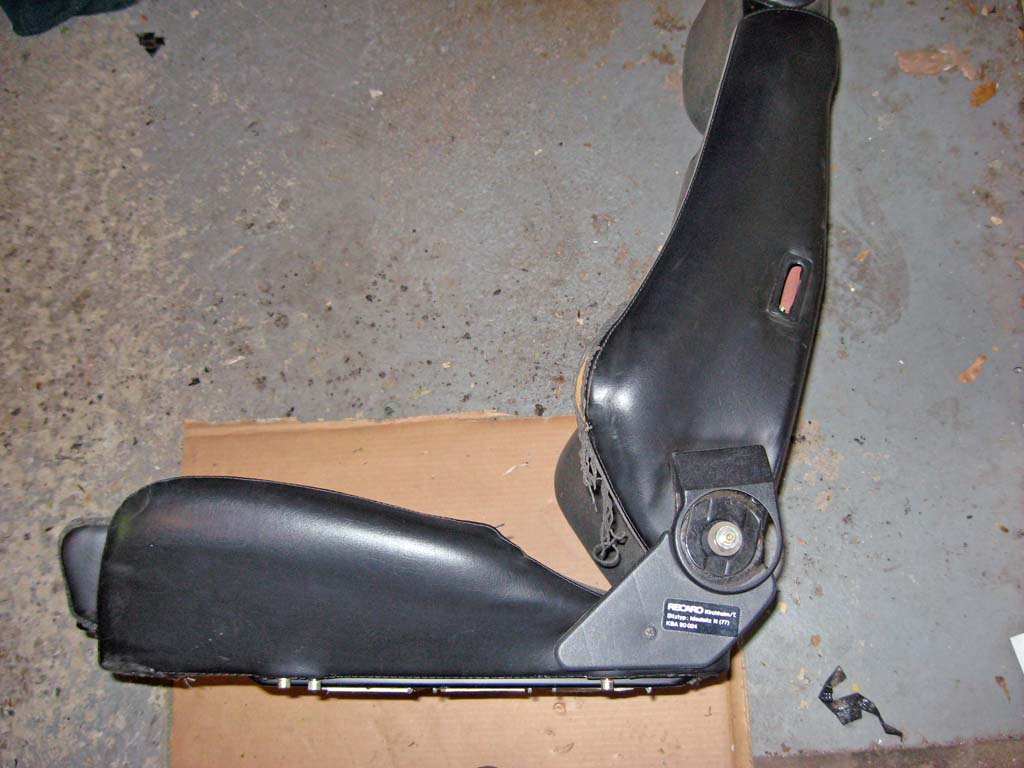
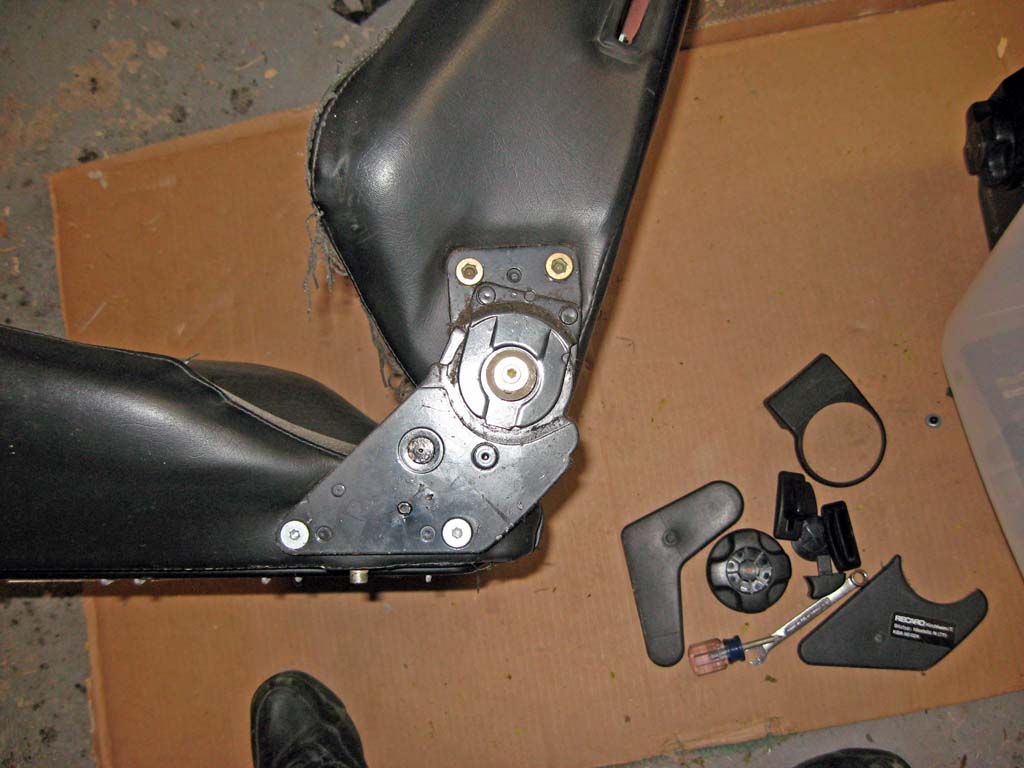
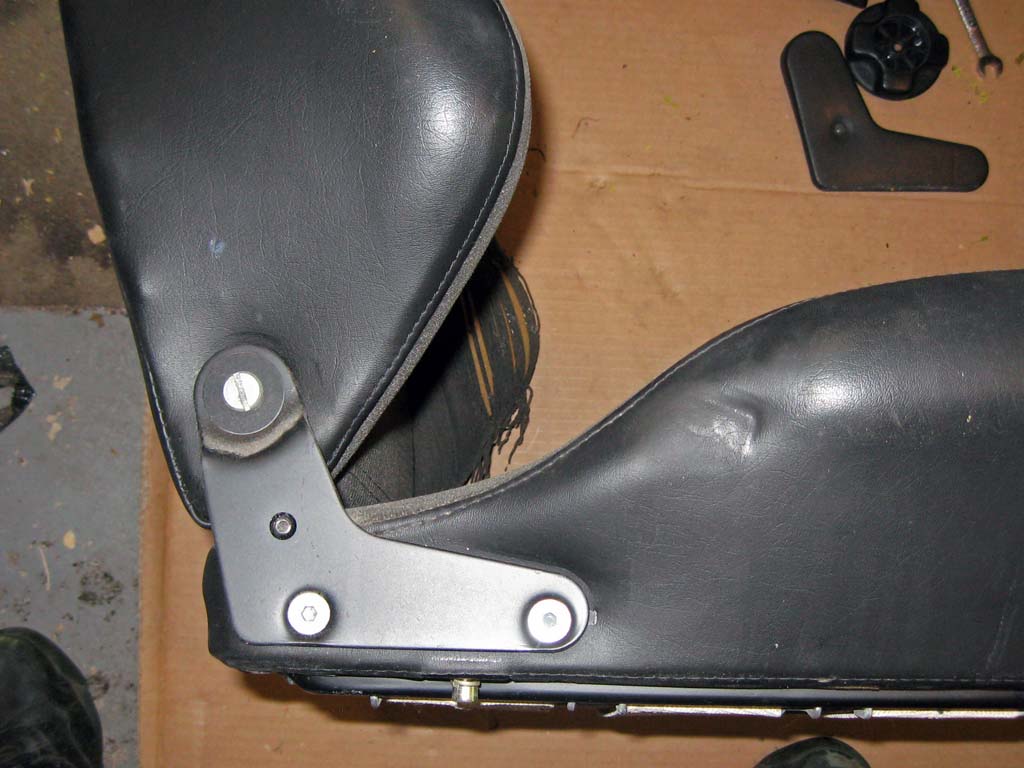
Hinge Removal
Remove the two lower allen head bolts on each hinge. Then you
can separate the seat back from the seat cushion. You can remove
the pivot screw on the upper part of the inside hinge. Be careful
to not lose the plastic bushings. You can remove the two allen
bolts on the top of the outside hinge but the release cable will still
be attached to the hinge mechanism.
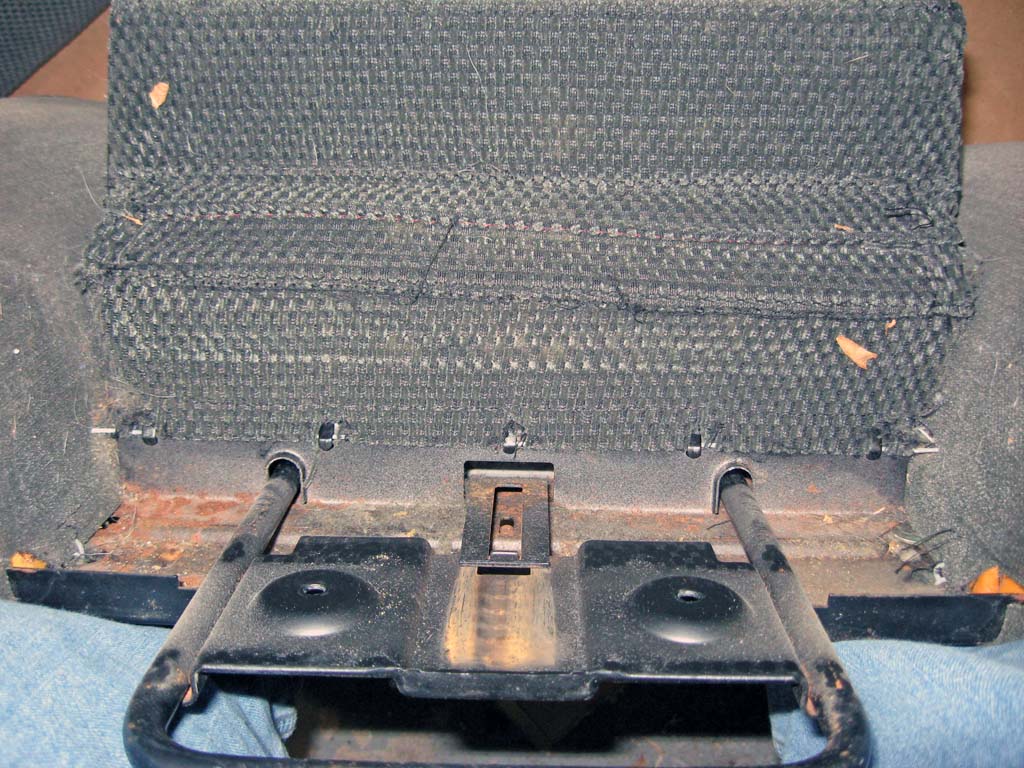
Seat Cushion Removal
|
|
|
|
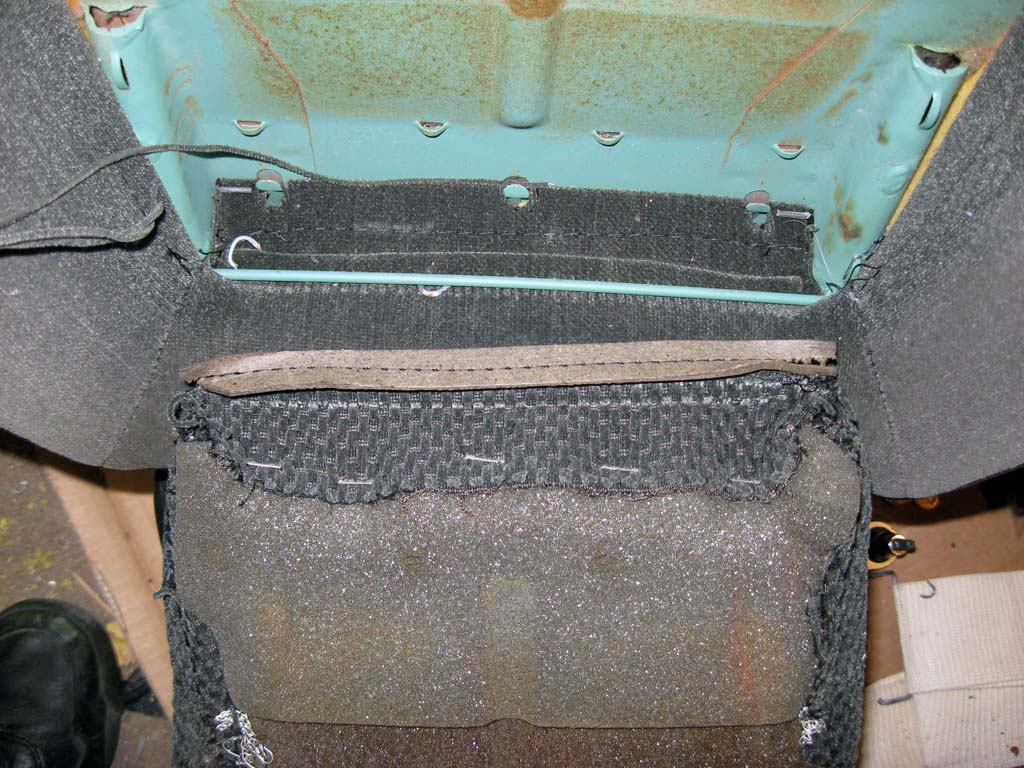
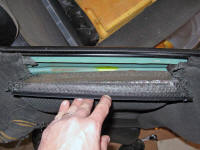
Pull the leg rest out all the way. The covering is held in place with a wire on each side of the handle. Pull this wire loose from the tabs.
|
|
|
|
Lift the cushion and pull the wire down out of the tabs
|
|

|
|
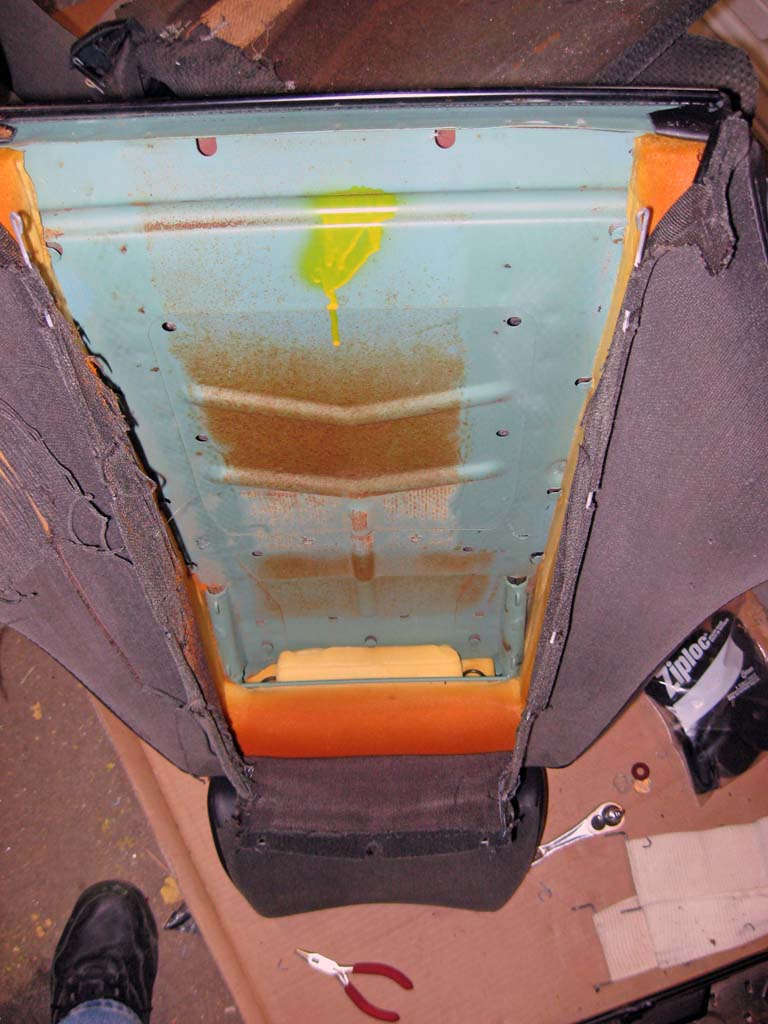
The seat cushion is now free on the front.
|
|
|
|
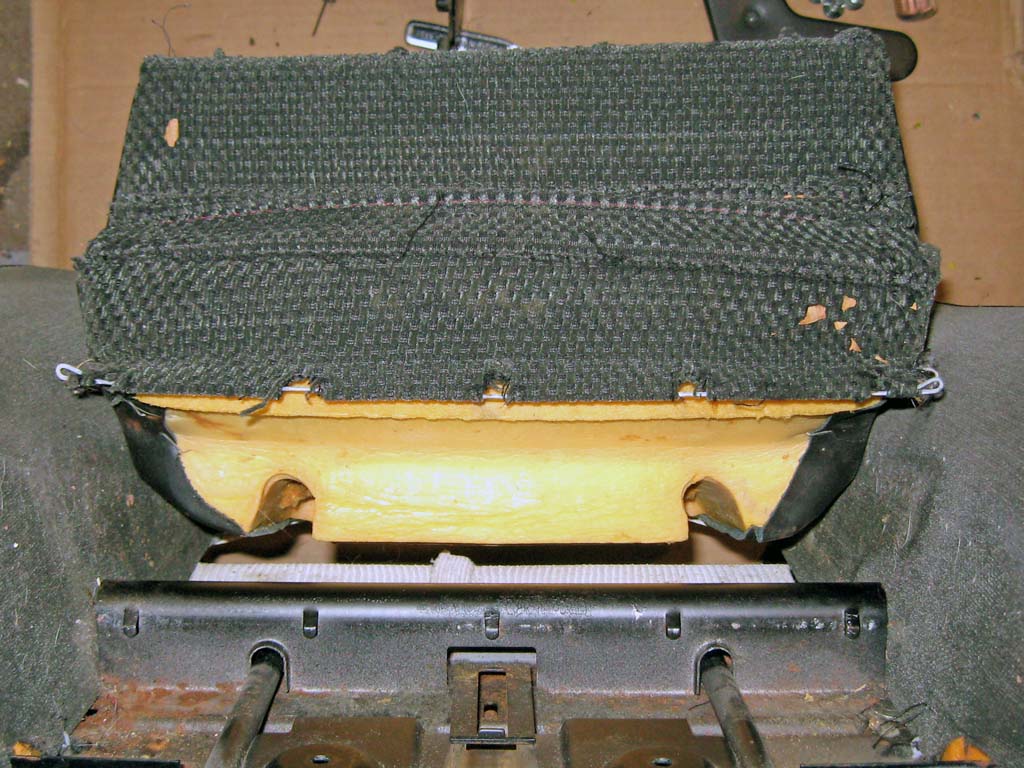
Check for and remove any hog rings holding the webbing onto the seat cushion foam. My seats had 4 rings I had to cut.
|
|
|
|
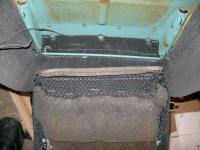
Remove the retaining wire from the tabs on the reat of the seat cushion. You can now remove the cushion.
|
|
|
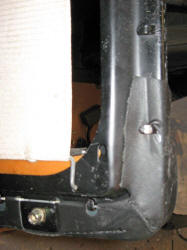
Seat Bolster Removal
|
|
|
|
Cut the hog rings on the inside edge of the bolster cover. Pull the retaining wire loose of the metal tabs.
|
|
|
|
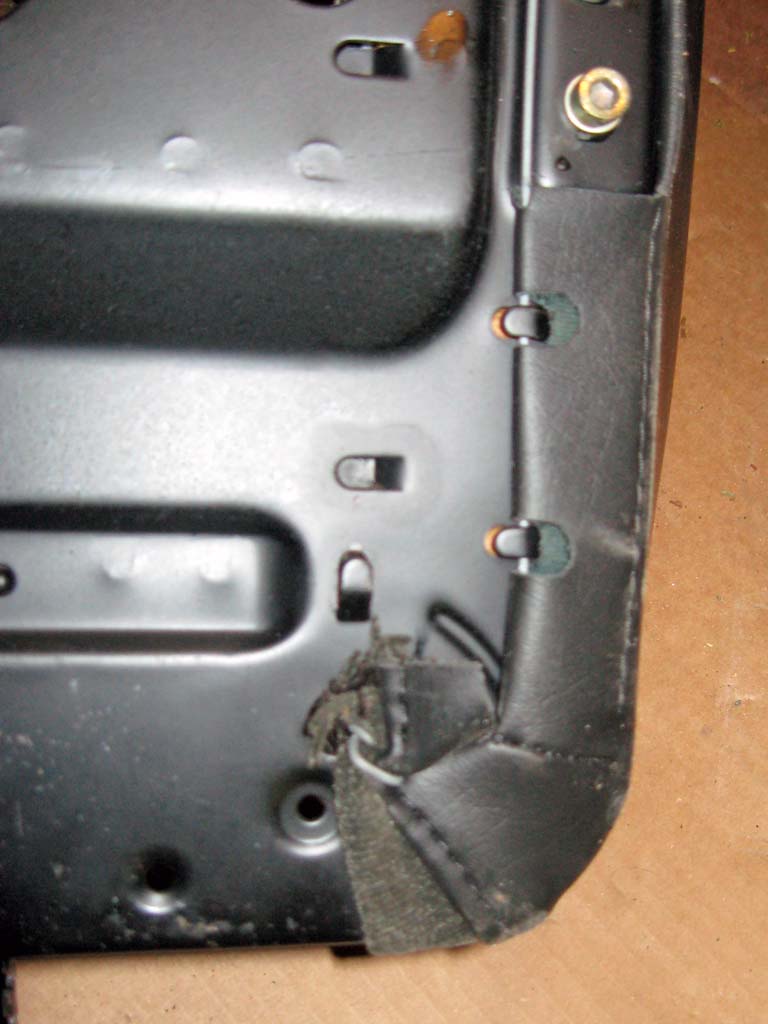
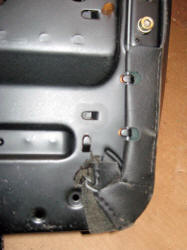
Pull the cover loose of the tabs holding it on the rear corner of the seat frame.
|
|
|
|
Cut the hog ring and pull the retaining wire loose of the tabs along the side of the seat bottom. The bolster cover should now pull off.
|
|
|
|
|
|
|
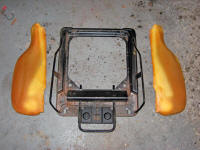
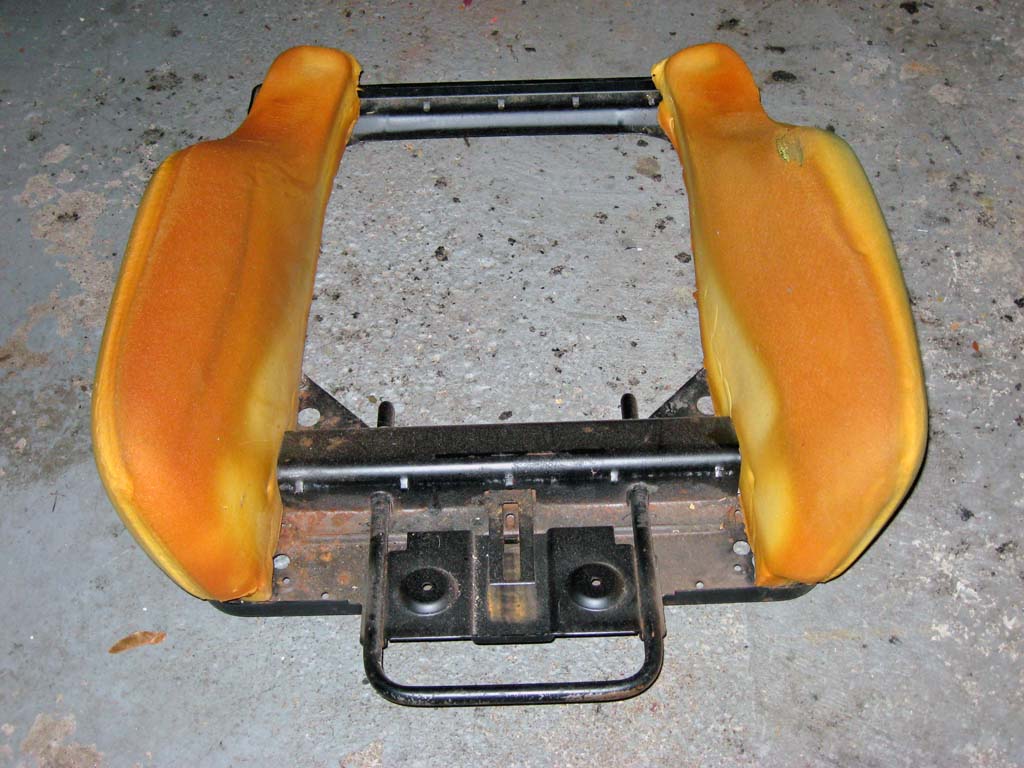
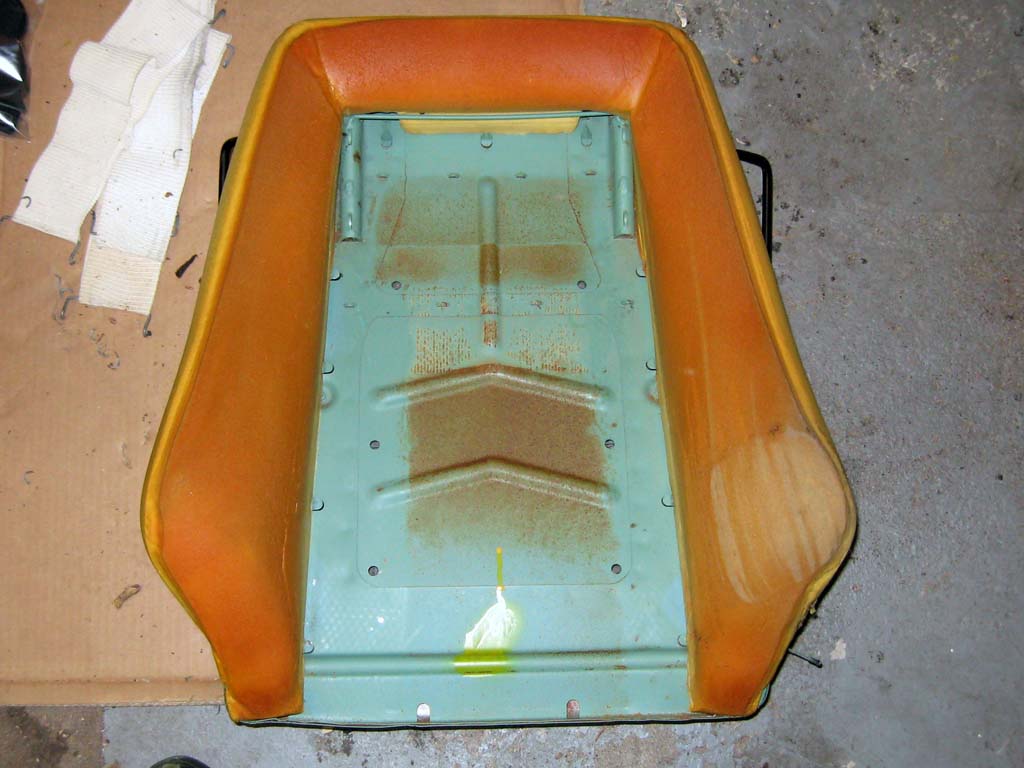
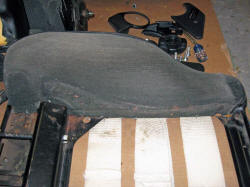
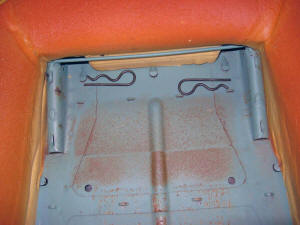
Seat frame with bolster covers removed.
|
|

|
|
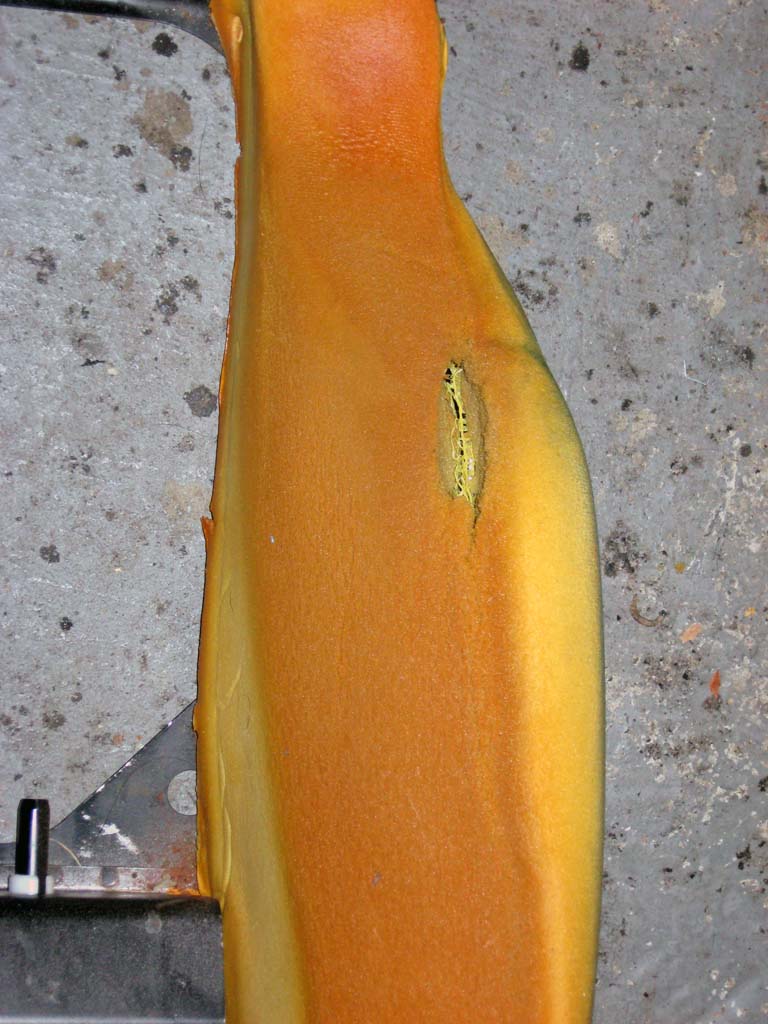
The soft spot I noticed is really a pretty bad tear in the foam. A lot of foam has been worn away under this spot.
|
|

|
|
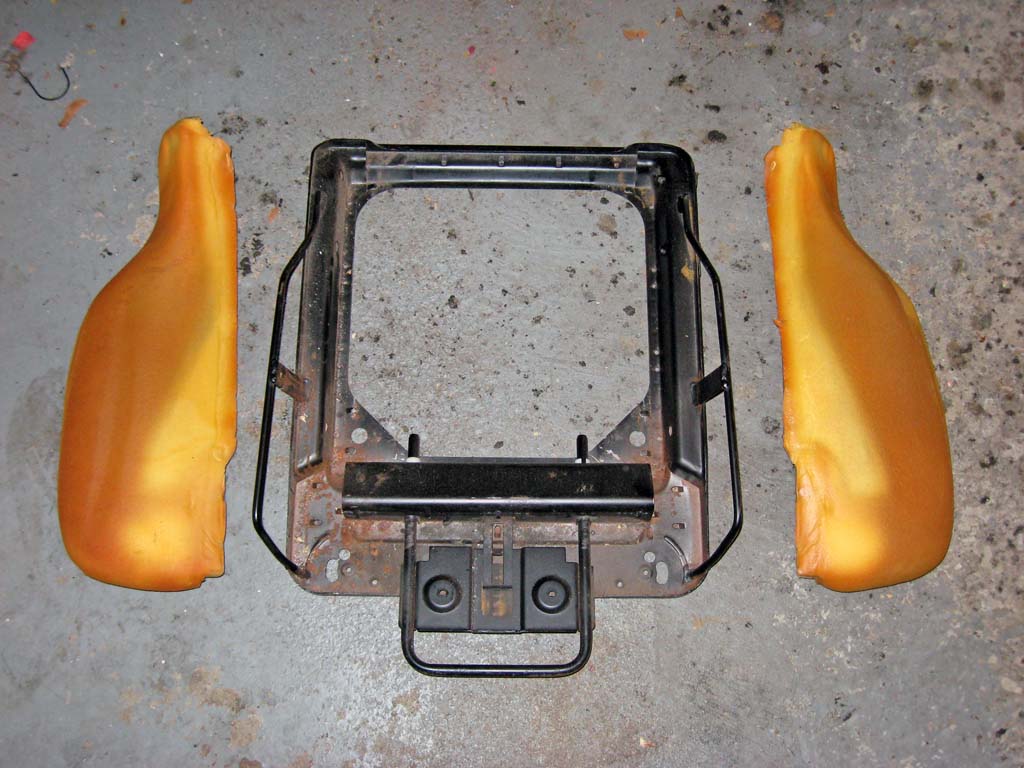
The bolster foams simply pull off the frame.
|
|

|
|
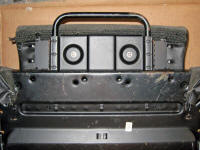
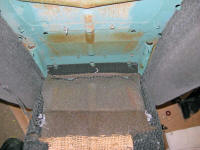
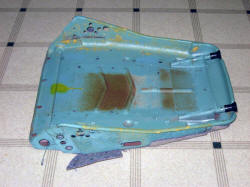
The lower seat frame completely stripped. Just a little surface rust to clean up.
|
|
|
Back Cushion Removal
|
|
|
|
Carefully pull the plastic strip out of its slot at the bottom of the seat back to begin removing the back cushion.
|
|

|
|
Pull the cushion part way out and cut the hog rings that are about 2/3 of the way up the seat back.
|
|
|
|
The top of the cushion is held in place by a piece of heavy felt tucked under a rod in the seat back frame.
|
|
|
|
The felt strip that held the top of the cushion in place. The cushion can now be removed.
|
|
|
Rear Covering Removal
|
|
|
|
Pull the two long wires loose of the metal tabs along the inside edges of the back bolster covers.
|
|

|
|
Cut the crimped metal ring on the release cable. Then you can remove the outside hinge mechanism. The back cover now pulls off.
|
|
|
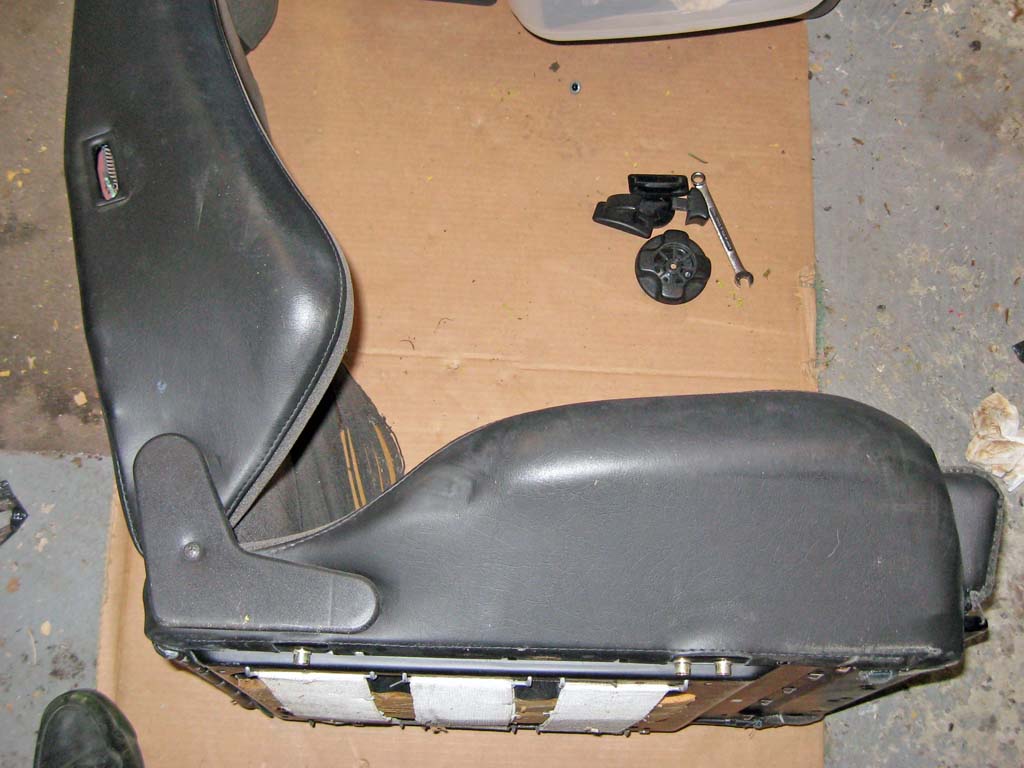
Headrest Removal
|
|
|
|
The headrest posts are held into the seat back with two large cotter pins. Simply pull the pins off the posts.
|
|
|
|
The two pins removed.
|
|
|
|
|
|
|
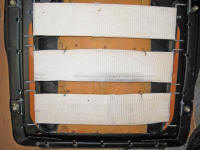
The seat back frame with bolster foam. The foam is glued onto the frame. The left bolster is very worn and soft.
|
|

|
|
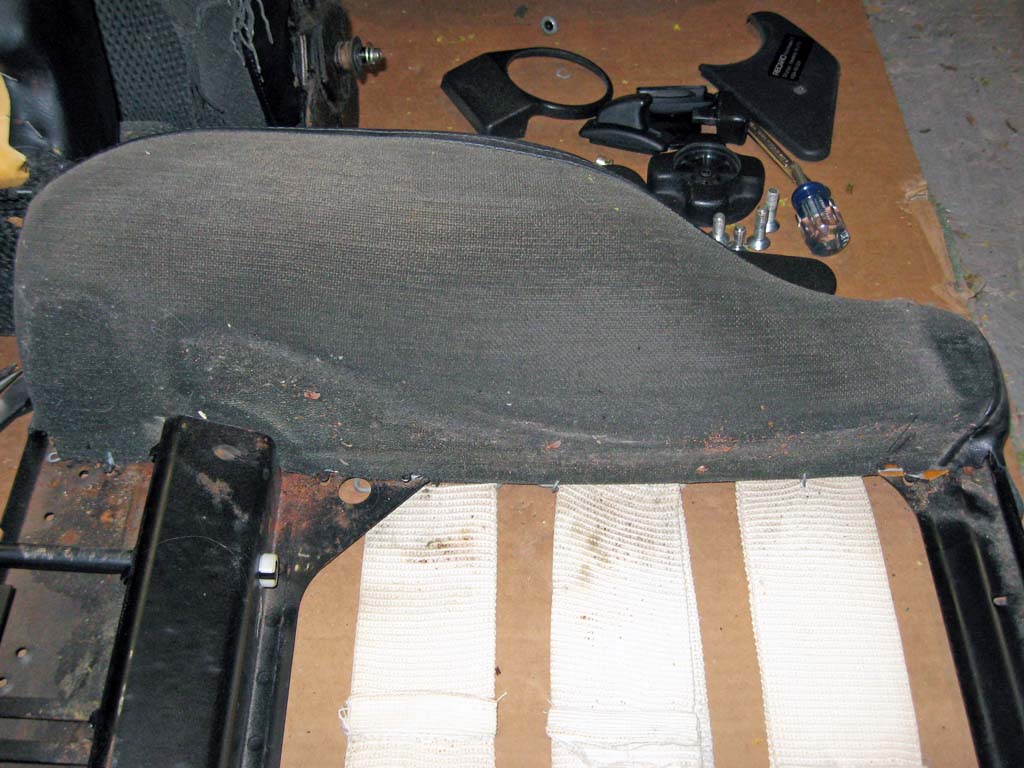
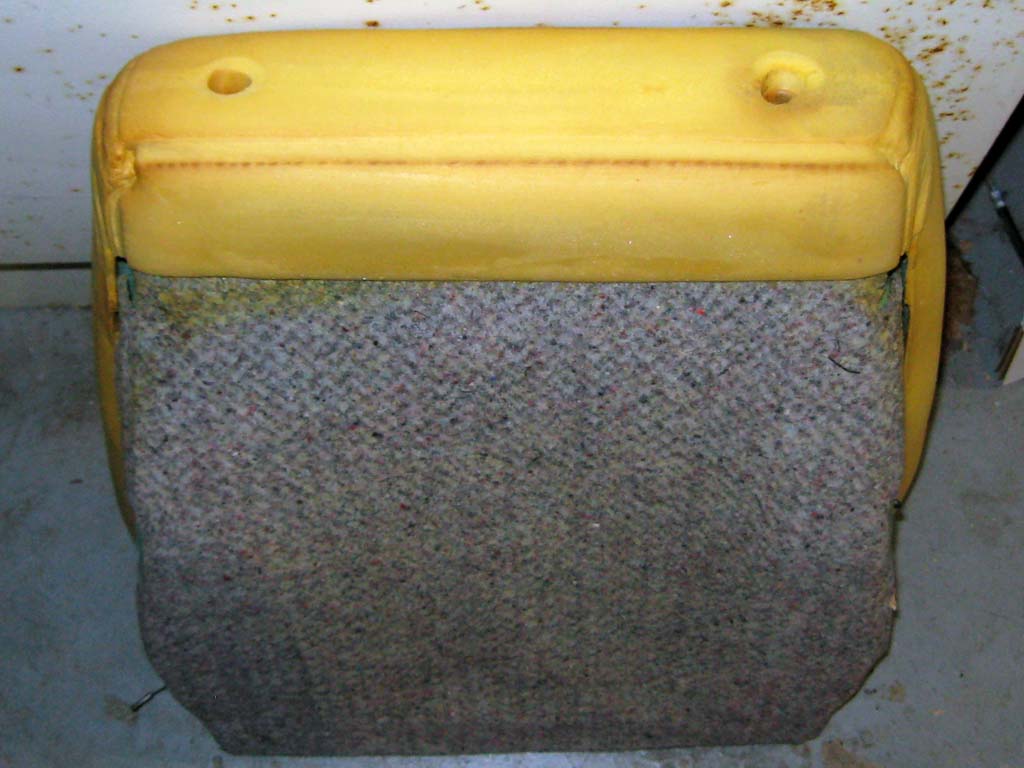
A piece of heavy felt is glued onto the back of the frame.
|
|
|
|
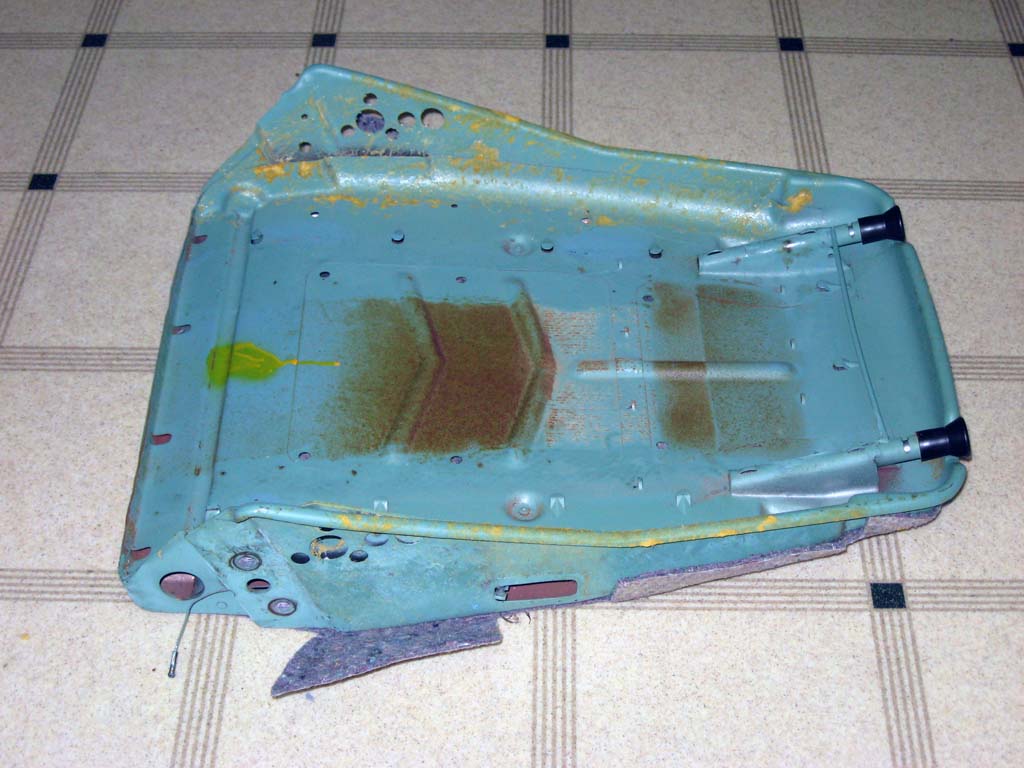
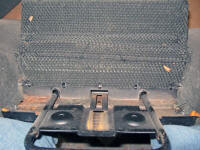
Rear seat frame with foam removed.
|
|
|
|