|
|
Recaro Foam Replacement | |
|
|
Up
|
Introduction | Seat Bolster Foam | Seat Center Foam | Backrest Foam IntroductionThrough a lot of internet searching I found a company in the U.K. that sells new Recaro bolster foam for a few of the more modern seats. One of these sets is for the Ford Escort Turbo RS and Capri and looked pretty close to the shape of the E21 sport seat so I ordered a complete set of 6 pieces to replace all the bolsters on both seats. Since these pieces are not an exact match I knew I needed to replace all the bolsters so the seats at least match each other. Otherwise is would be obvious that a couple of pieces do not quite match the original. The company is Capital Seating and they offer a pretty wide range of Recaro repair parts. The company accepts Paypal or bank transfer. All payments are in Pounds. Capital Seating was always prompt and polite when replying to inquiries I emailed them, but they did not contact me when my order was delayed due to one of the pieces I ordered being on backorder. I would recommend following up on any transactions to ensure you have the latest information about your order's status. The exact parts I ordered were:
About 8 weeks after placing the order my parts arrived in 2 packages. Shipping from the U.K. was about £35. Not cheap but this is the only source I have found for these parts. It only took about 10 days to get the pieces once they shipped, the rest of the time was waiting on the backordered parts.
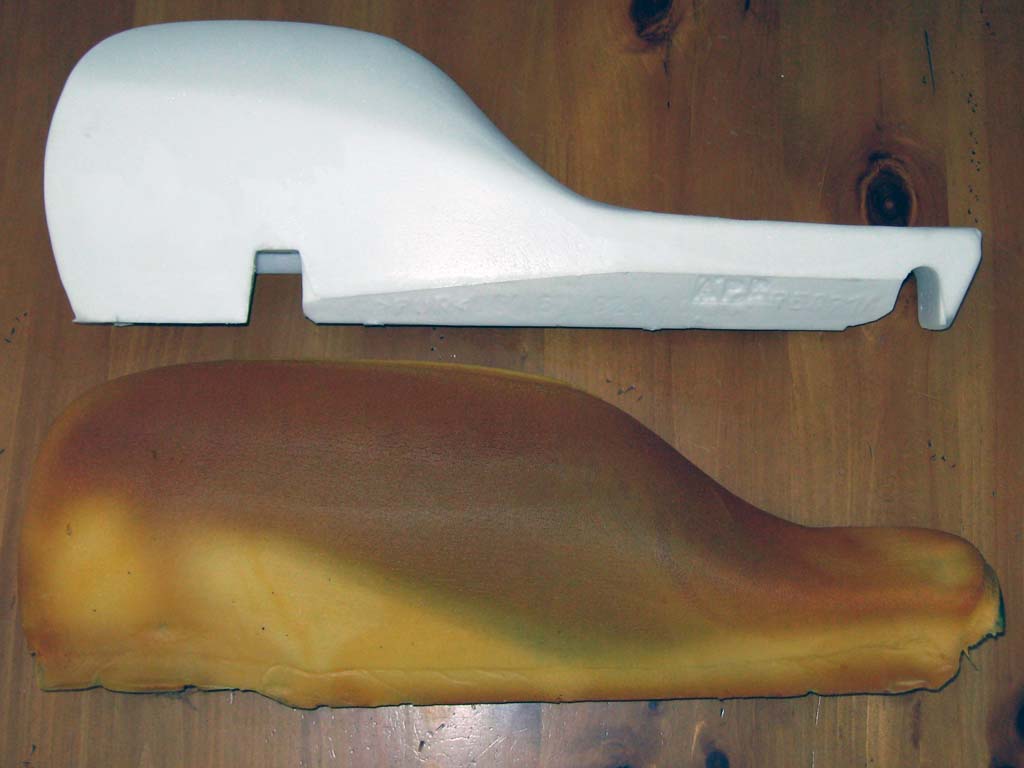
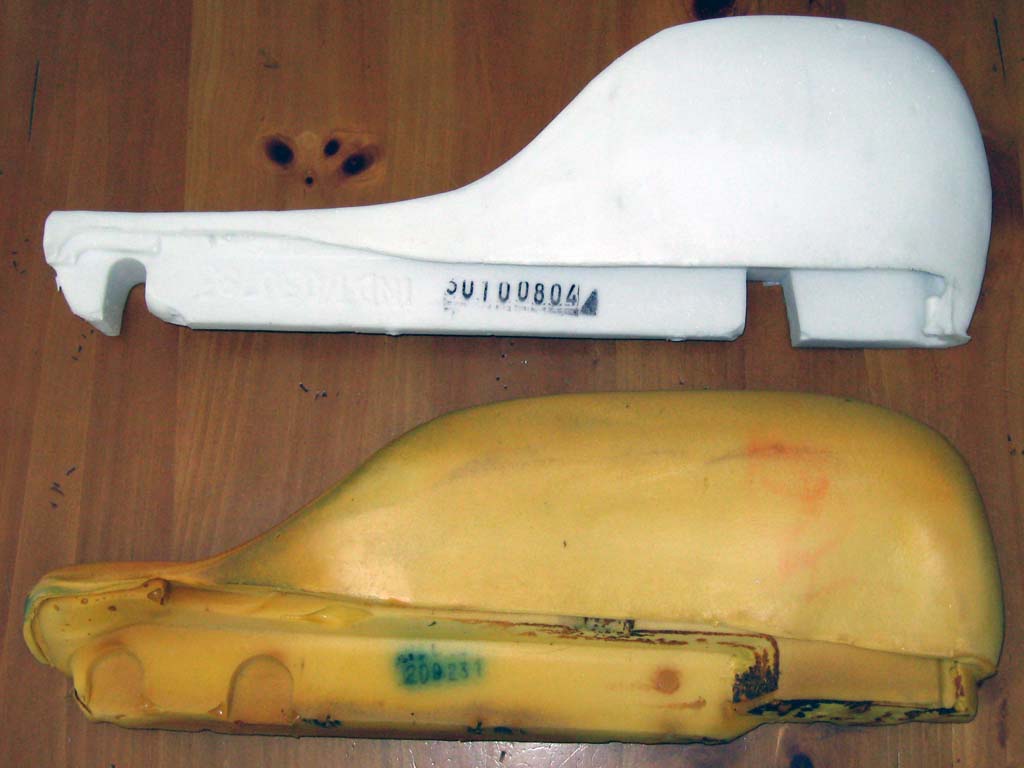
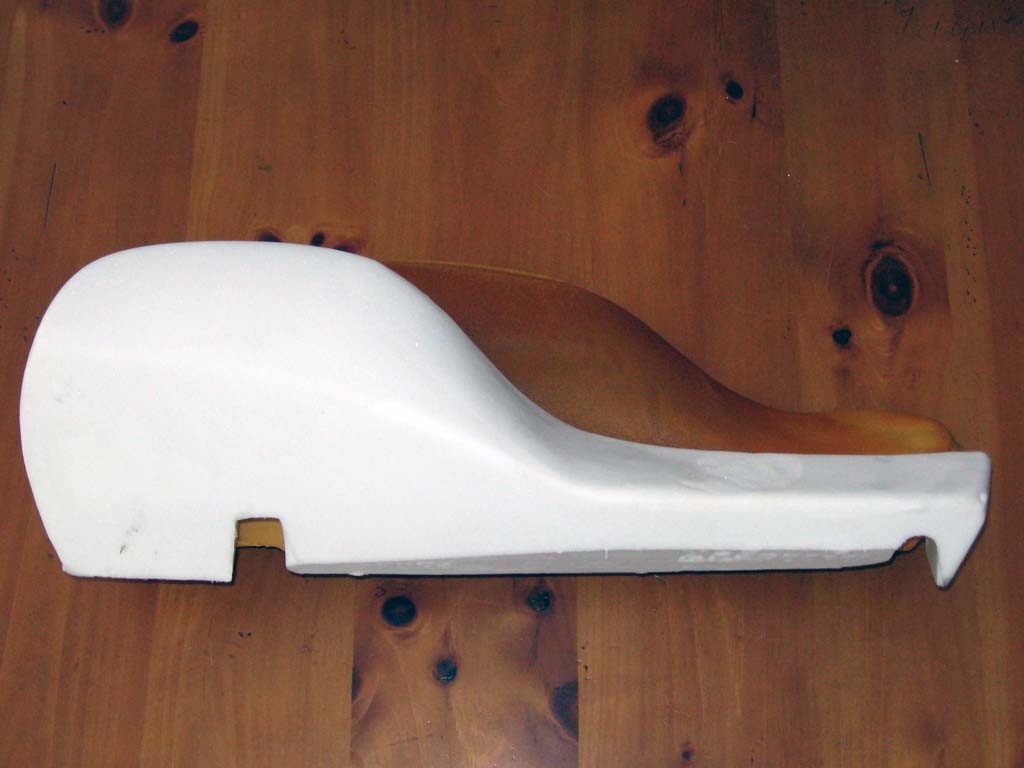
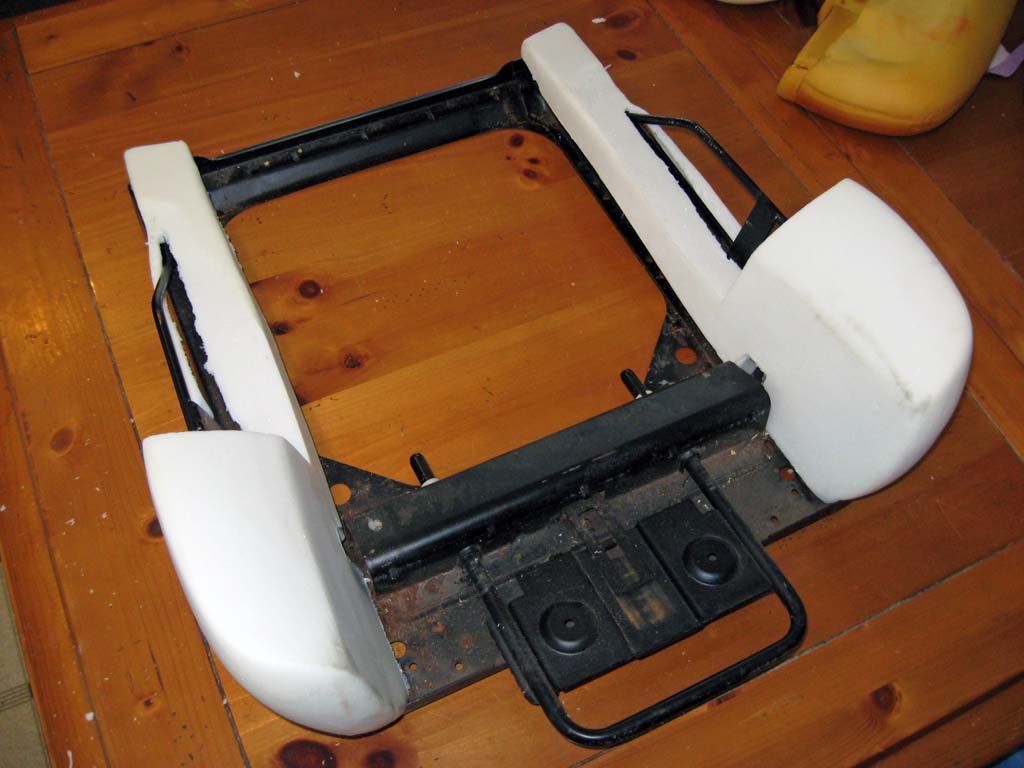
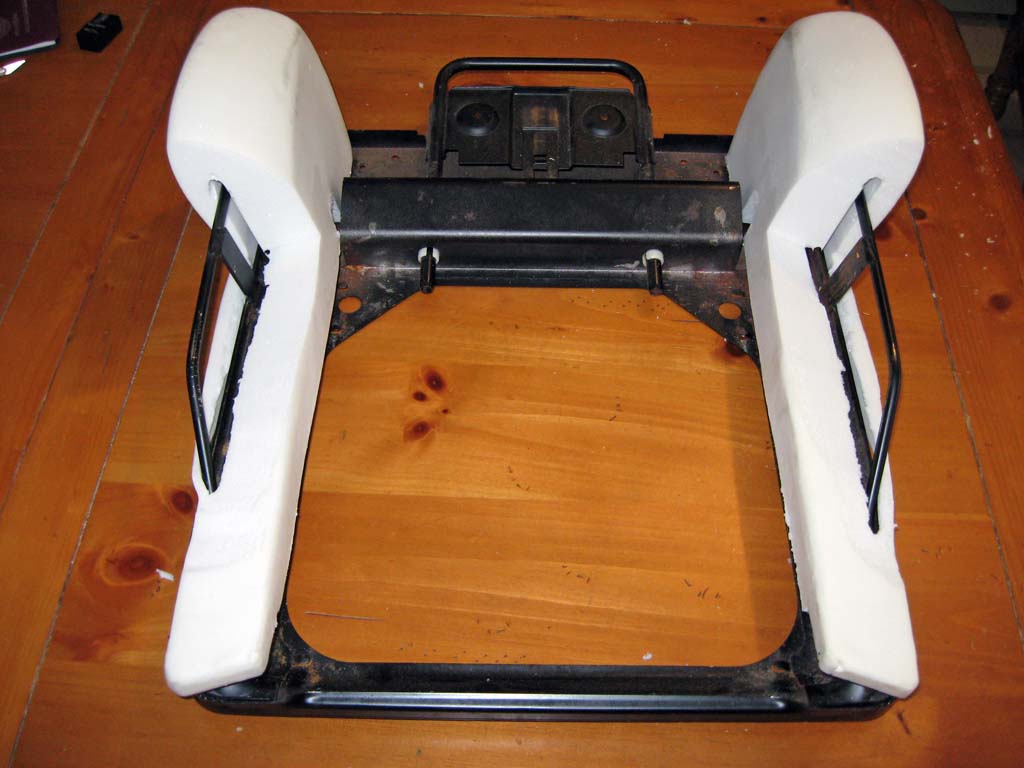
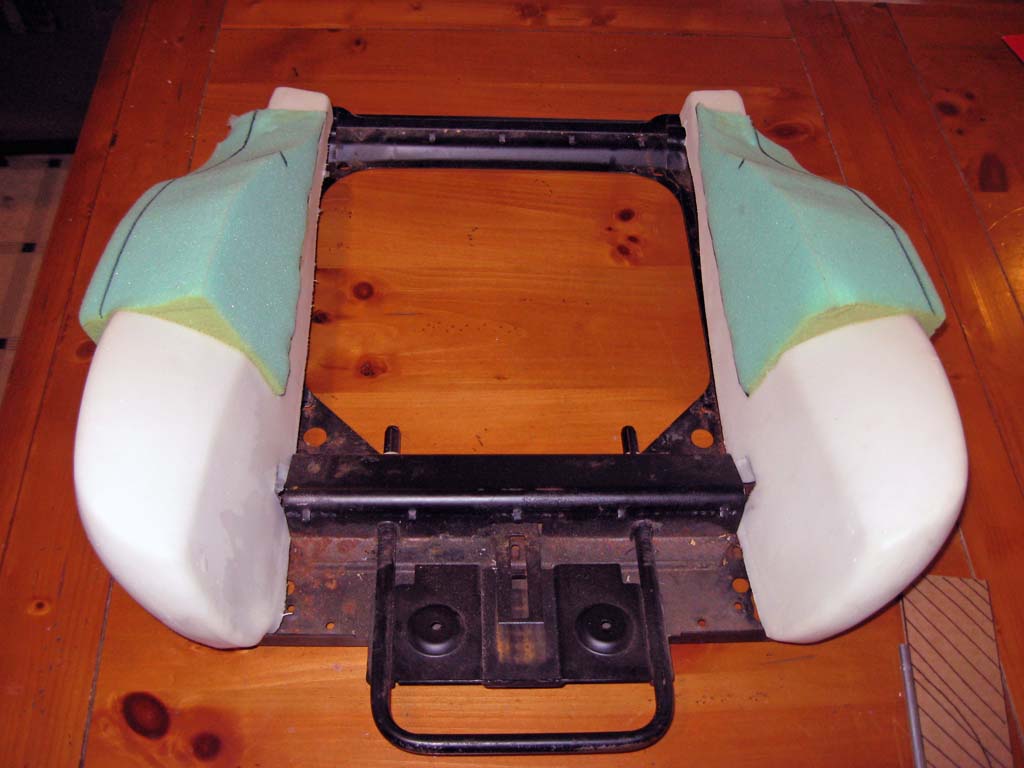
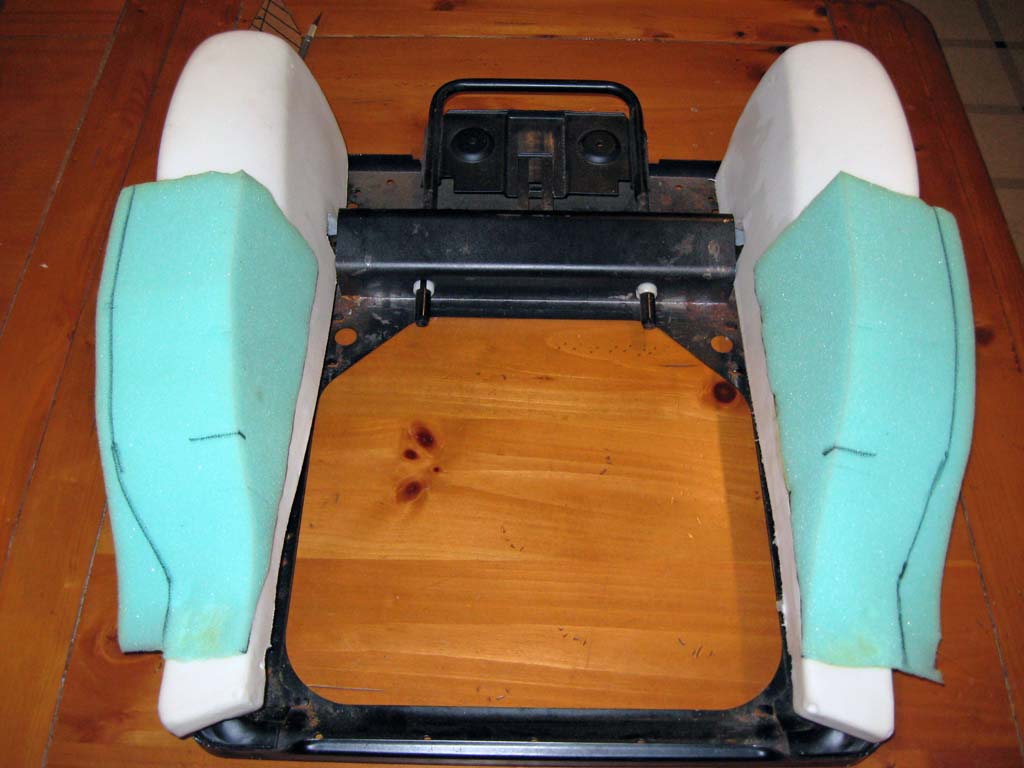
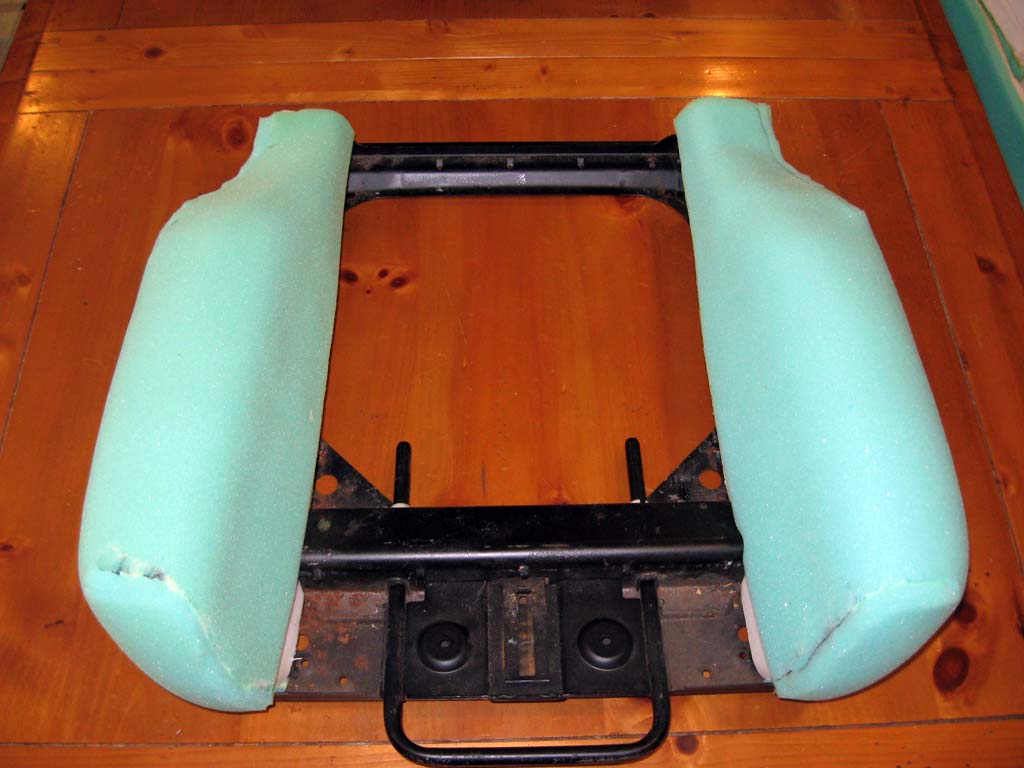
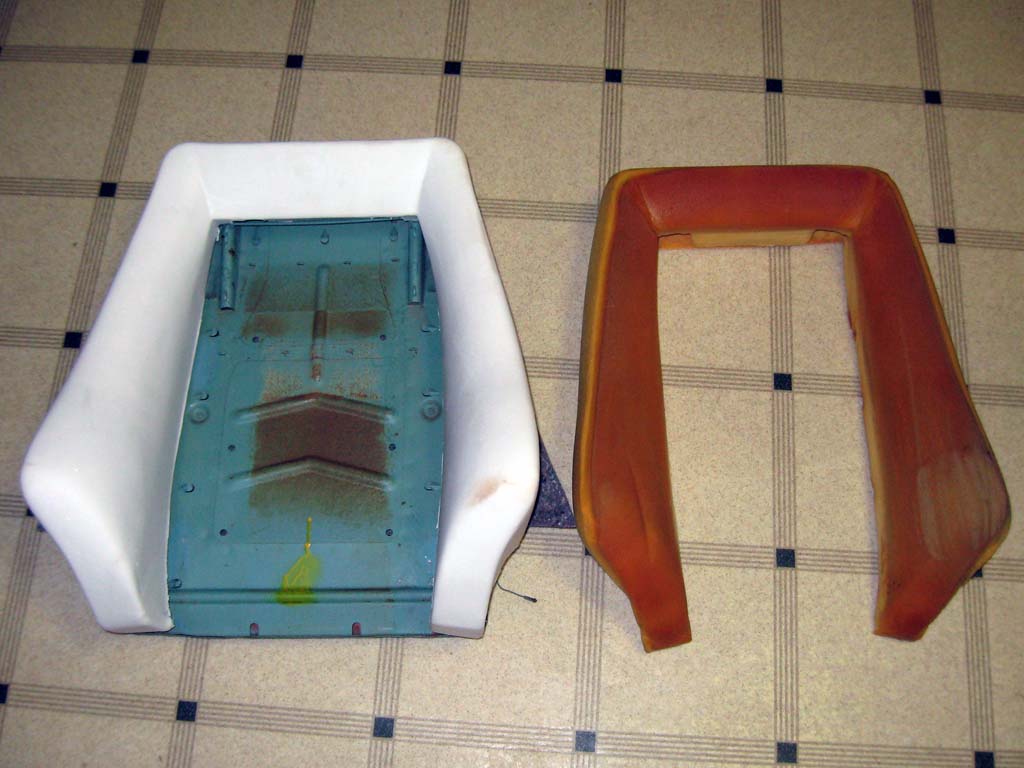
The seat bolsters are not an exact match and will require modification. The thick part of the bolster is only about half as deep as the E21 seat's bolster. I will be picking up some high density foam and extending the bolster to match the shape of the original. The pocket for the bolster support is also only about half as long as needed. I could have attempted to fabricate these parts from scratch but they are a relatively complicated shape and my fabrication skills are not good enough for me to be happy with the results. Modifying an existing piece should be easier.
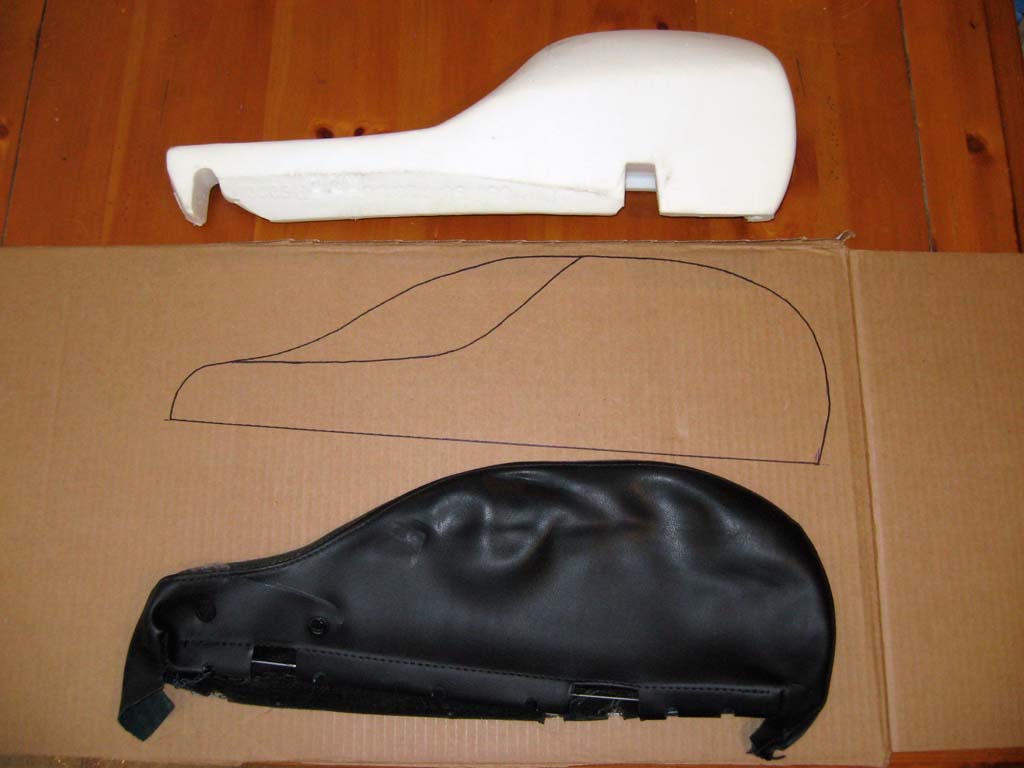
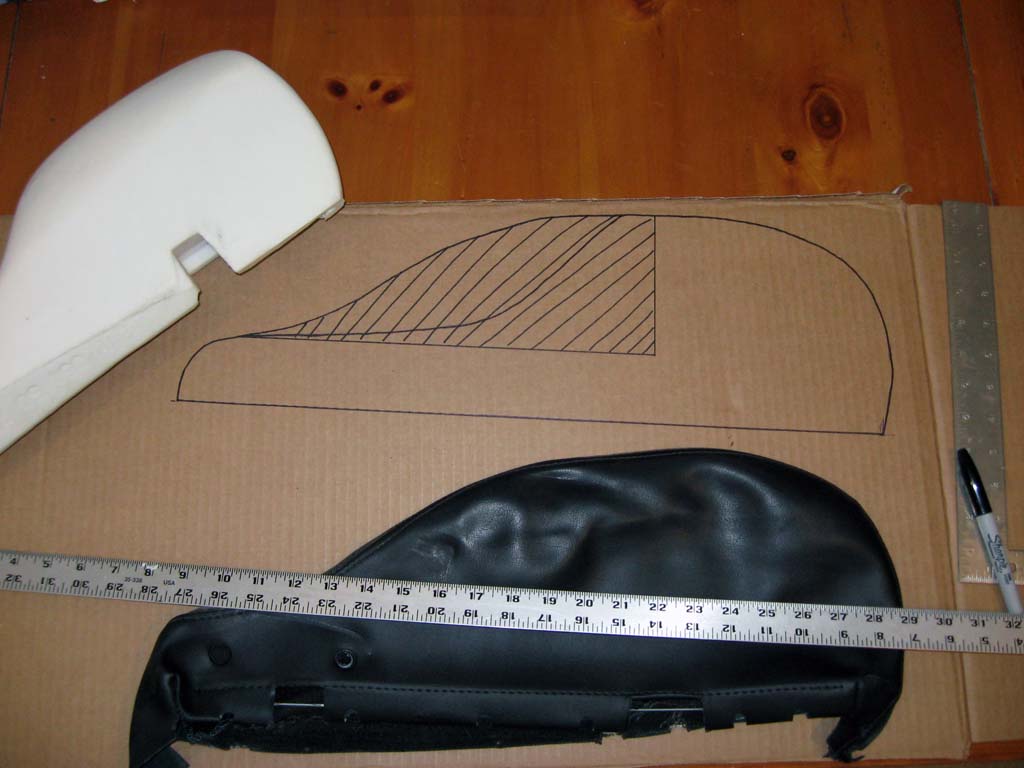
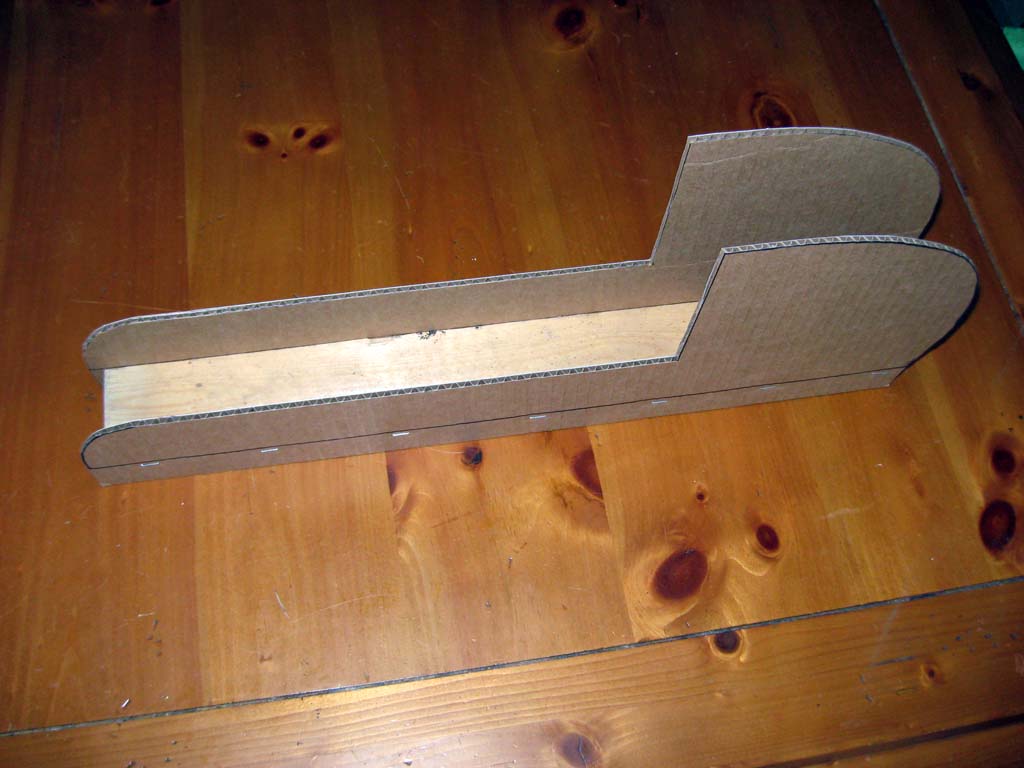
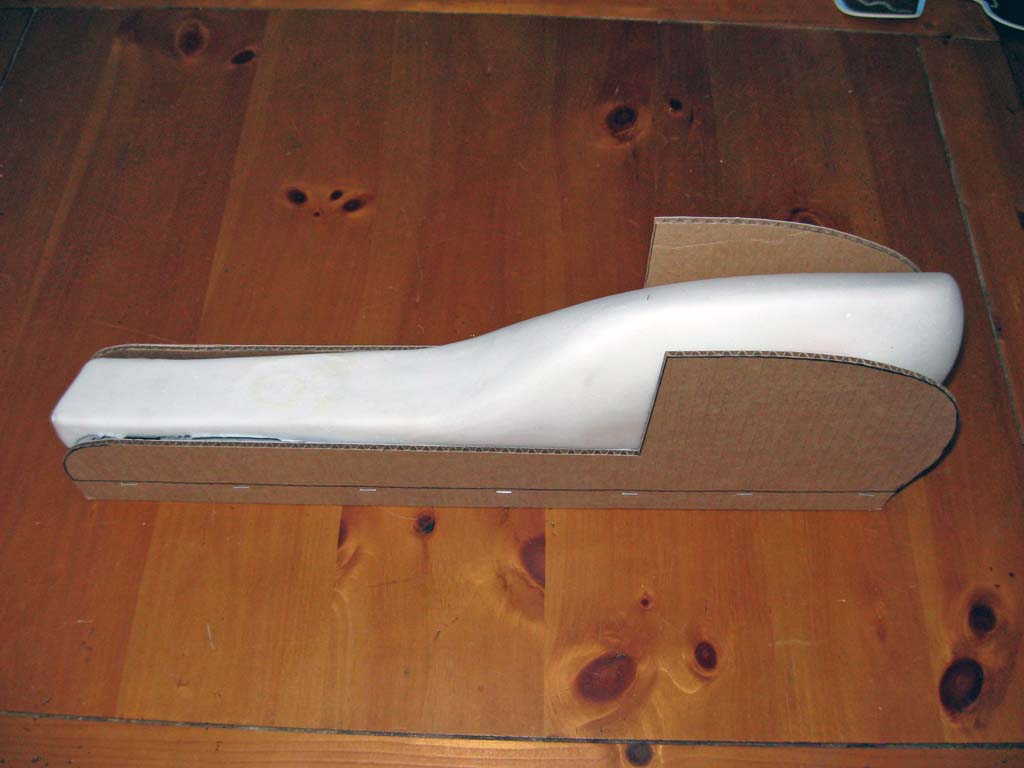
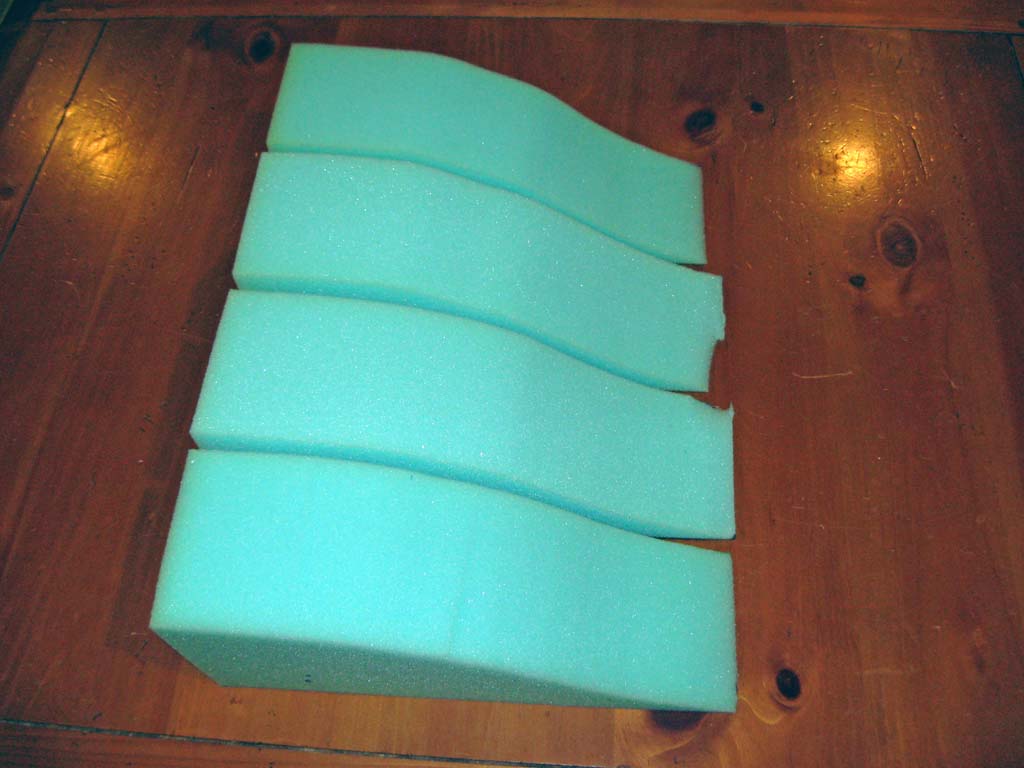
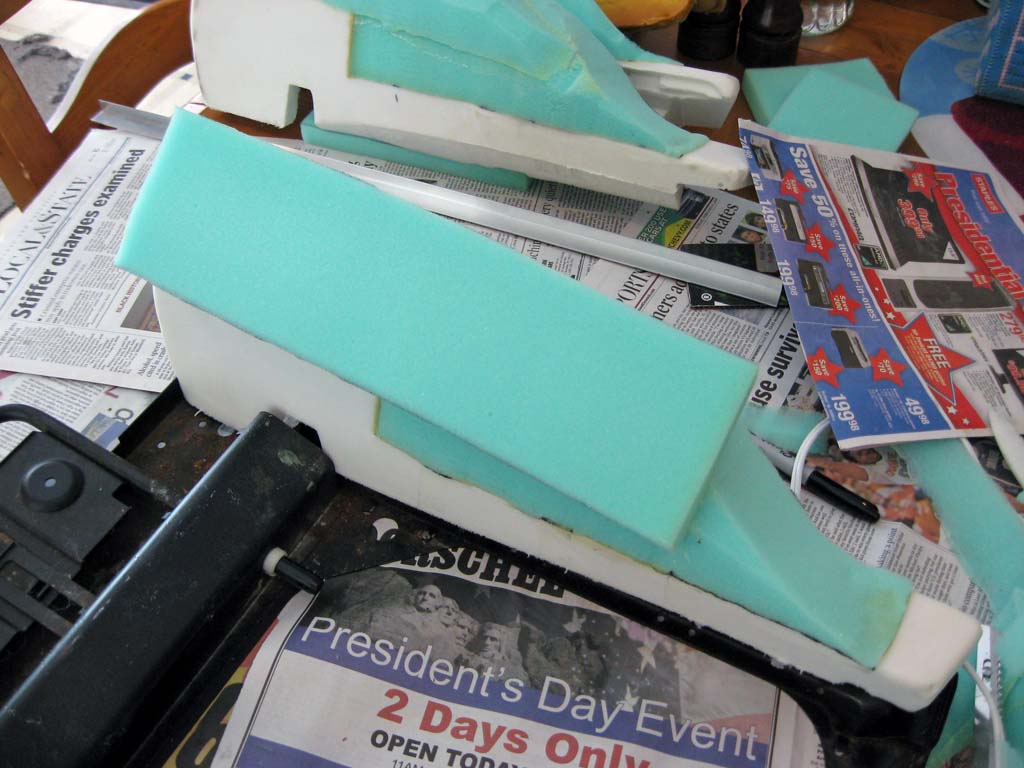
Before starting to cut the foam I created a set of jigs to help me hold
the foam and create consistent cuts on all four pieces.
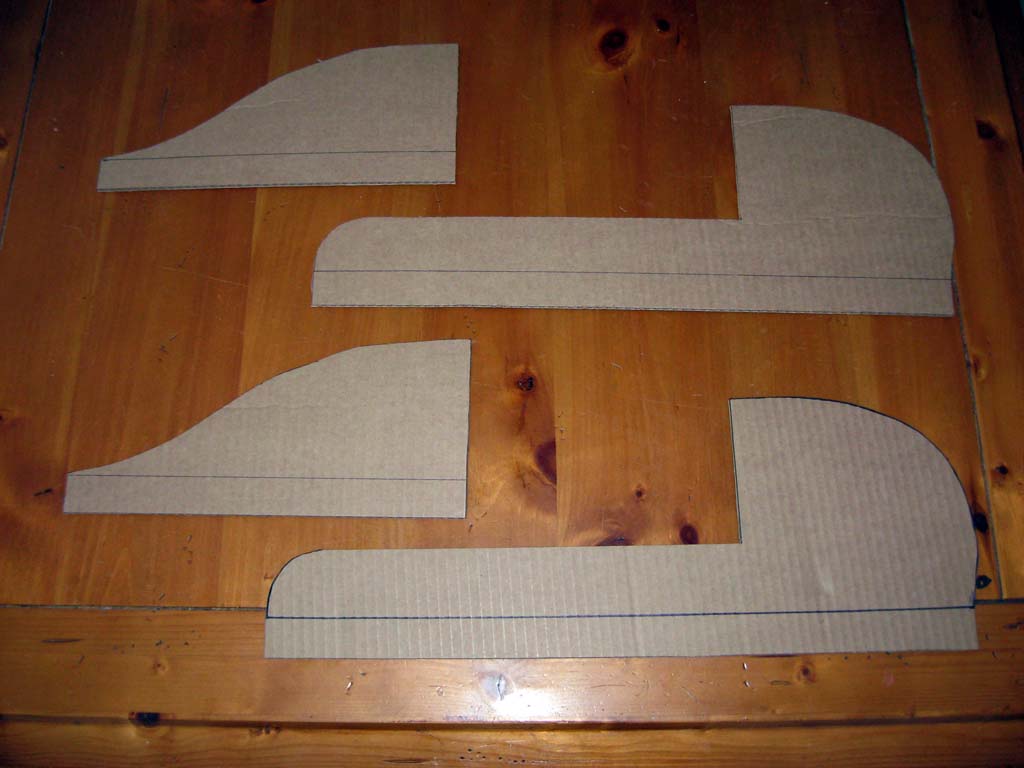
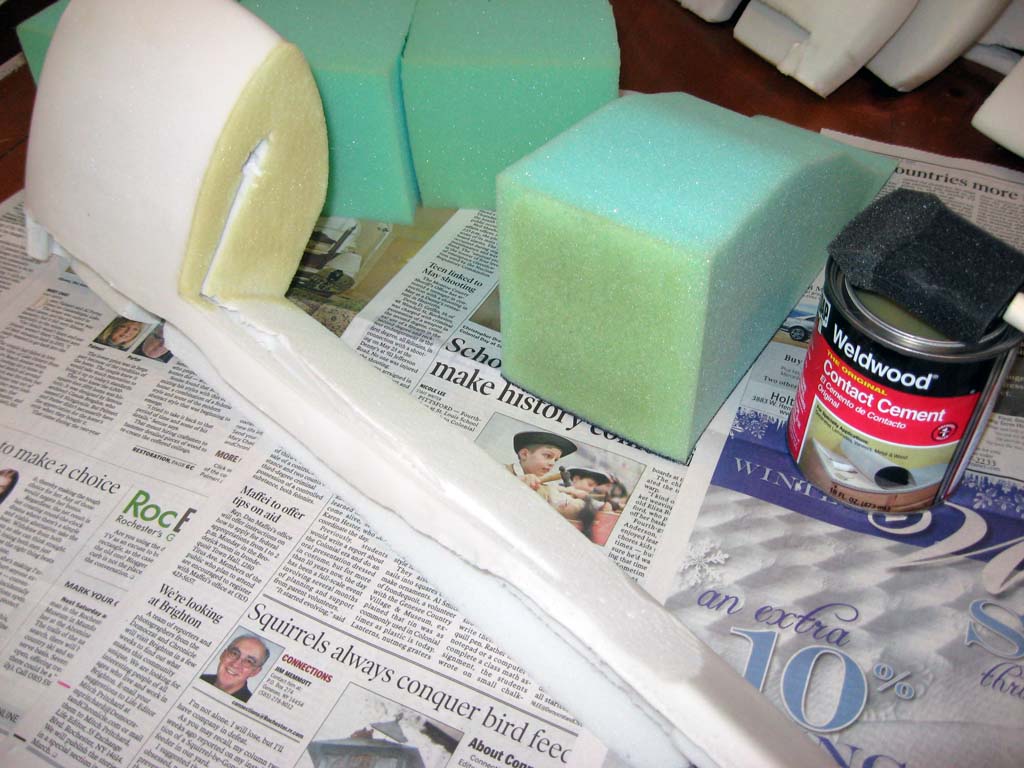
Then the main filler pieces and the bolsters were cut using the jigs.
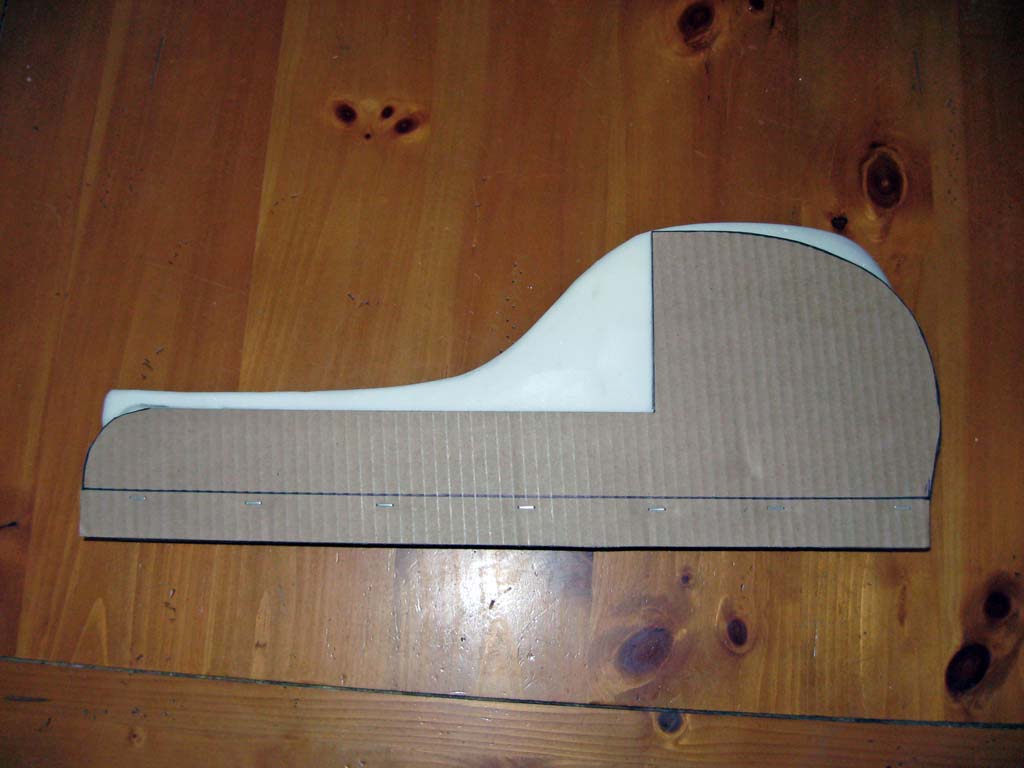
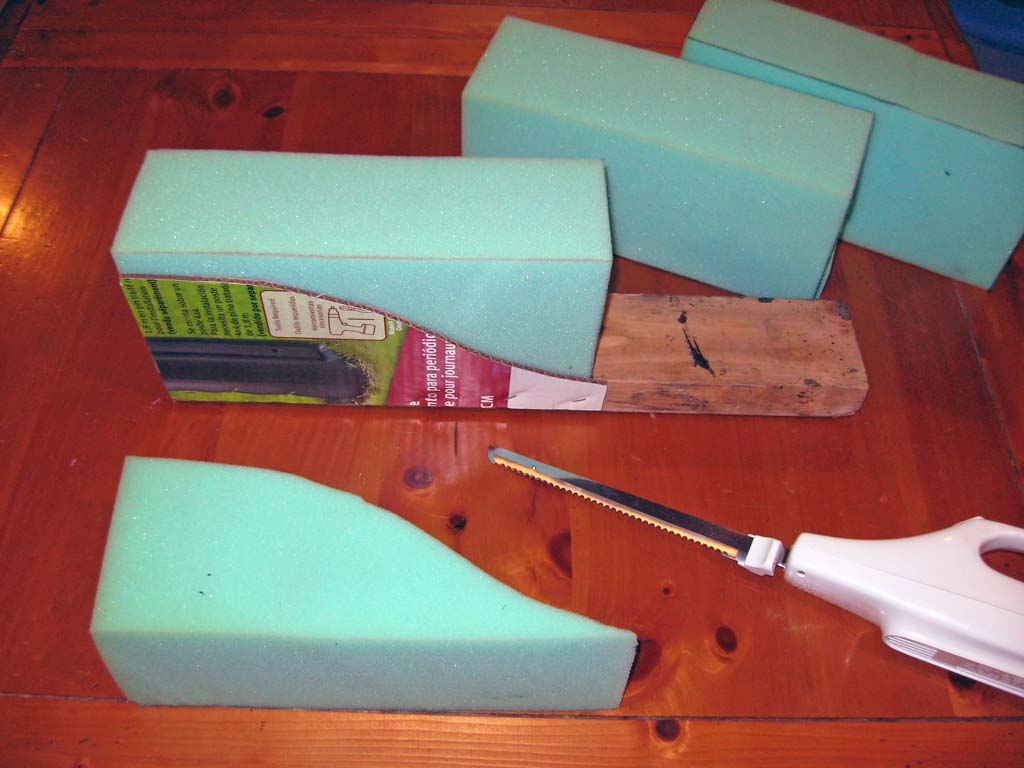
The filler piece was cut from 4 inch thick high density foam. This
is wider than the bolster and provides plenty of access material for
shaping the filler piece later. An electric carving knife works
really well for cutting and shaping this foam.
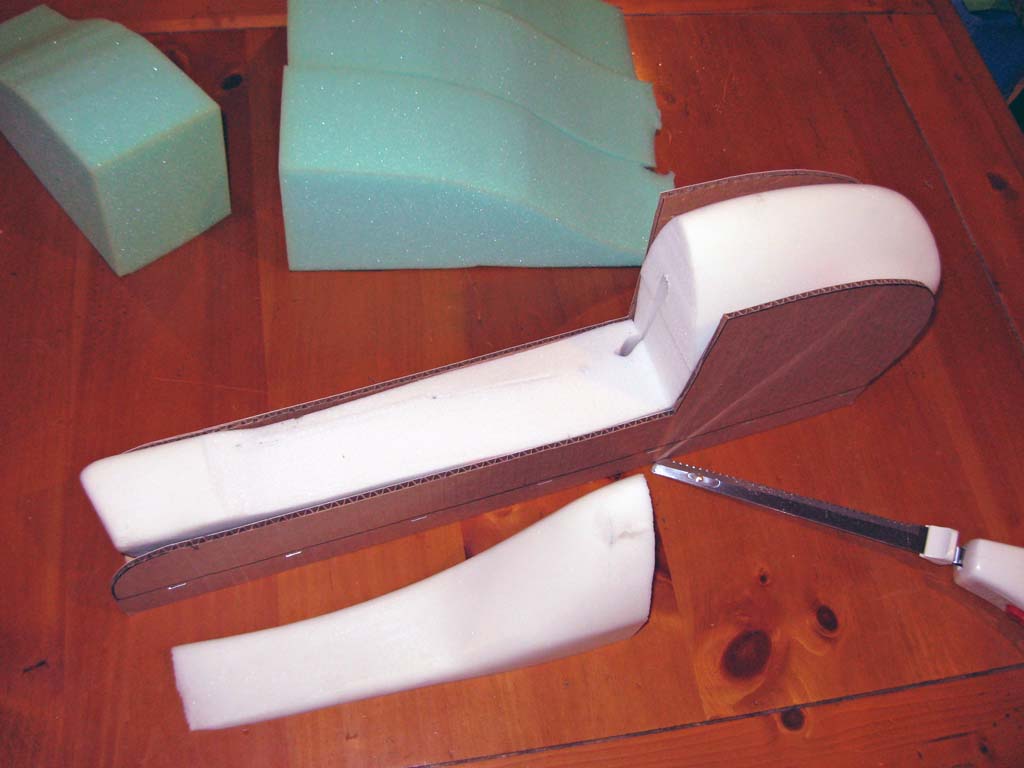
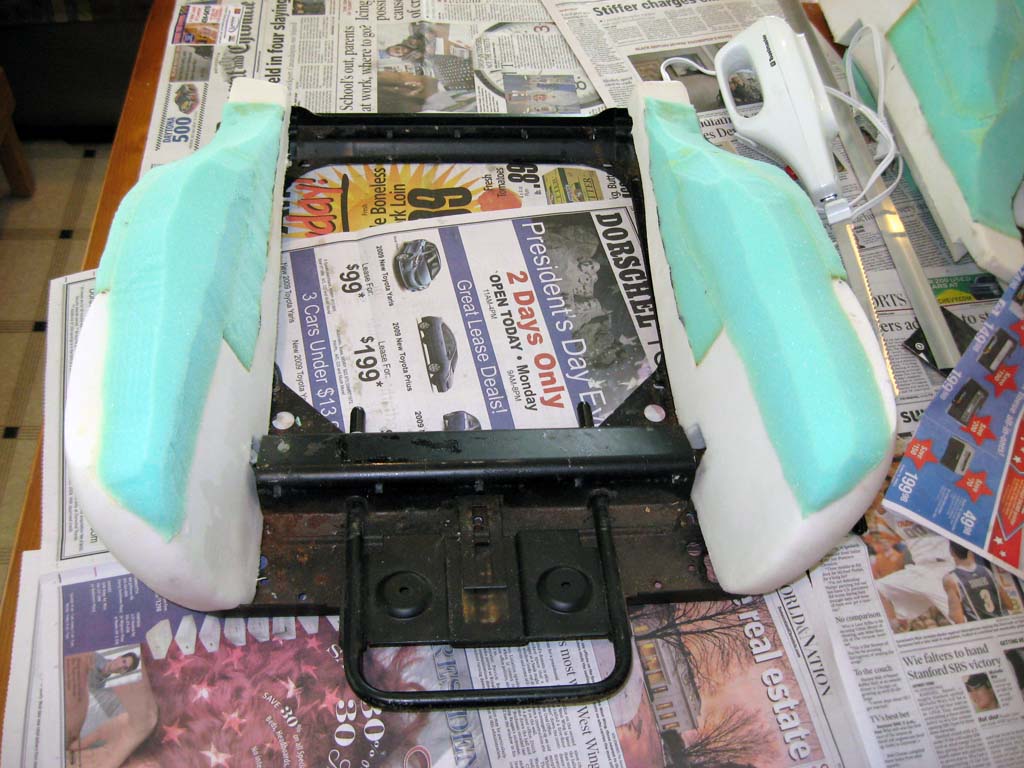
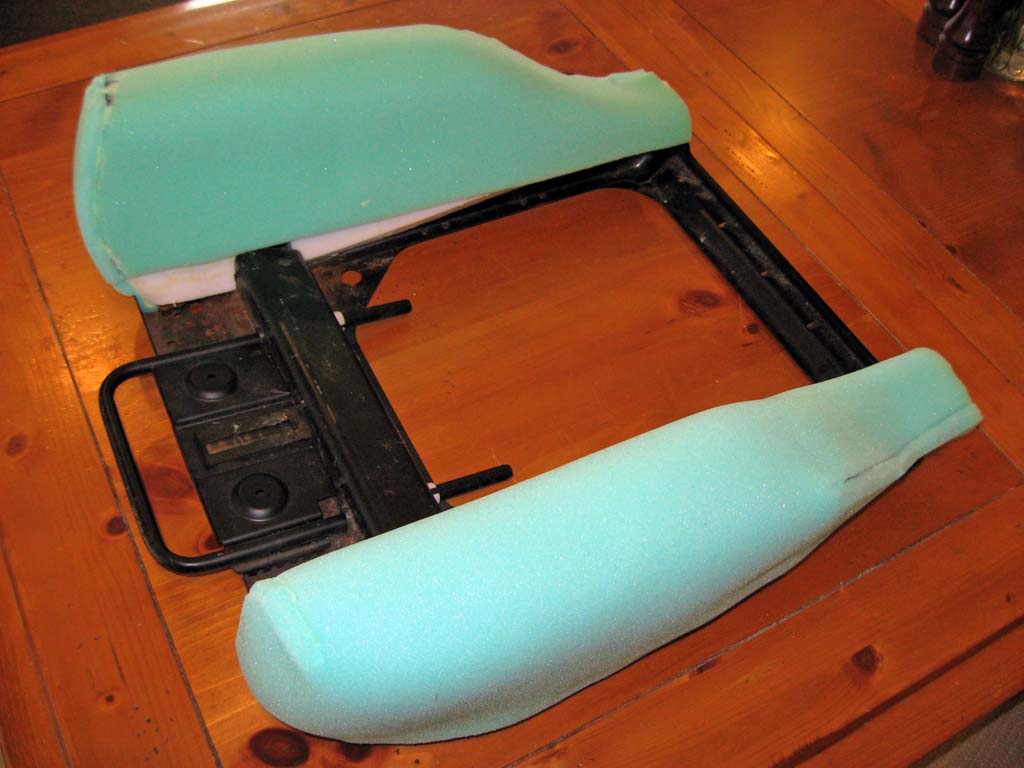
After cutting the bolsters to shape in the jig, I then trimmed the bottoms of the bolsters to fit the seat frame. The biggest modification was to lengthen the slot where the bolster support on the seat frame goes.
The two pieces were then glued together using contact cement. This was a mistake as the contact cement was soaked up by the foam. I went though most of the can simply gluing these pieces together. This amount of cement resulted in a thick stiff seam in the foam that was very easy to feel through the bolster cover. To correct this mistake I ended up trimming the bolster in such a way as I was able to lay other pieces of foam to cover up and pad these stiff seams.
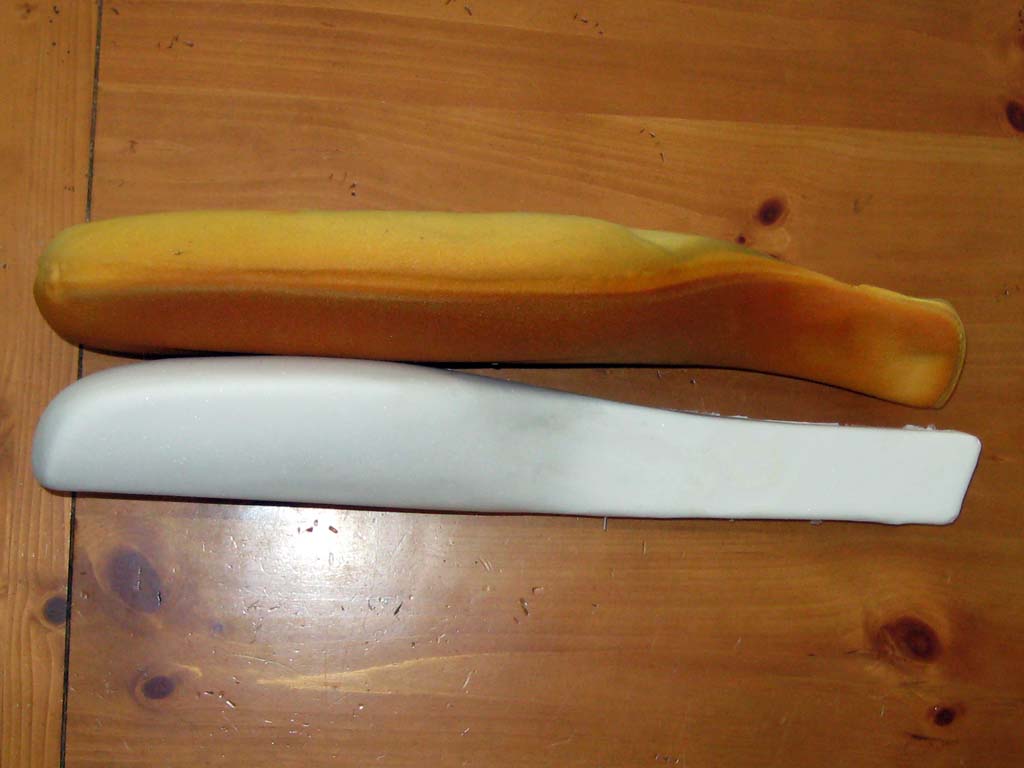
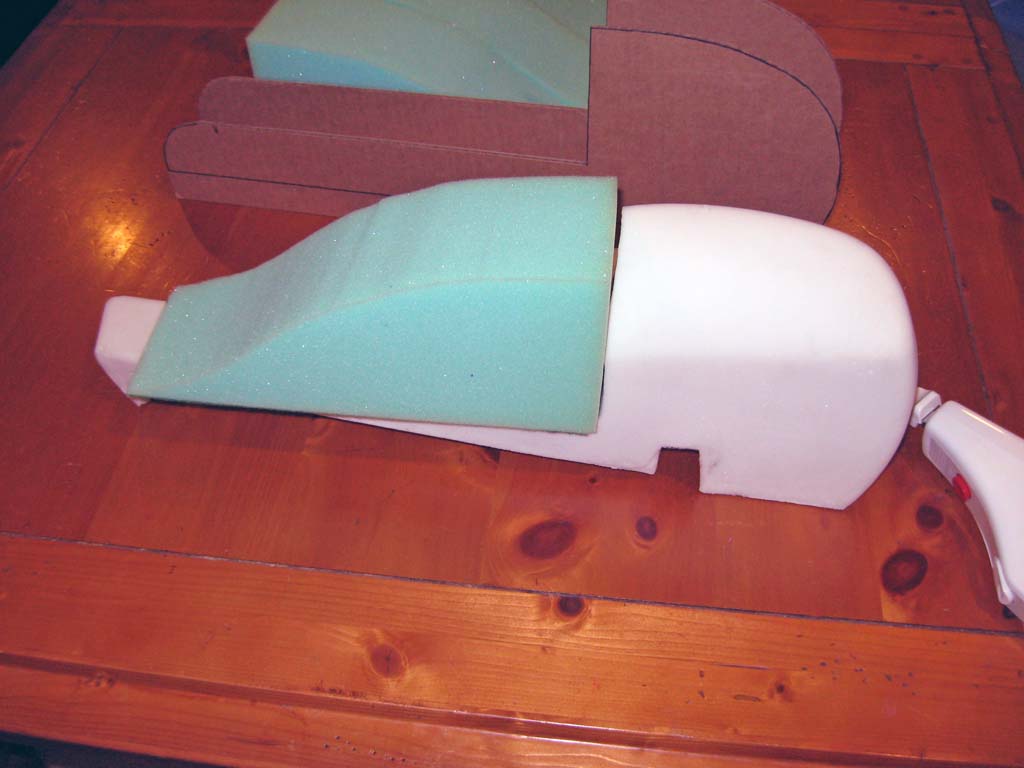
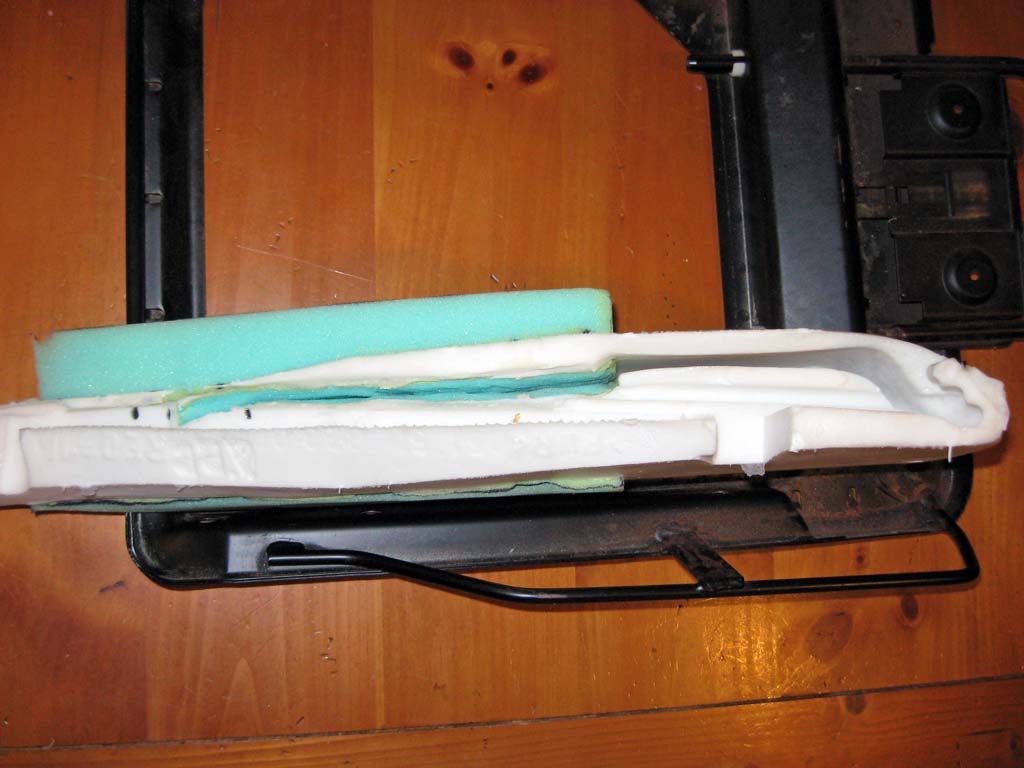
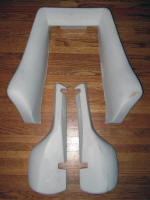
If you look at the pictures at the top of the page showing the new and old bolsters next to each other you will notice that the new bolster is not as rounded on the top as the original. I shaped the filler piece to conform to this more angular shape to allow me to glue an additional filler piece to round out the bolster top. This filler helped cover a major portion of the glue seam. For this work I used a spray adhesive that worked much better than contact cement. The entire bolster was than wrapped in 1/2 inch thick foam to further hide the glue seams and fill out the bolster.
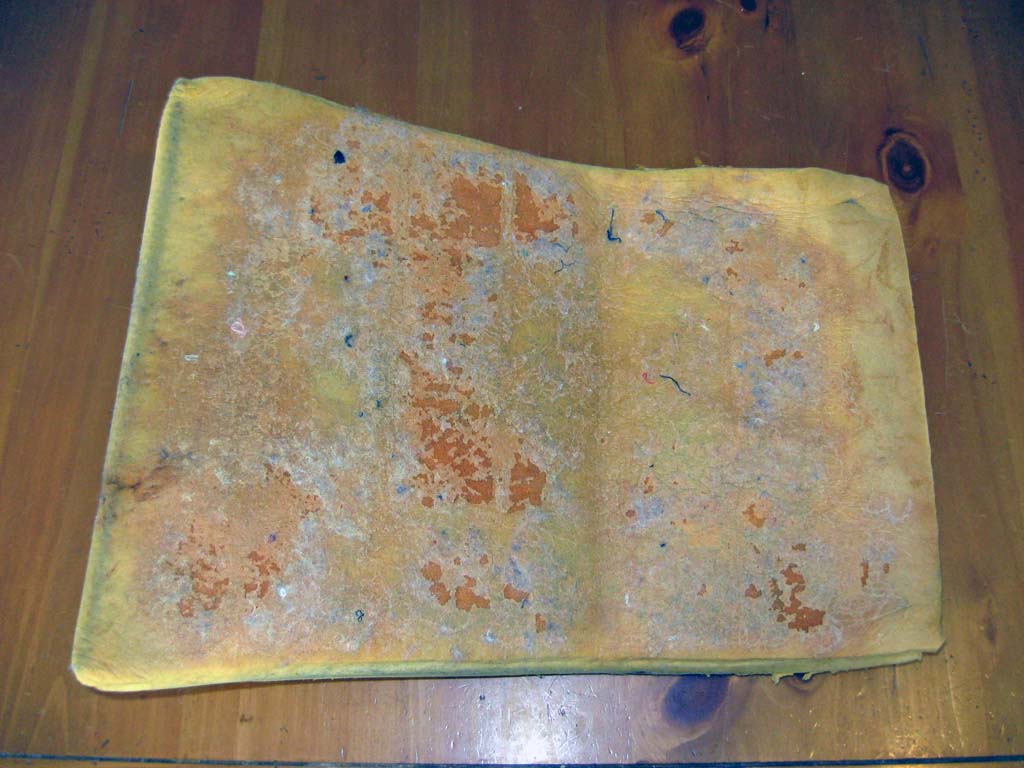
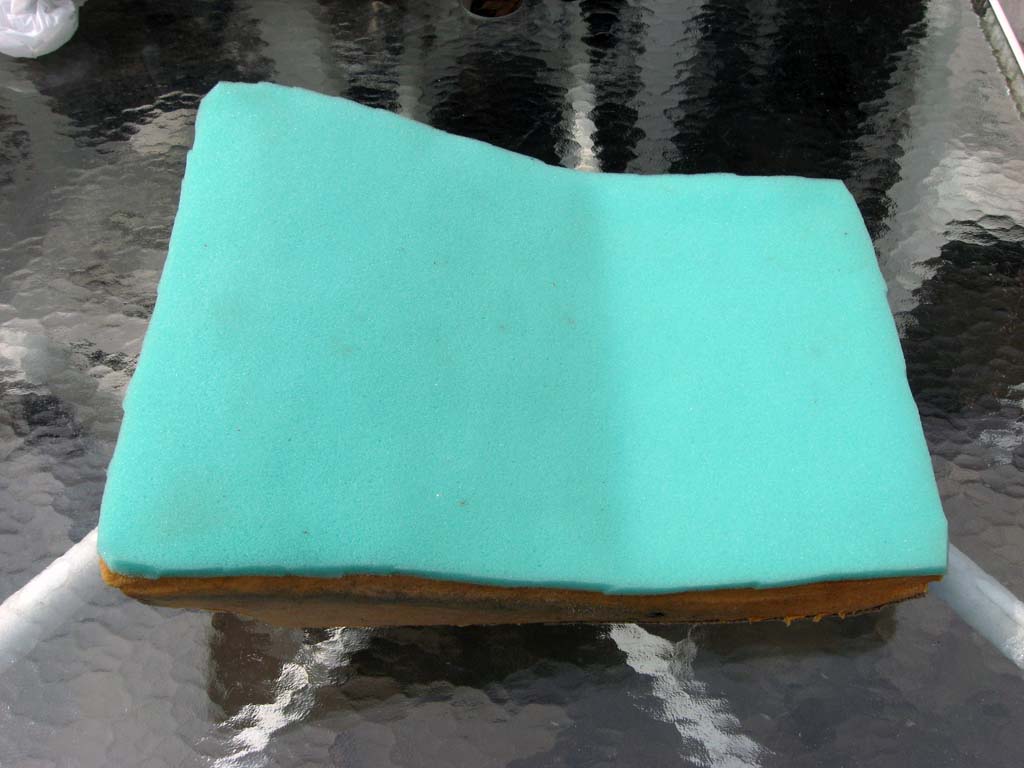
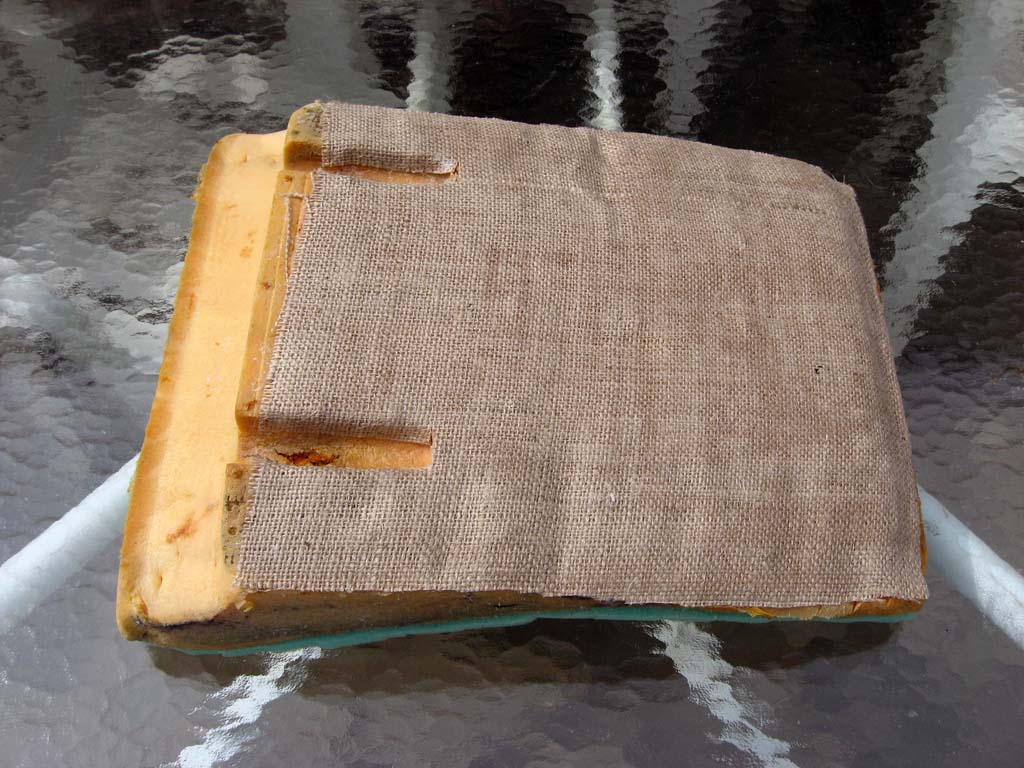
I test fit of one of the original covers went very well. The outer 1/2 inch foam wrapping is pretty much fully compressed by the cover and gives a nice smooth filled out feel that also hides the heavy glue seam. The foam for the center section of the seat was in pretty good shape. It was a little broken down on the bottom from the seat straps wearing on it and it was also a little compressed in the middle. I refurbished this piece by adding a half inch layer of new foam on the top and reinforcing the bottom with a piece of burlap.
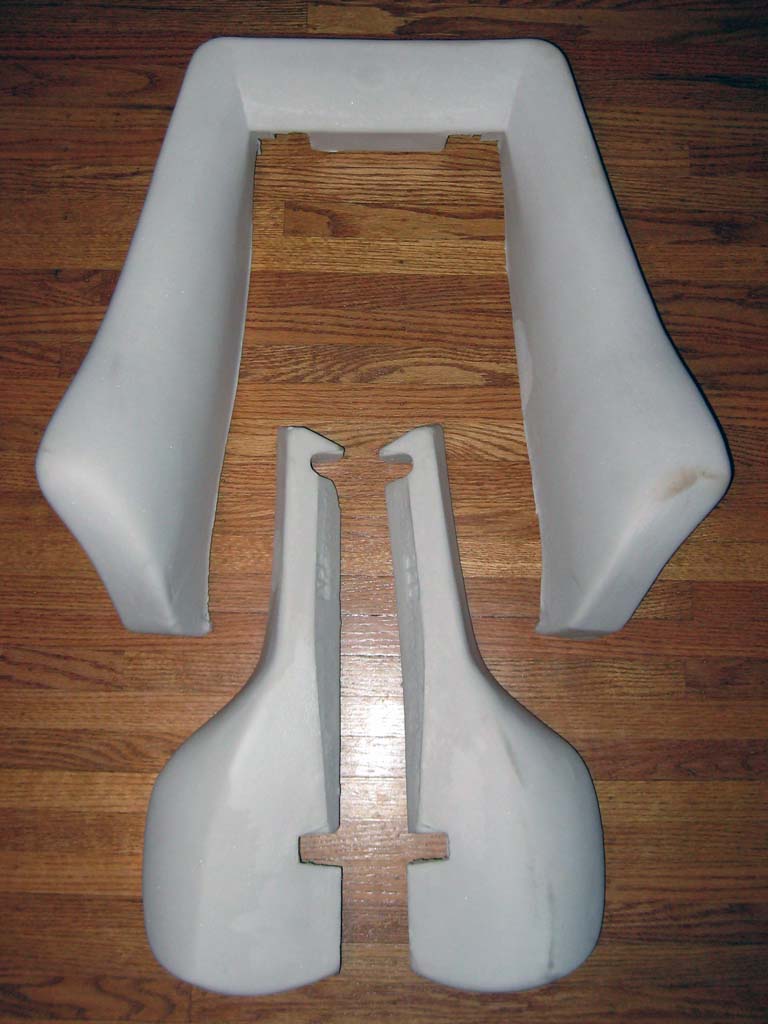
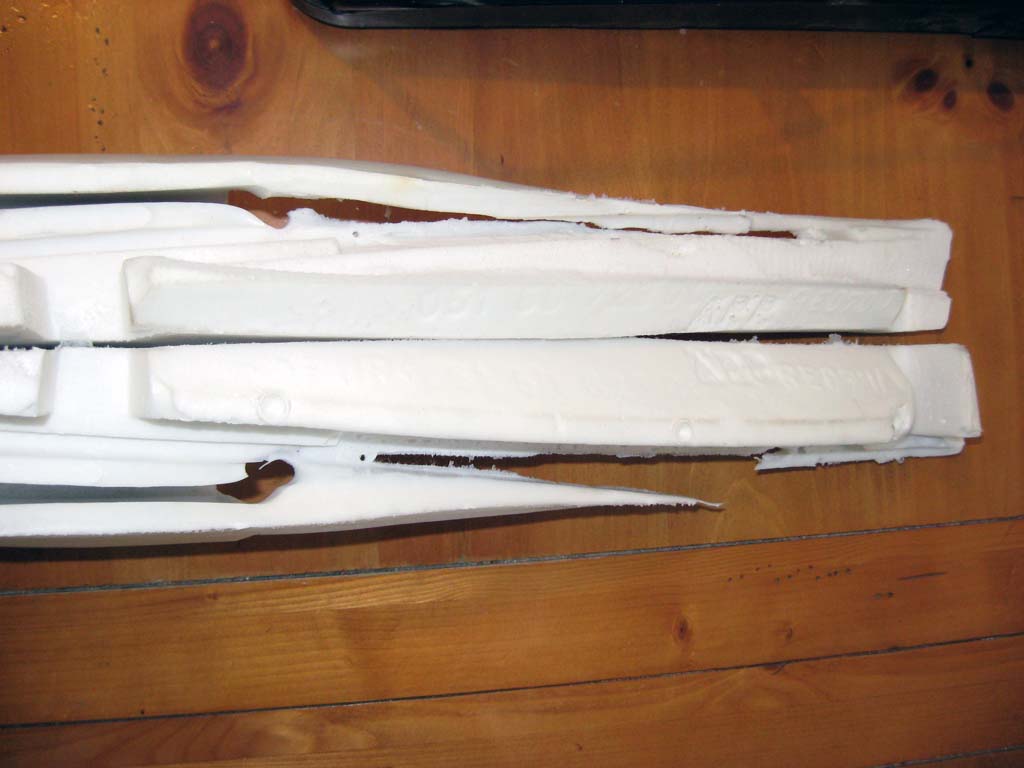
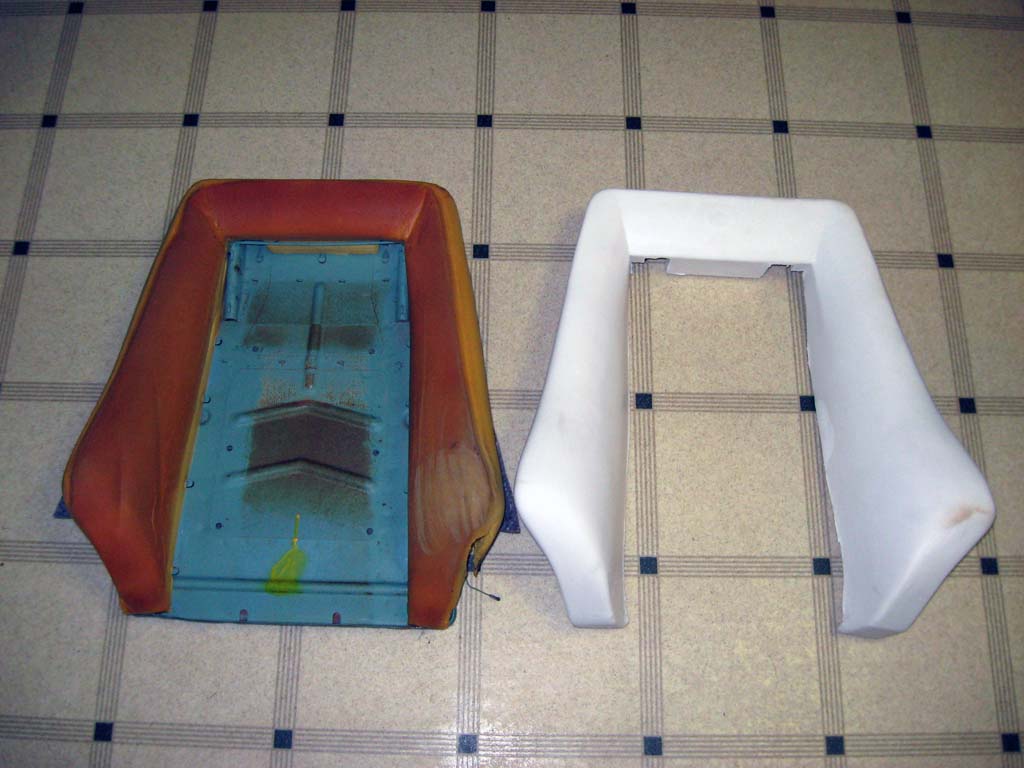
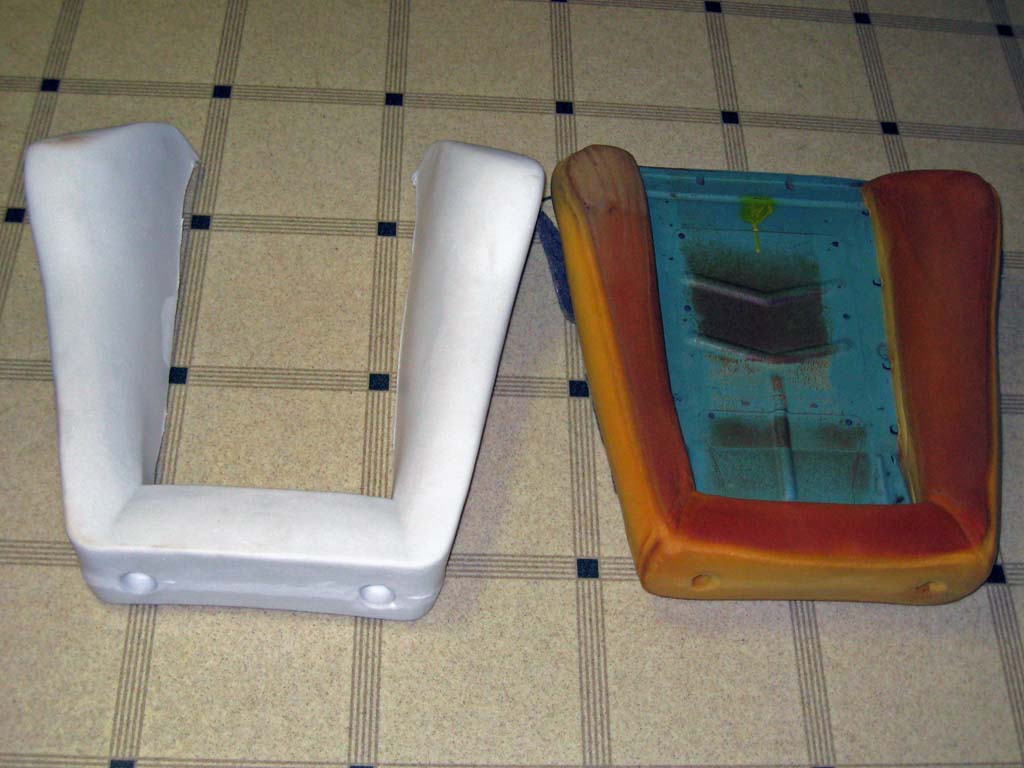
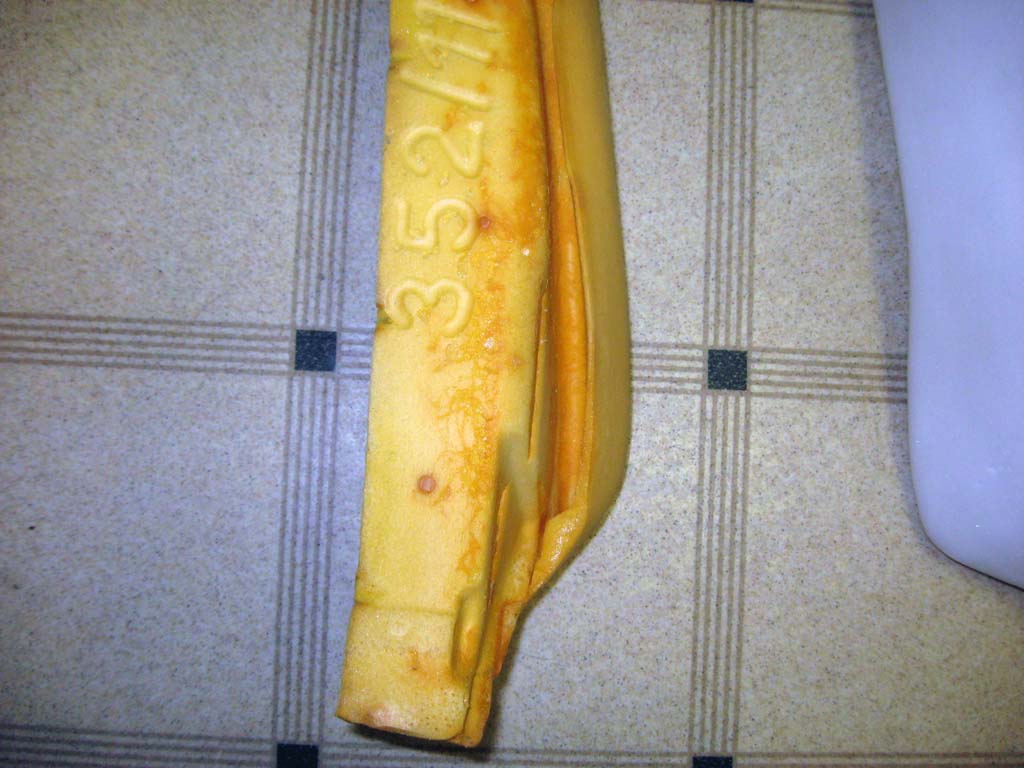
I thought the
backrest foam was a really close match to the original. You can
see from the pictures below that it looked really similar. I ran
into trouble though when I tried to install the new covers onto the seat
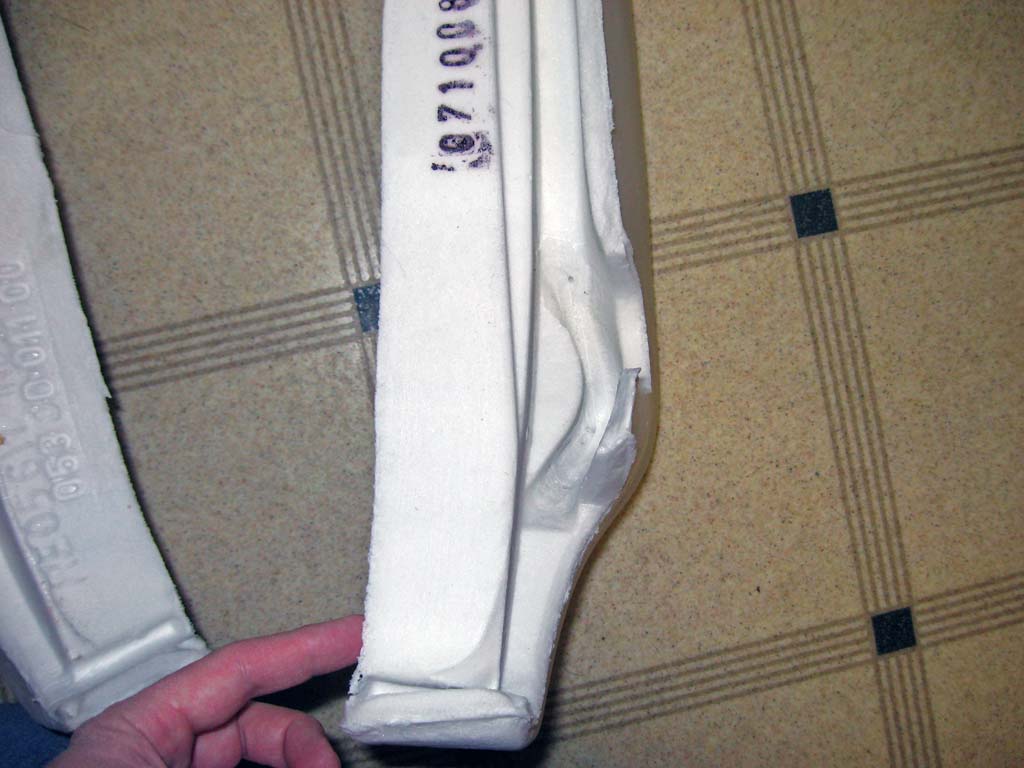
backs. It is not very obvious from these pictures but the new
bolsters are about 1 inch narrower than the original and also about 1
inch taller that the original.
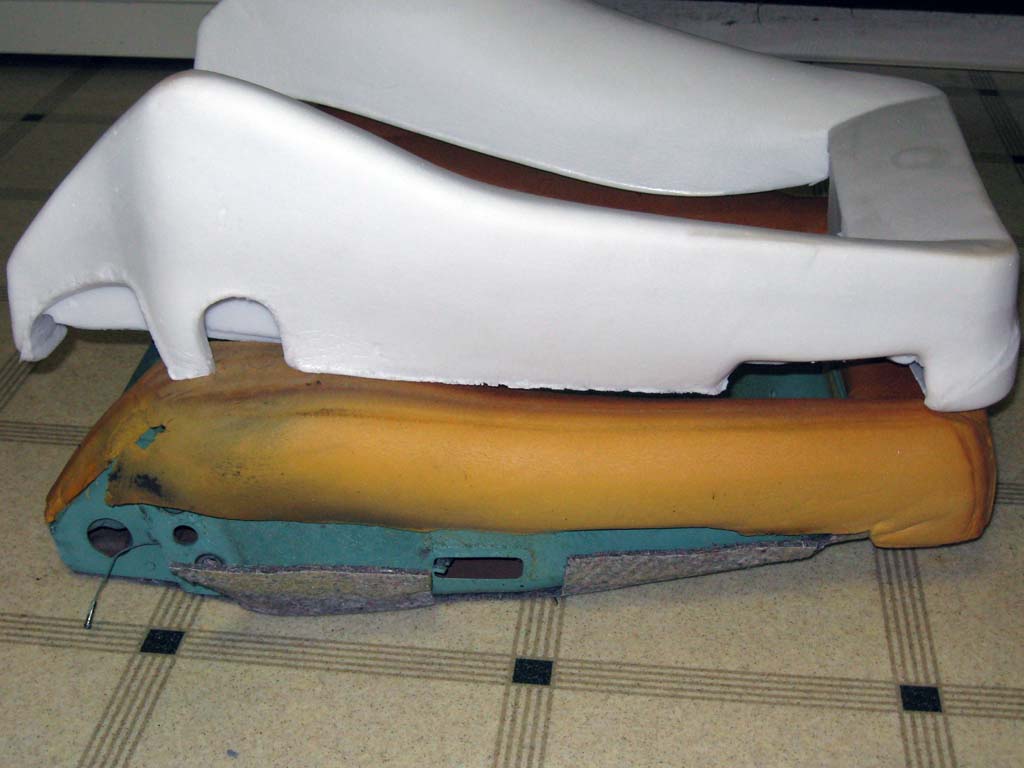
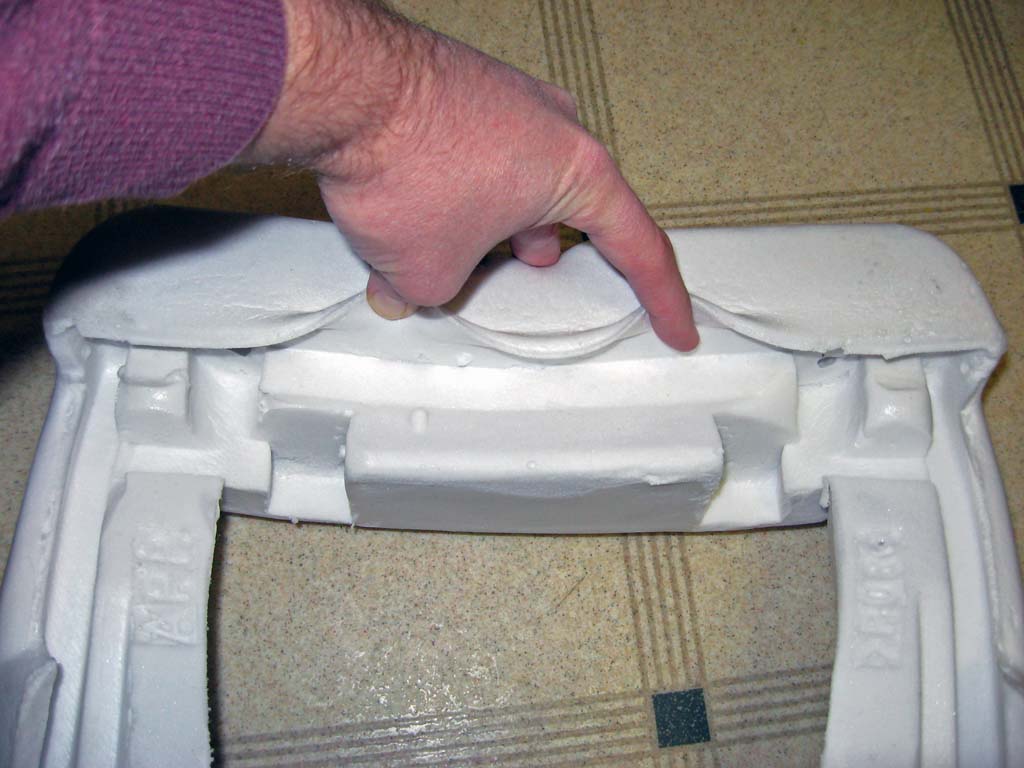
There are a few subtle changes that need to be made to get the new foam to fit the backrest frame. The slot in the lower sides needs to be trimmed a little and a slot needs to be added across the top of the foam.
I decided to not use these new back pieces. I repaired the outside bolster on the original with some glue, burlap, and some new foam. Ordering these back pieces was a pretty expensive mistake. Oh well, live and learn...
|
|||||||||||||||||||||||||||||||||||||||||||||||||||||||||||||||||||||||||||||||||||||||||||||||||||||||||||||||||||||||||||||||||||||||||||||||||||||||||||||||||||||||||||||||||||
This site was last updated 12/29/09