|
|
Oil System | |
|
|
Up
|
Oil Pump | Filter Housing | Oil Cooler | Crank Scraper The engine oil system for this build is a combination of M10, S14, and aftermarket parts. The cooling system on the M10 engine is a little marginal on hot summer days and I am concerned that the added displacement and horsepower from this engine will begin to overtax the cooling system. I could go with a larger aftermarket radiator but have instead decided to use an oil cooler. I just paid a lot of money a couple years ago to get my original radiator re-cored with a high efficiency core so I'm not eager to replace it right now. Parts Used
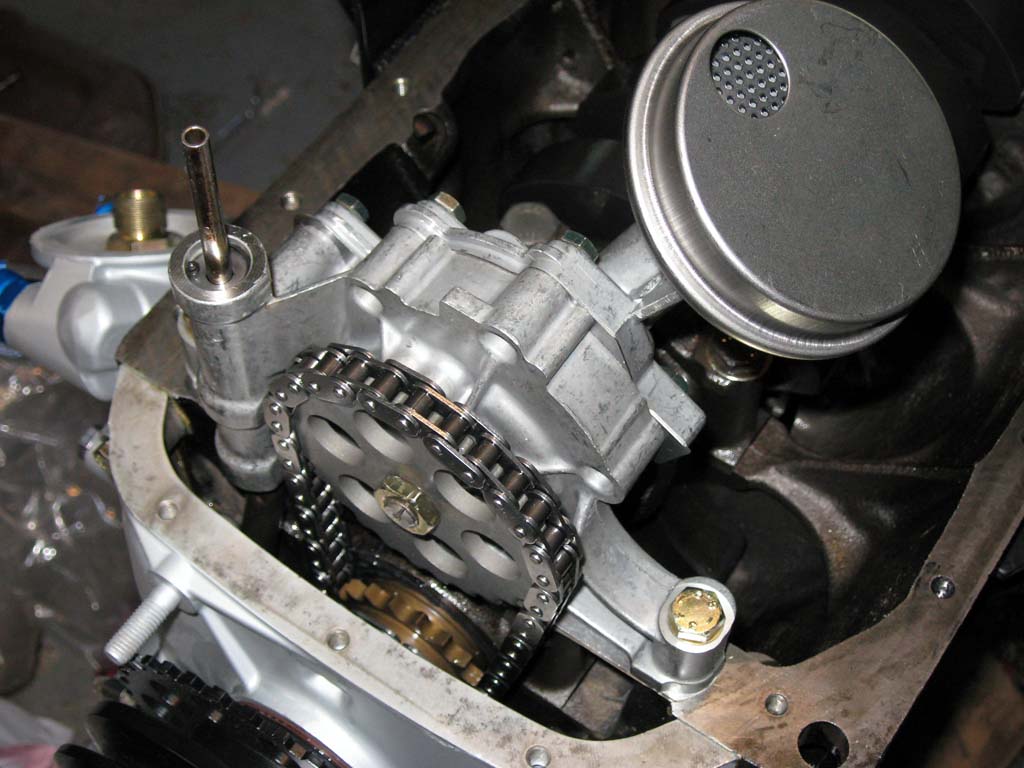
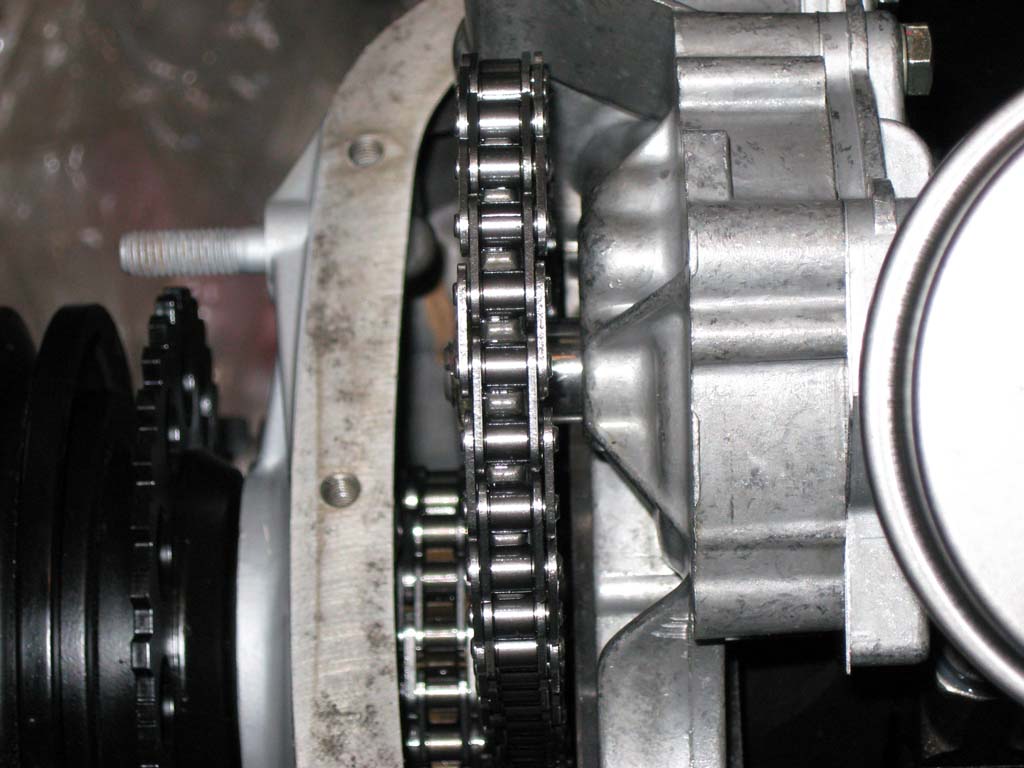
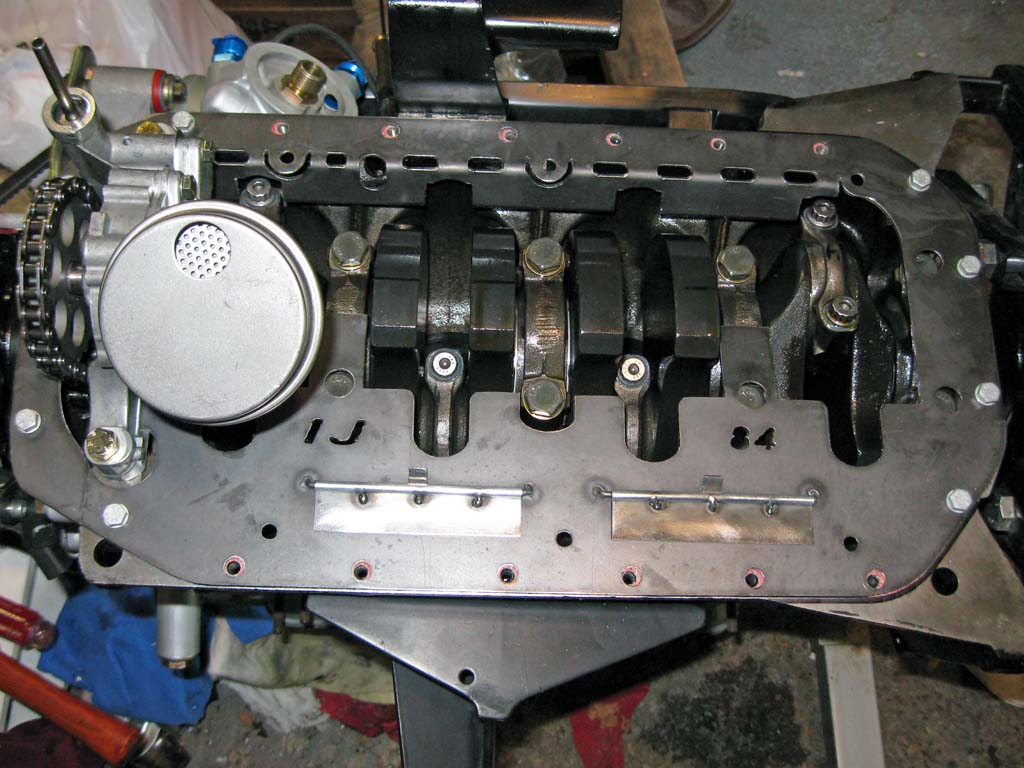
Due to the size difference in the S14 crankshaft's oil pump gear, the M10 oil pump chain will not fit. You need to use the S14 oil pump chain and oil pump gear fitted to the M10 oil pump. It appears that the part number for the S14 and the E21 M10 oil pumps are the same but I have not confirmed this. The S14 oil pump chain and gear are the same width and pitch as a single row M10 timing chain. The S14 gear fits on the M10 pump without any difficulty. Due to the thicker gear, the spacer washer that is used with the M10 oil pump gear is not required. It took several tries with different oil pump shims to get the chain tension correct.
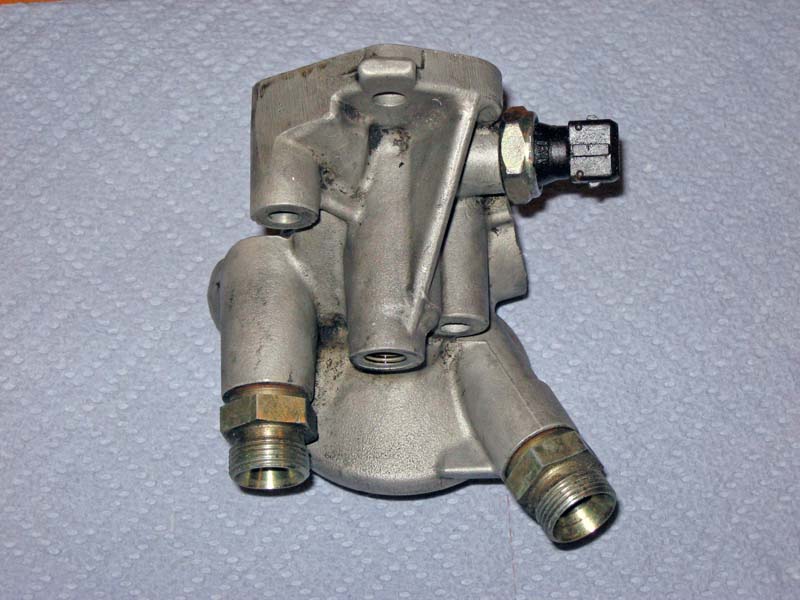
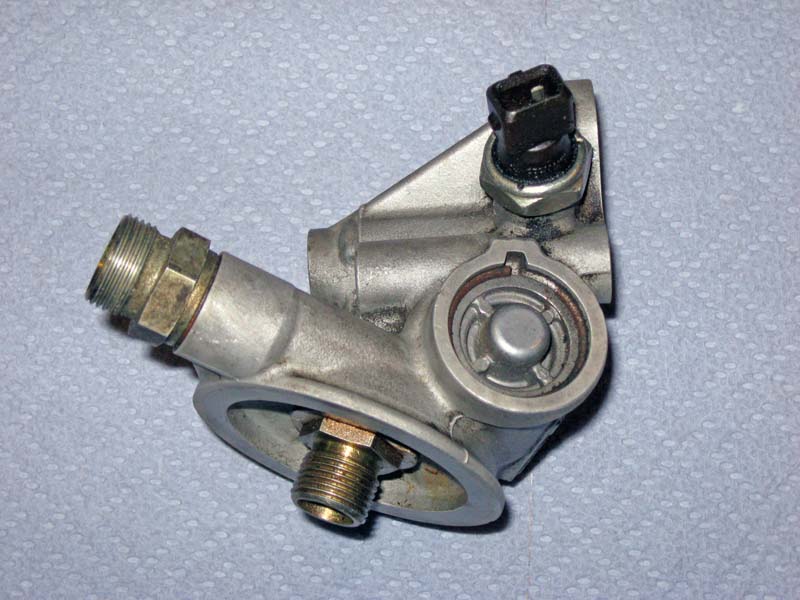
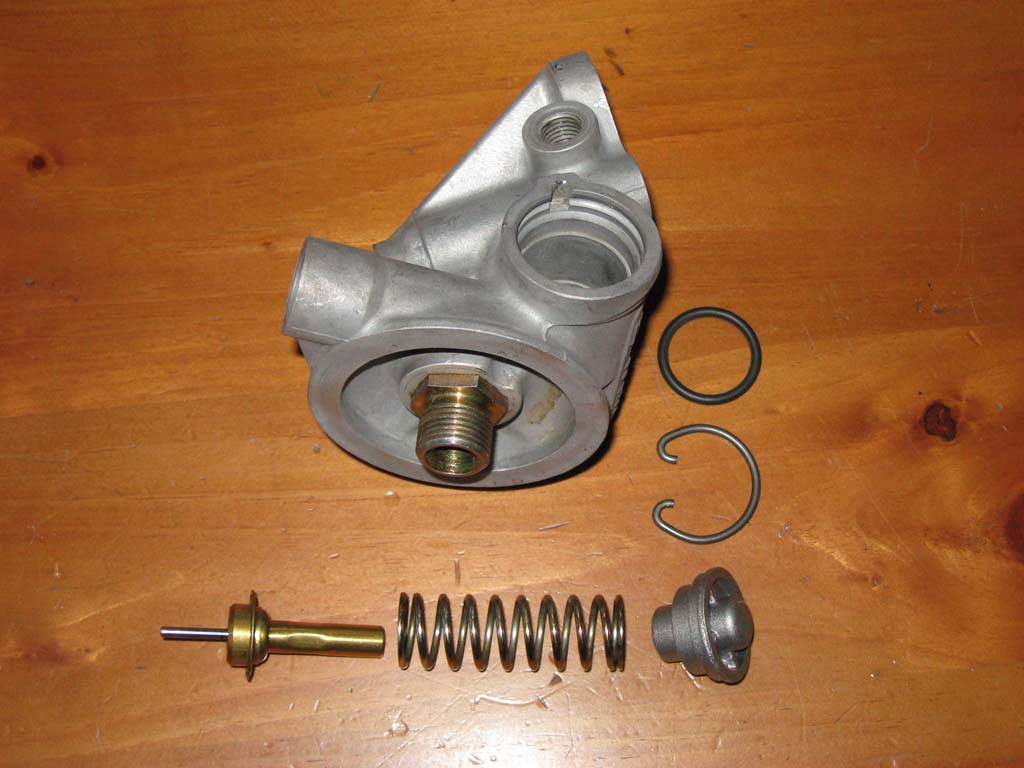
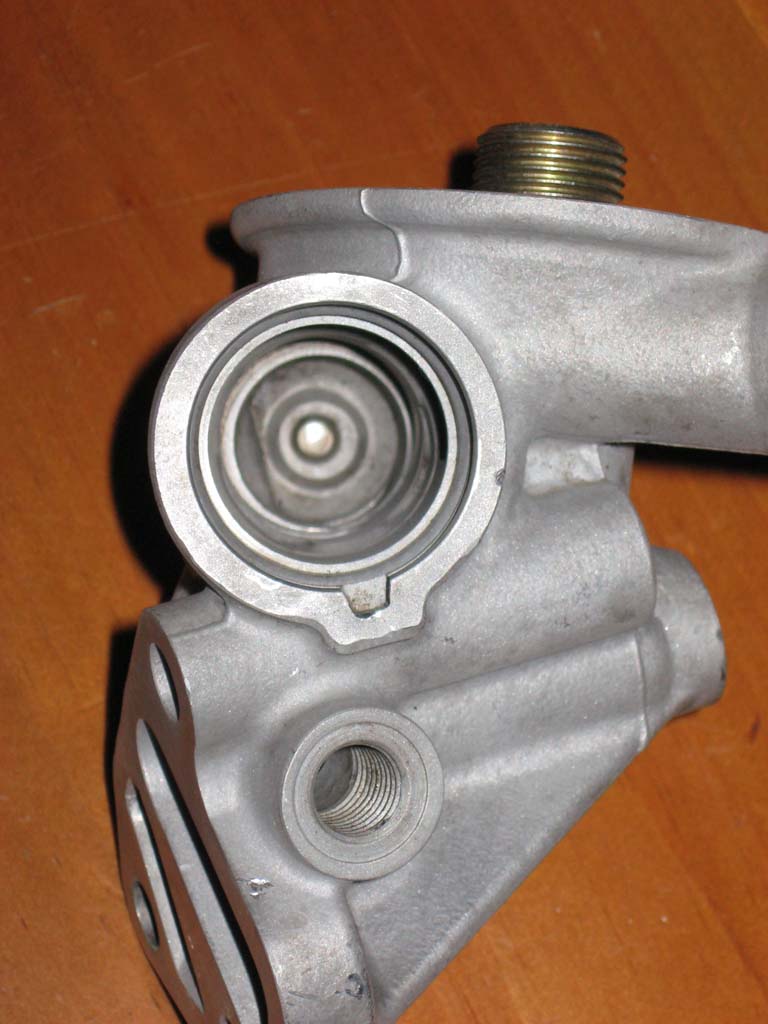
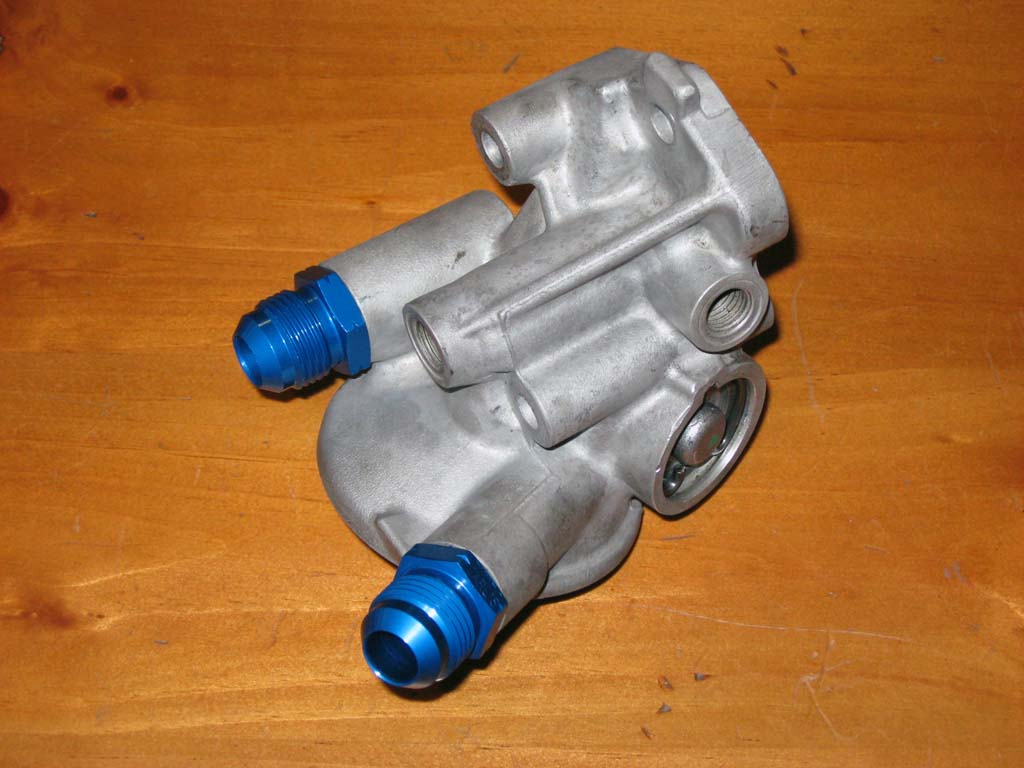
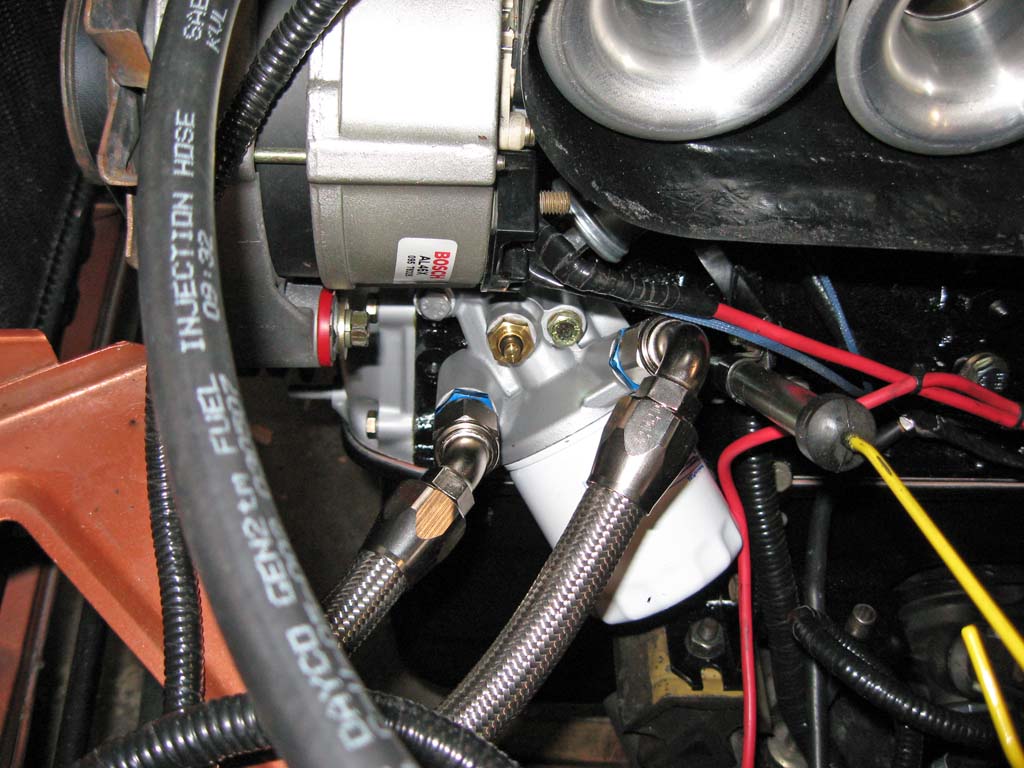
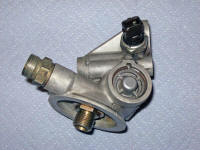
Oil Filter Housing / Thermostat I'm using an S14 oil filter housing on my engine to provide the required ports for the oil cooler lines. The S14 housing has the oil cooler lines, oil thermostat, and oil pressure and temperature sender ports. I think this is the simplest, cleanest way to add an oil cooler to the M10 engine.
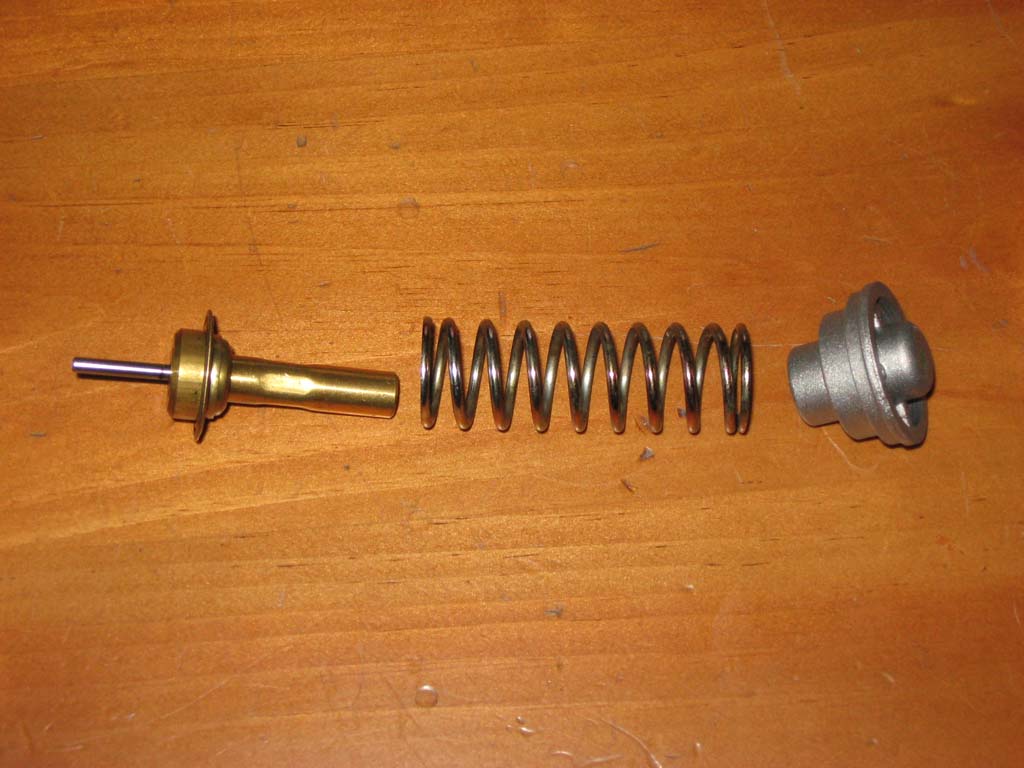
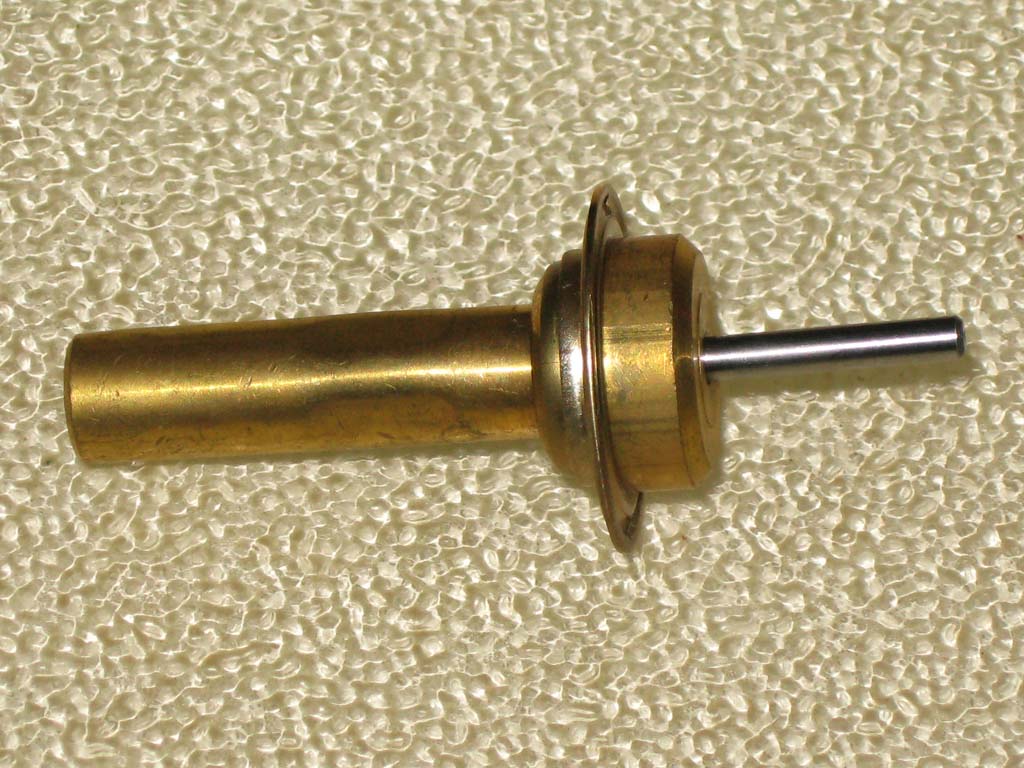
Before installing the oil filter housing I disassembled it to clean and inspect the oil thermostat. Bavarian Autosport sells a kit to replace the cap, circlip, and o-ring on the thermostat. I tested the thermostat in some boiling water to verify that it worked correctly.
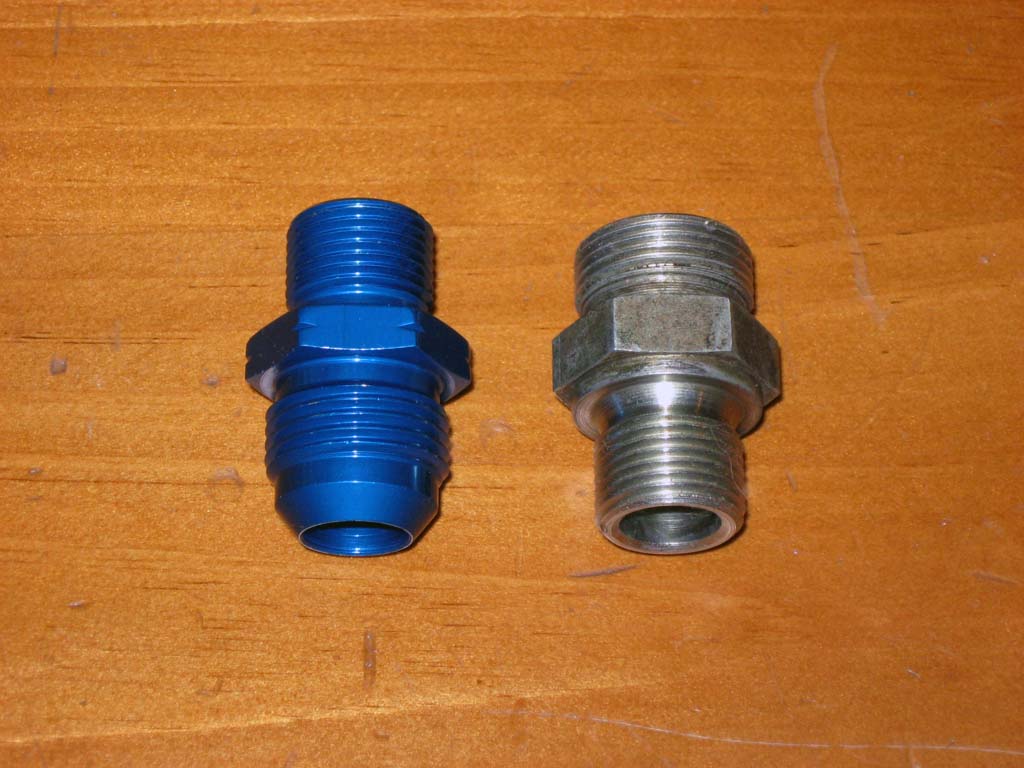
After inspecting all the components the thermostat was re-assembled using a new seal kit and a little clean engine oil. Compressing the return spring and installing the circlip takes some effort. The S14 oil filter housing uses M18 x 1.5 hose fittings for the oil lines that are not easily obtained. I purchased a pair of adapters to convert to standard -10AN fittings.
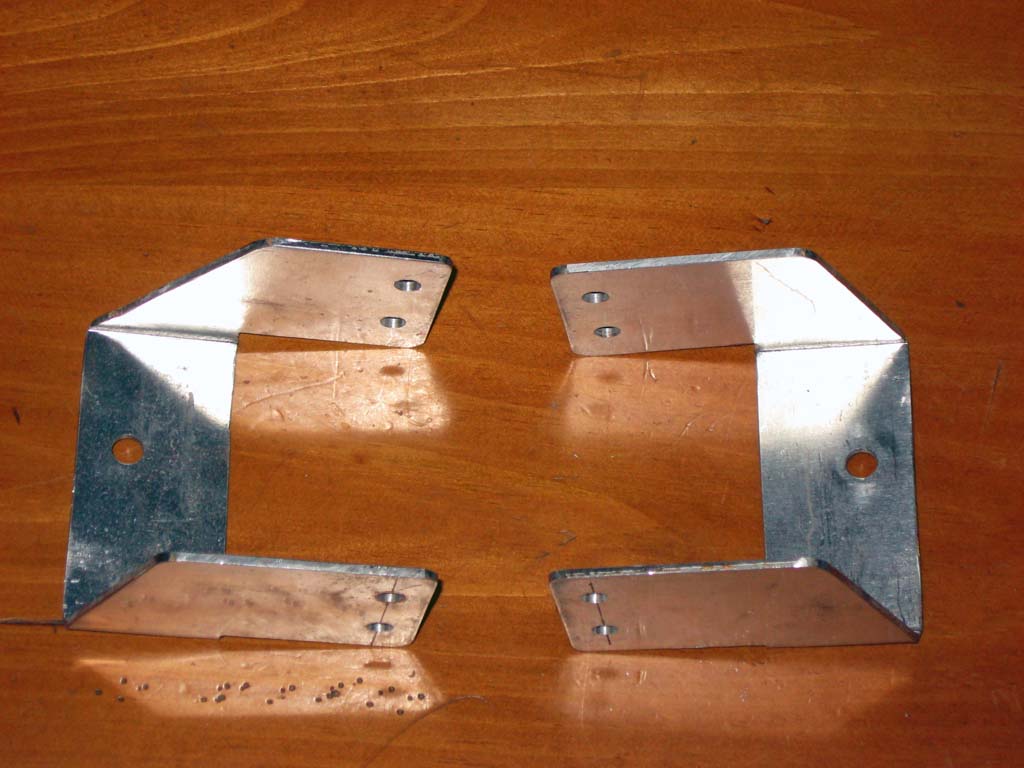
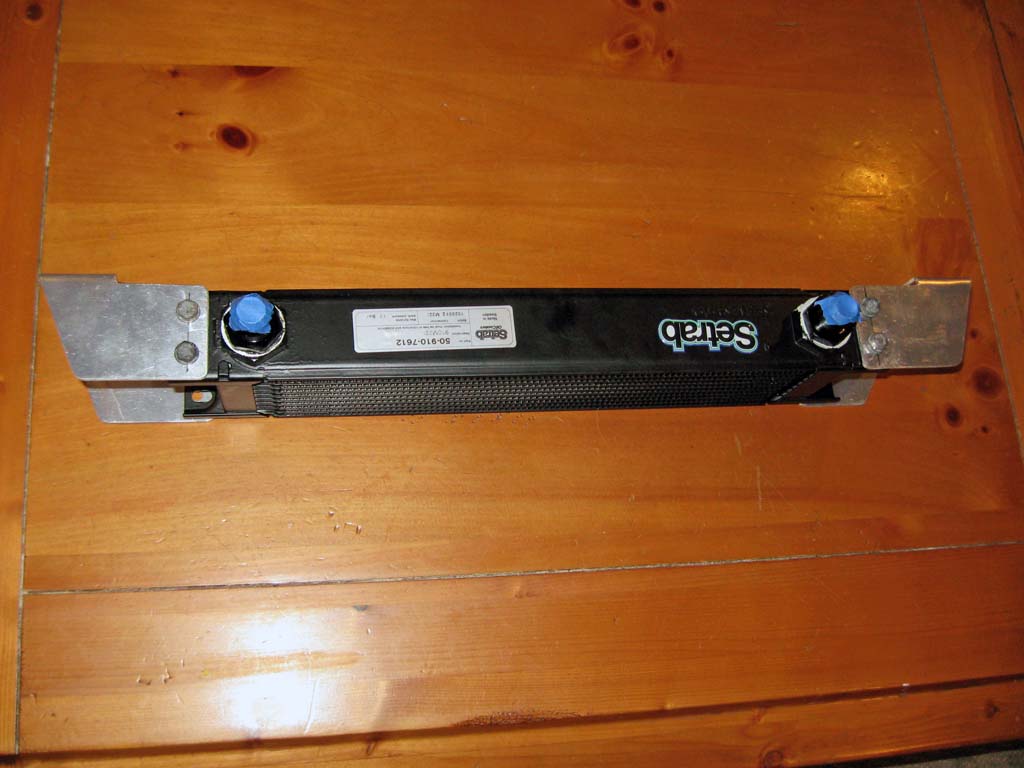
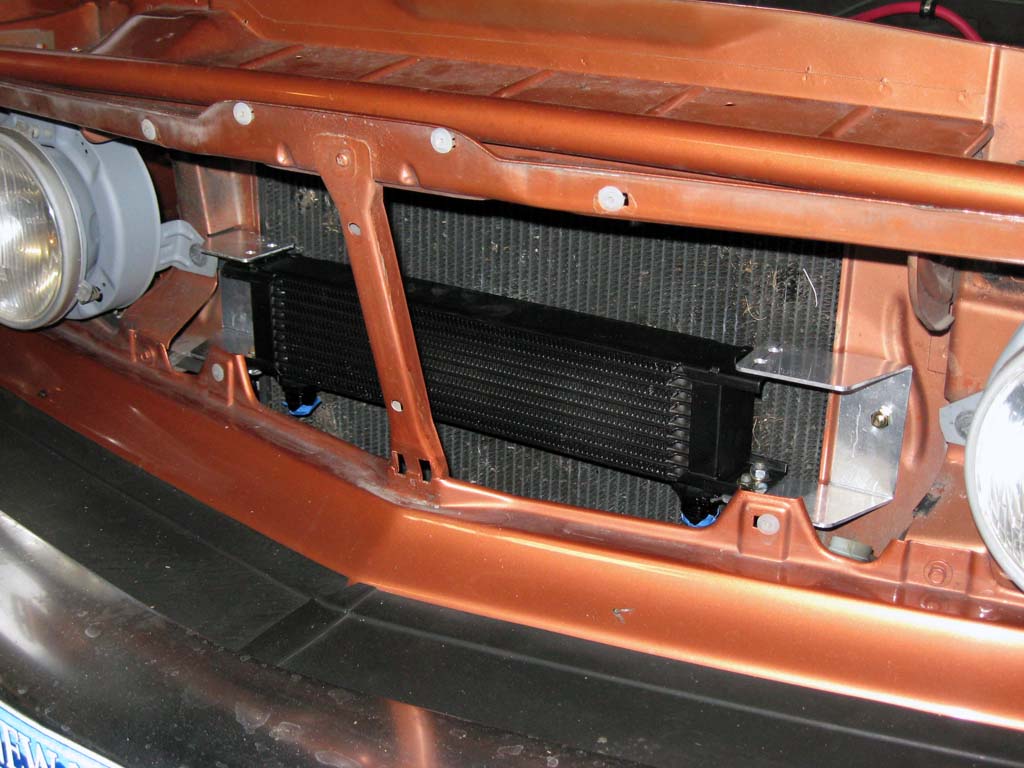
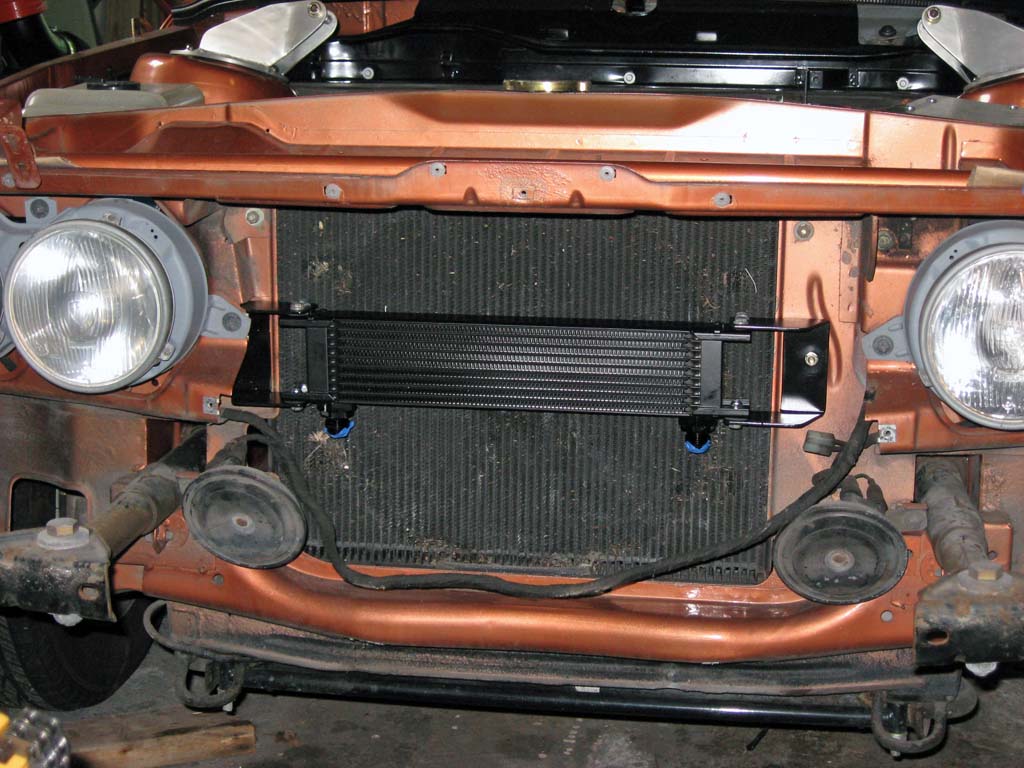
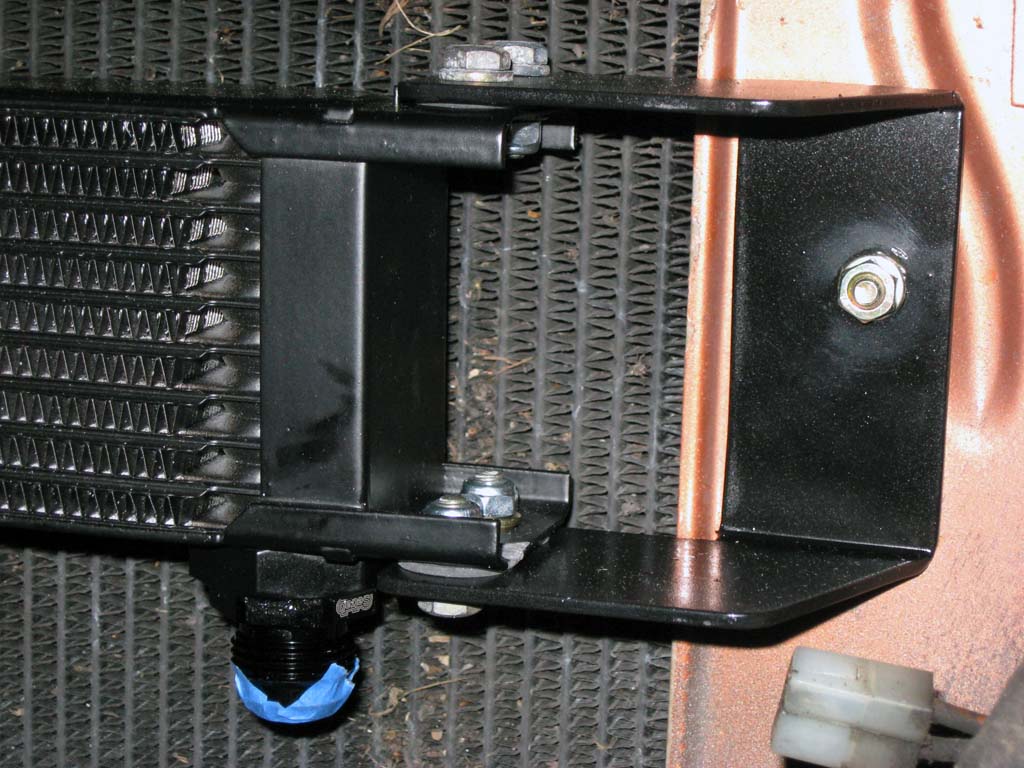
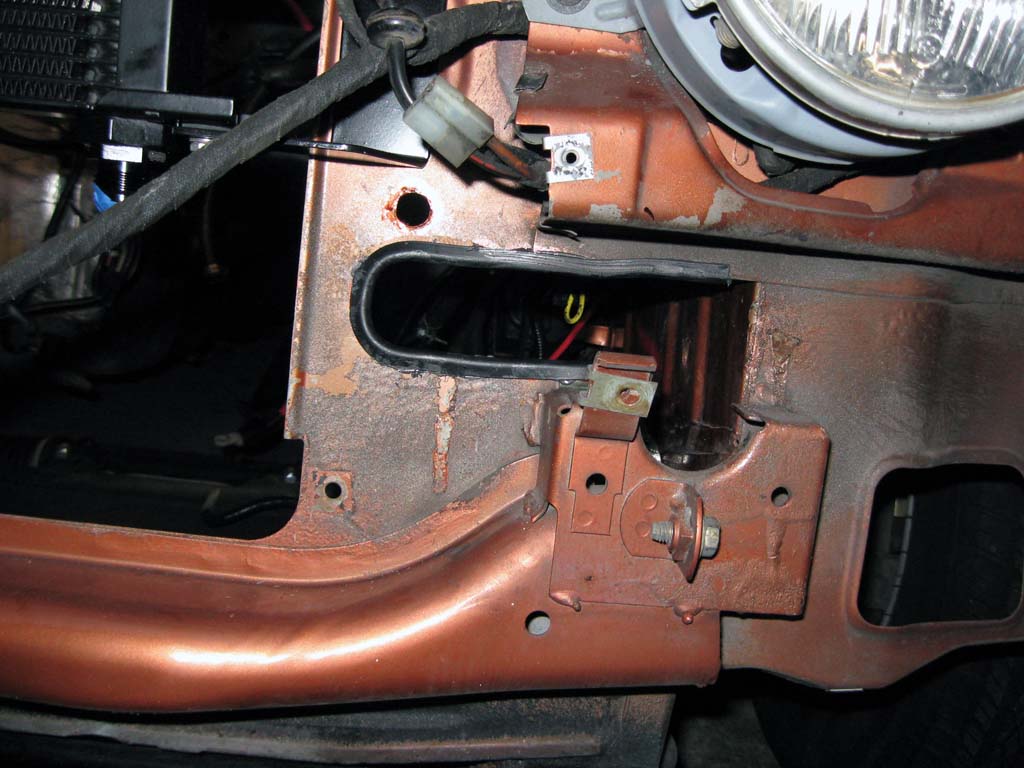
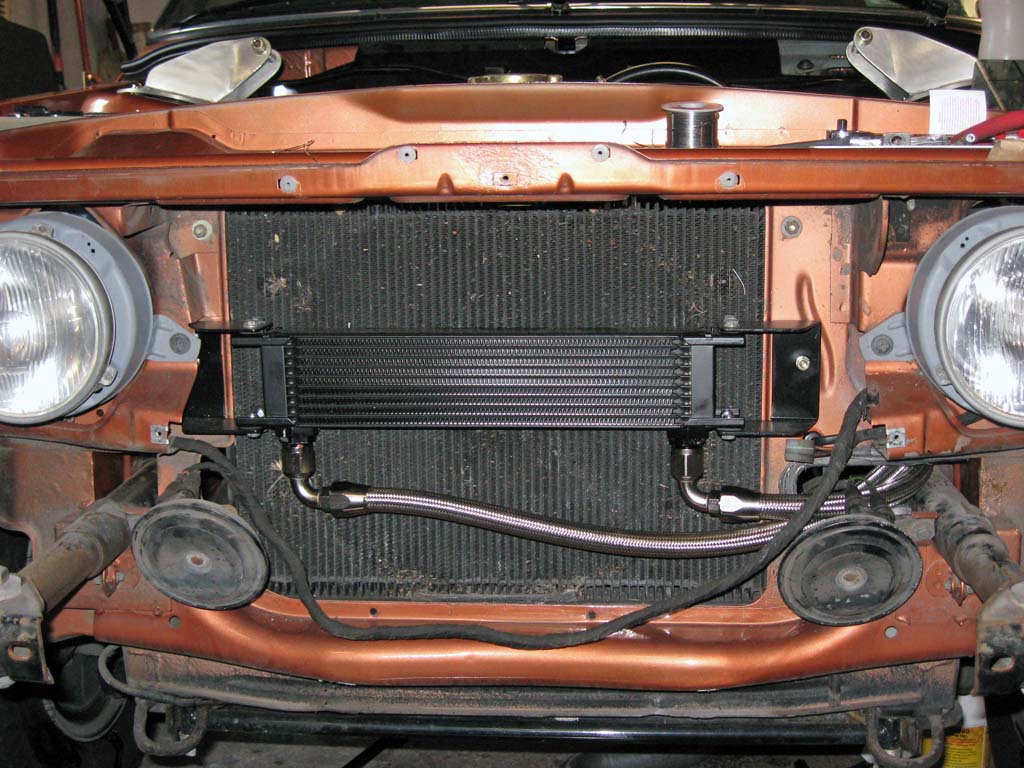
I have fabricated some brackets to mount the cooler out of some 0.10 inch thick aluminum. The cooler will mount in front of the radiator using a couple of holes that were originally used for mounting the A/C condenser and fan assembly.
Now I need to figure out the specifics of routing the -10AN oil lines to the cooler. The hose requires a 4 inch bend radius. This will be a tight fit for the connection to the cooler on the driver's side. To get better access to where the hoses will need to go, I removed the front bumper and fascia. It looks dramatic but really only takes about 10 minutes to do. The bumper is held on with 4 13mm nuts and the fascia is attached with about 10 screws. I painted up the brackets and the cooler is now installed. It looks like I will have room for the hoses to pass through the front sheet metal along side the driver's side bumper shock.
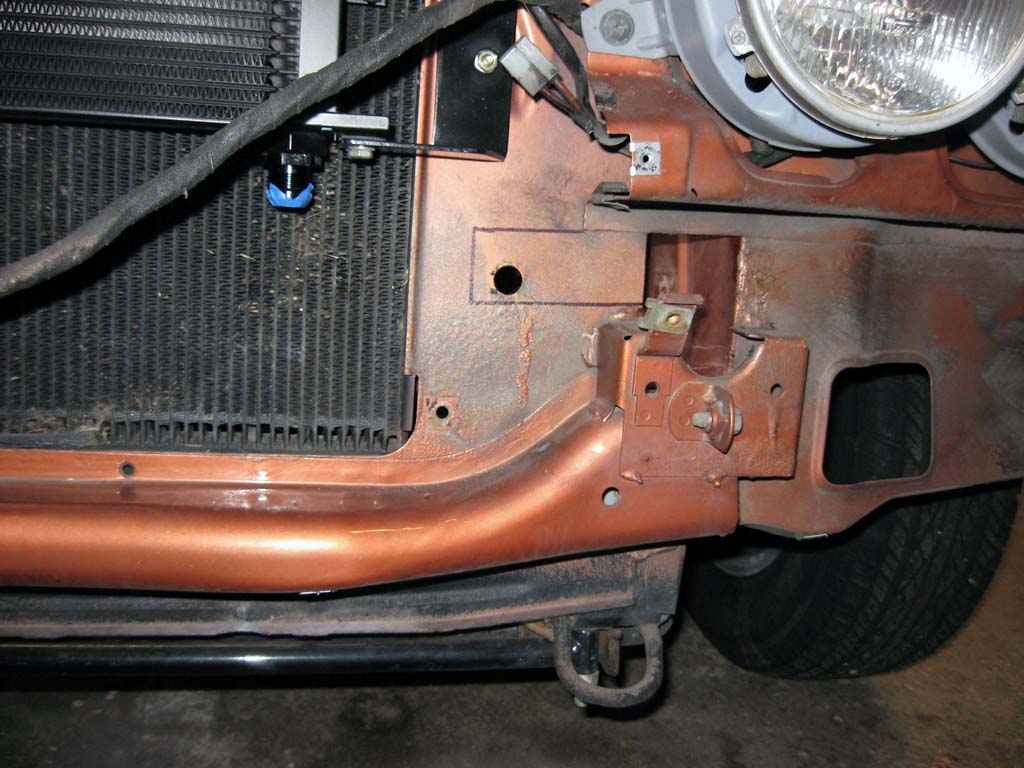
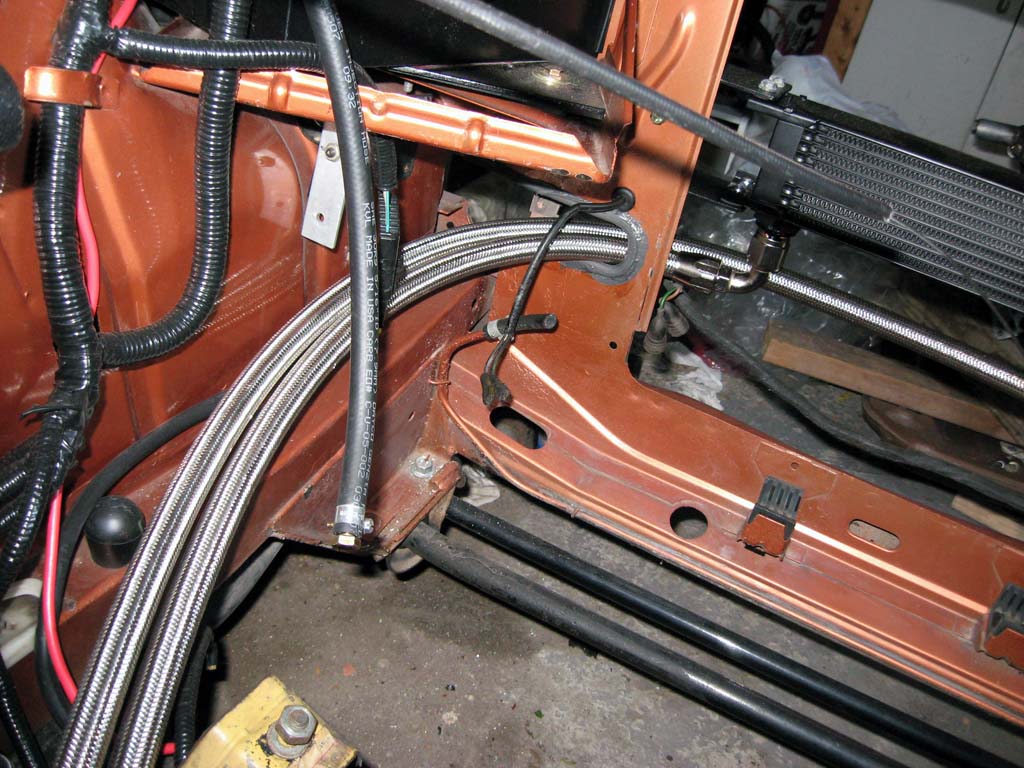
The -10AN oil hoses are routed through a cut out I made along side the driver's side bumper shock. The slot is approximately 1 3/4 inches tall and 4 inches wide. I lined the cut out with some rubber edging material I had on hand. I re-drilled the hole for the grommet that was removed when the cut out was added.
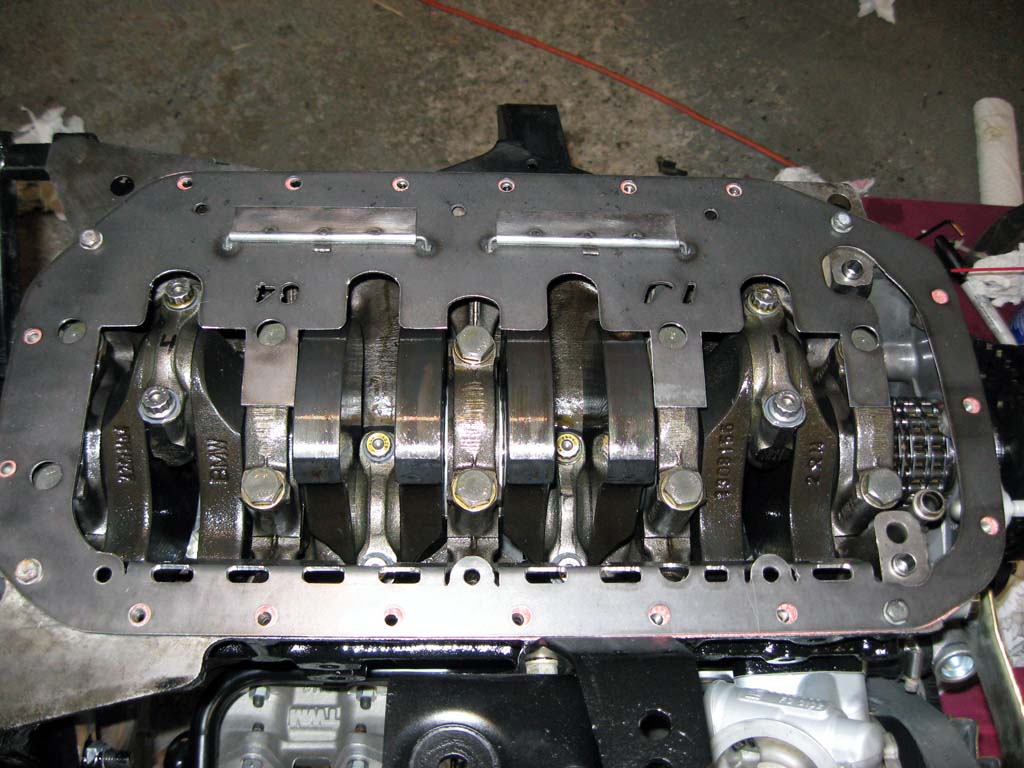
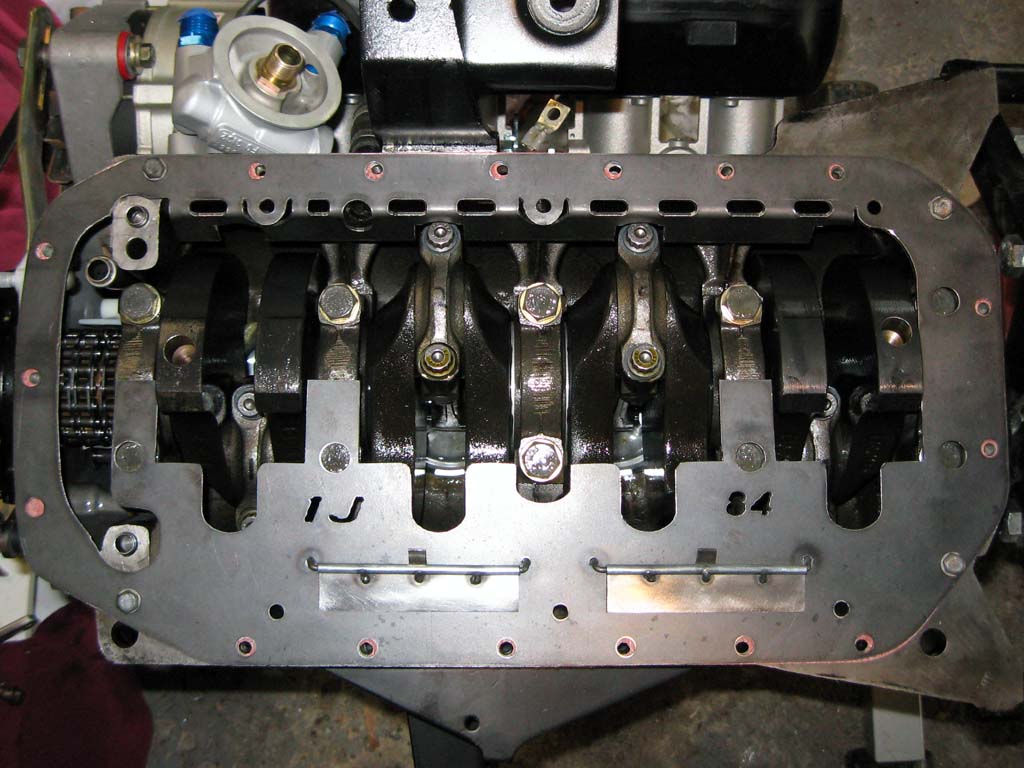
Late into the engine build I decided to add a crank scraper from Ishihara-Johnson. This is a dual scraper with trap doors for one way oil flow back into the pan from the upper portion of the block.
|
||||||||||||||||||||||||||||||||||||||||||||||||||||||||||||||||||||||||||||||||||||||||||||||||||||||||||||||||||||||||||||||||||||||||
This site was last updated 12/29/09