|
|
Final Assembly | |
|
|
Up
|
This page contains the details about the final engine assembly steps.
All details about the block and bottom end are contained in the separate
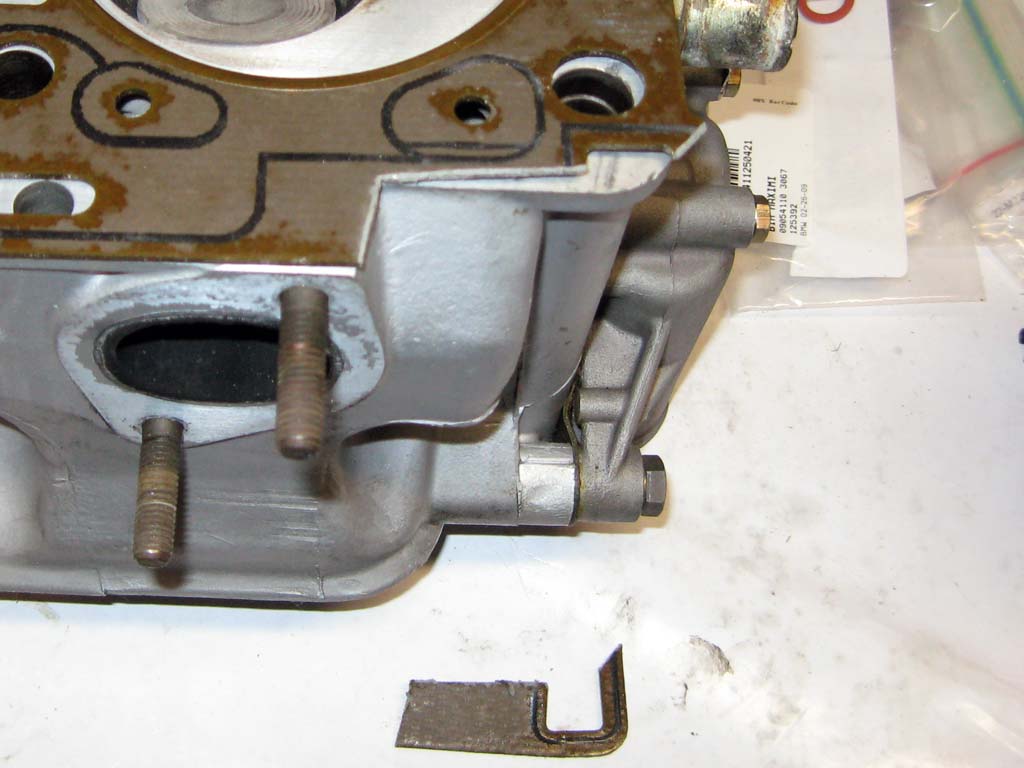
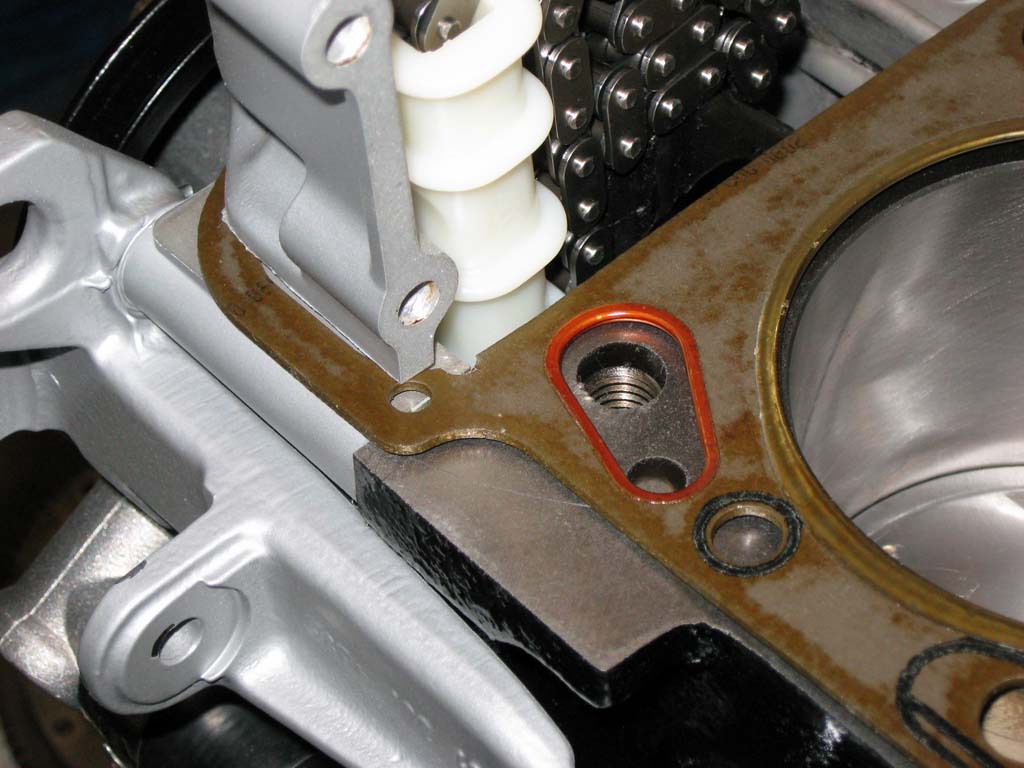
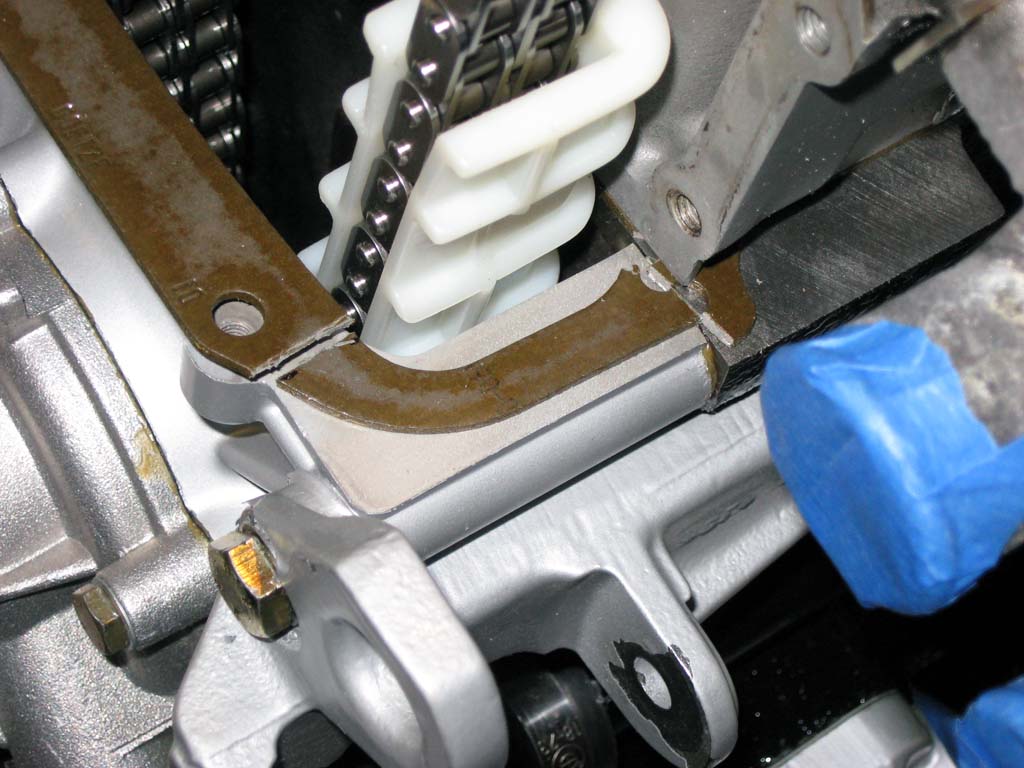
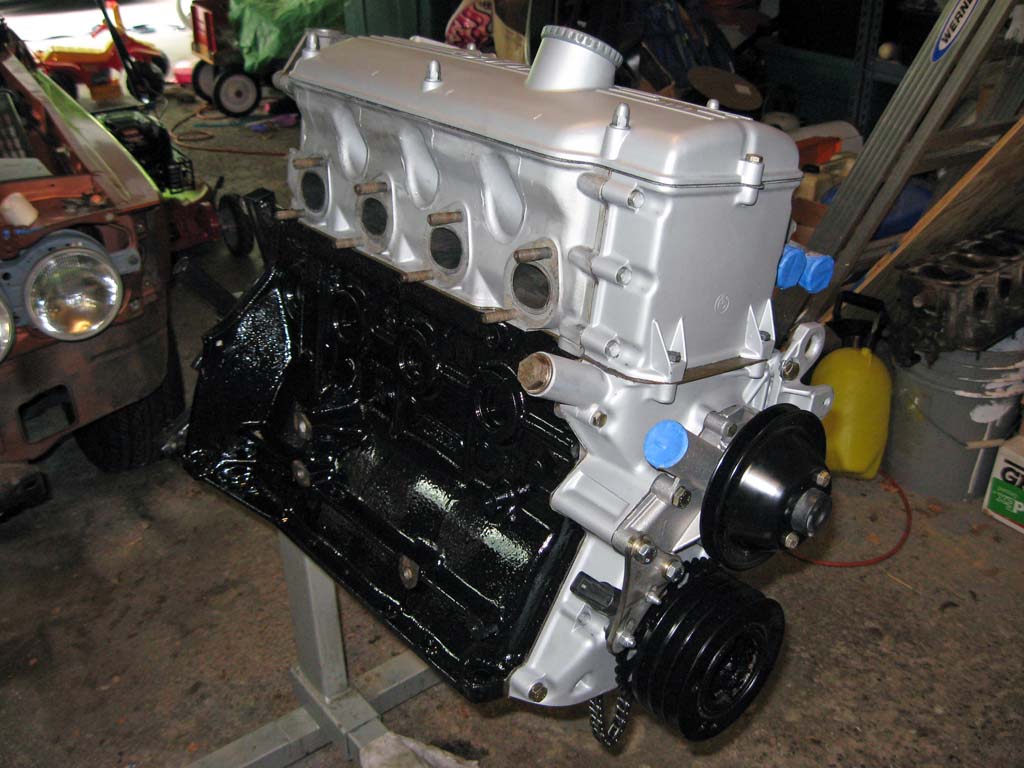
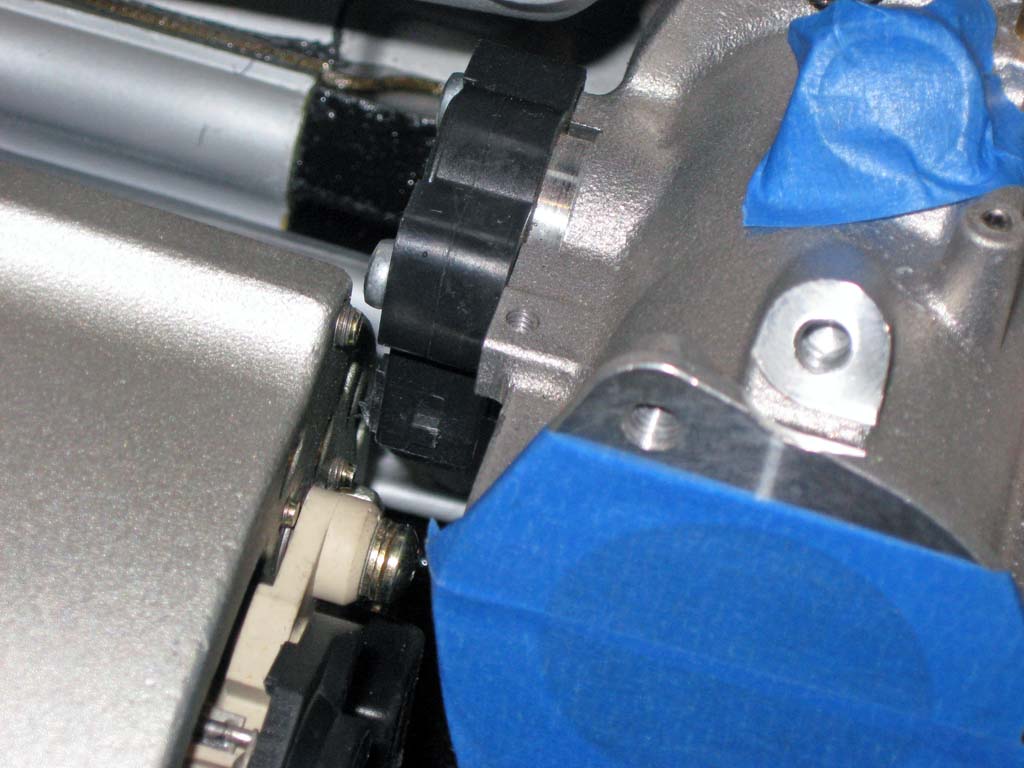
bottom end page. Cylinder Head The cylinder head is a Metric Mechanic Sport Head that I purchased a year ago. The head was wiped down but no work was done to it for this project. I used an OEM S14 head gasket. I was thinking about using a Cometic MLS gasket but decided it would be overkill for this build. The S14 gasket works fine and this motor will not have the output of an S14 anyways. The S14 gasket needs to be trimmed to fit the M10 timing cover. There is also a piece that extends beyond the M10 head in the rear corner that I also trimmed.
Upper timing cover and valve cover were installed.
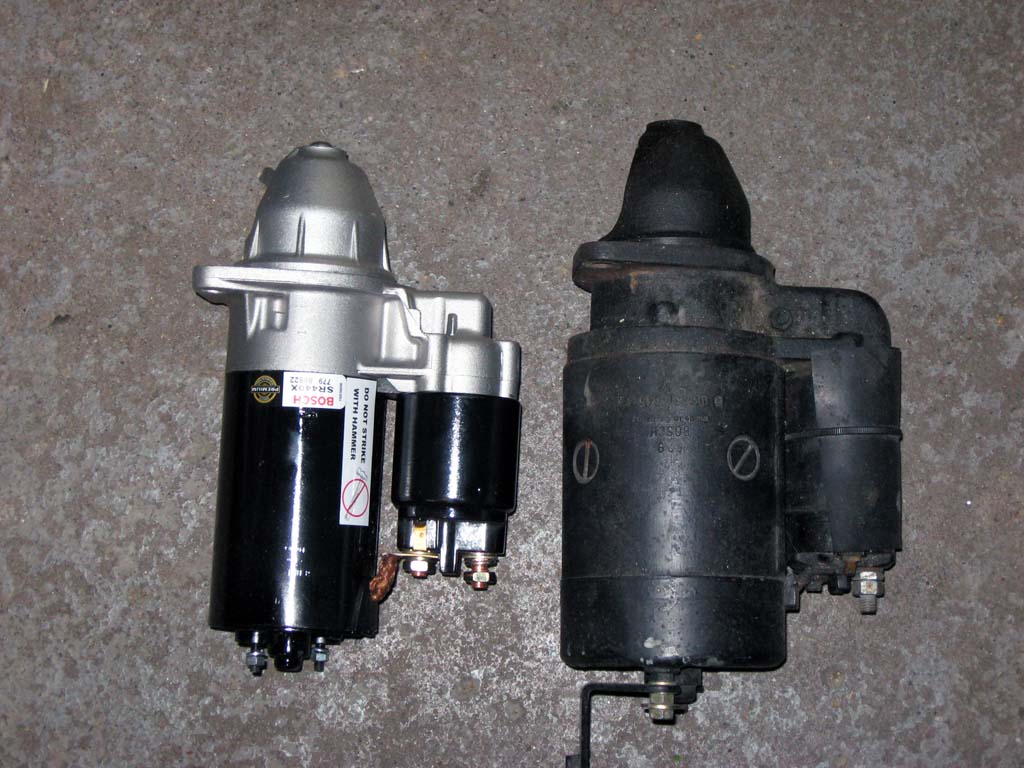
Starter
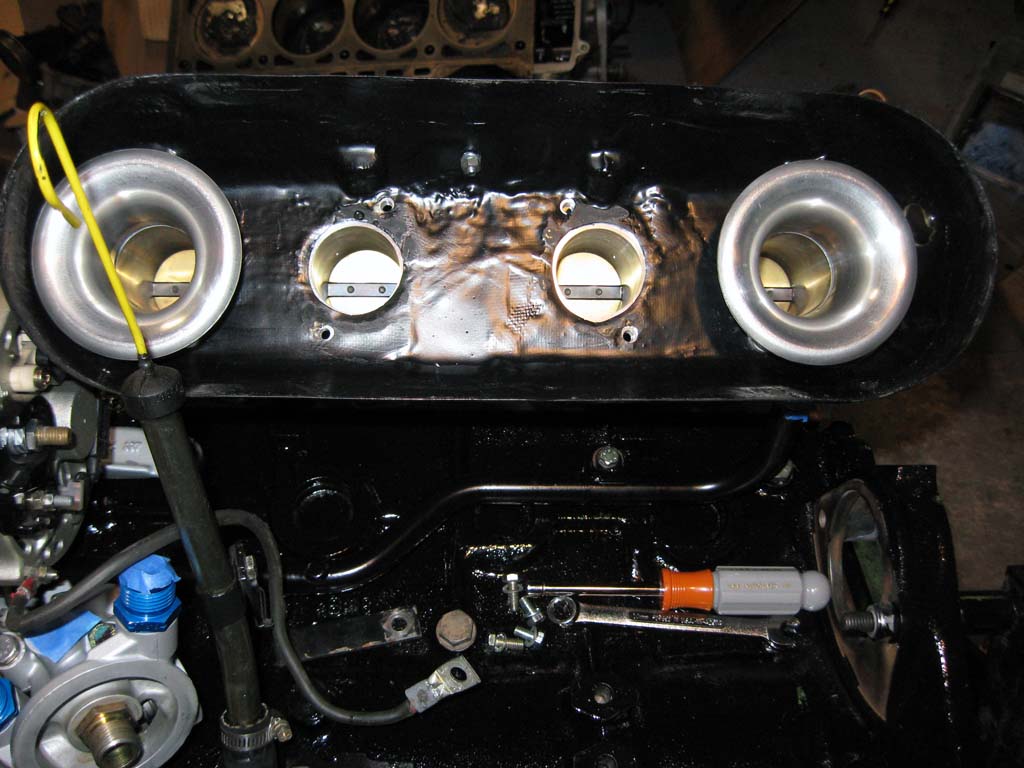
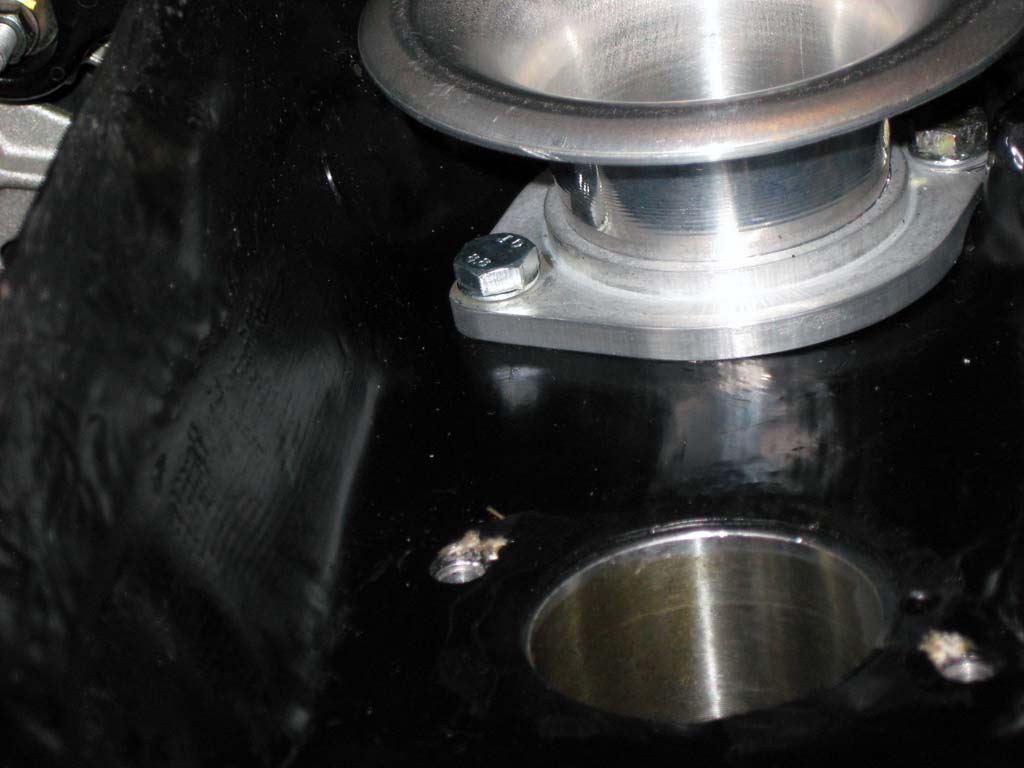
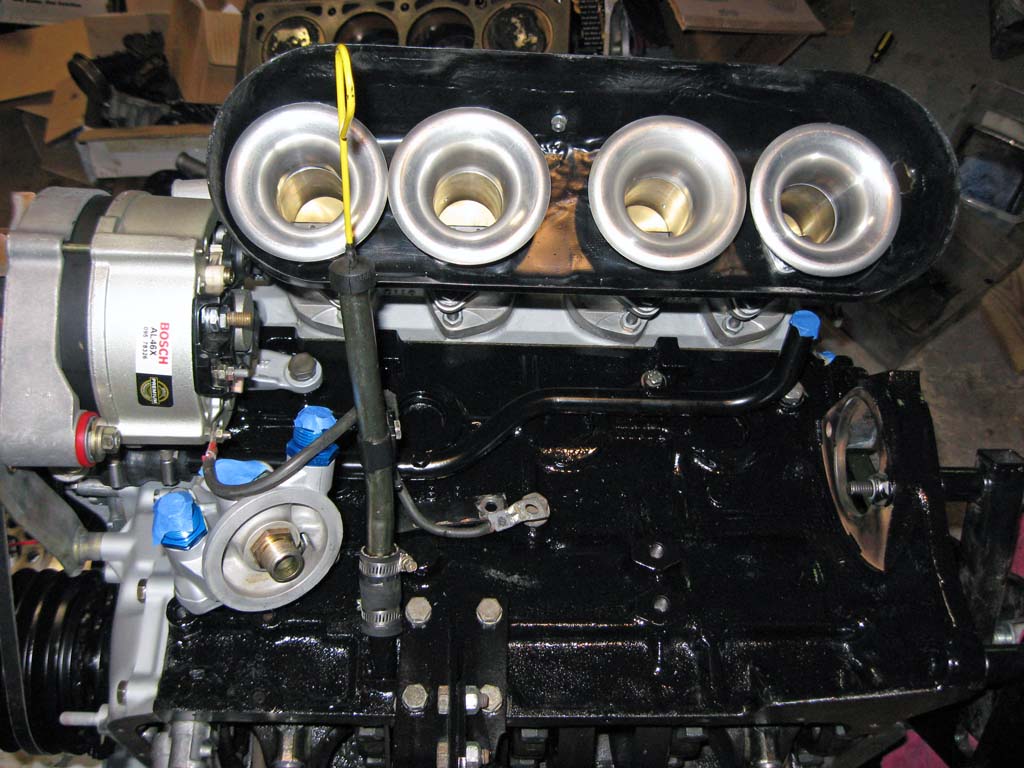
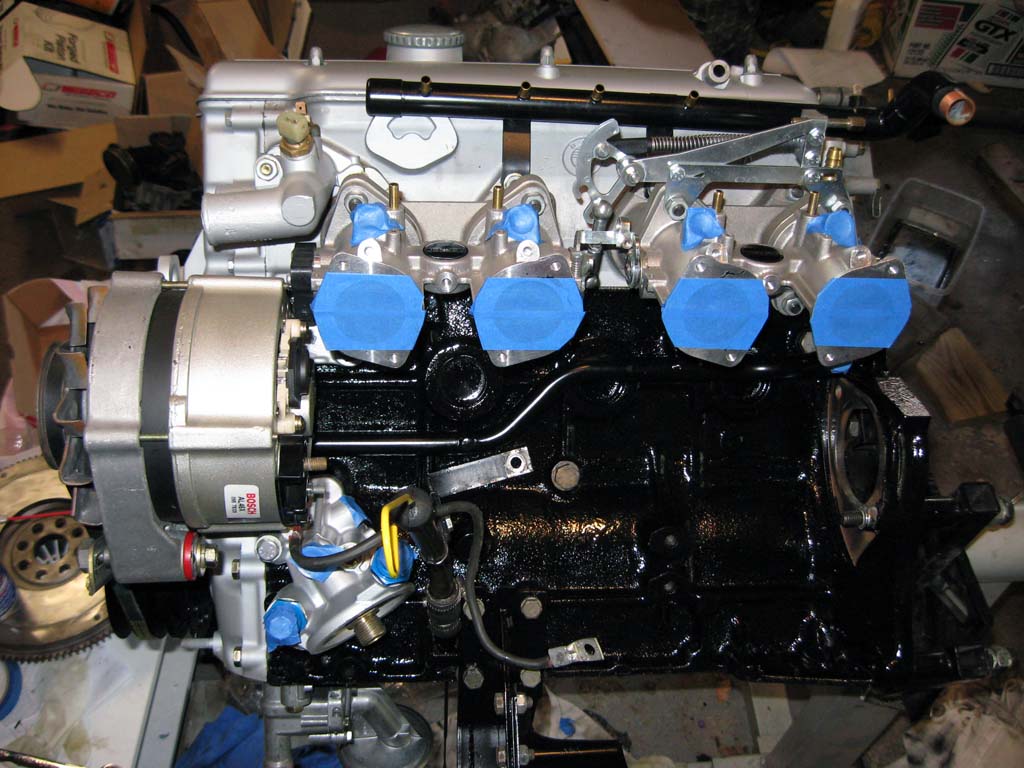
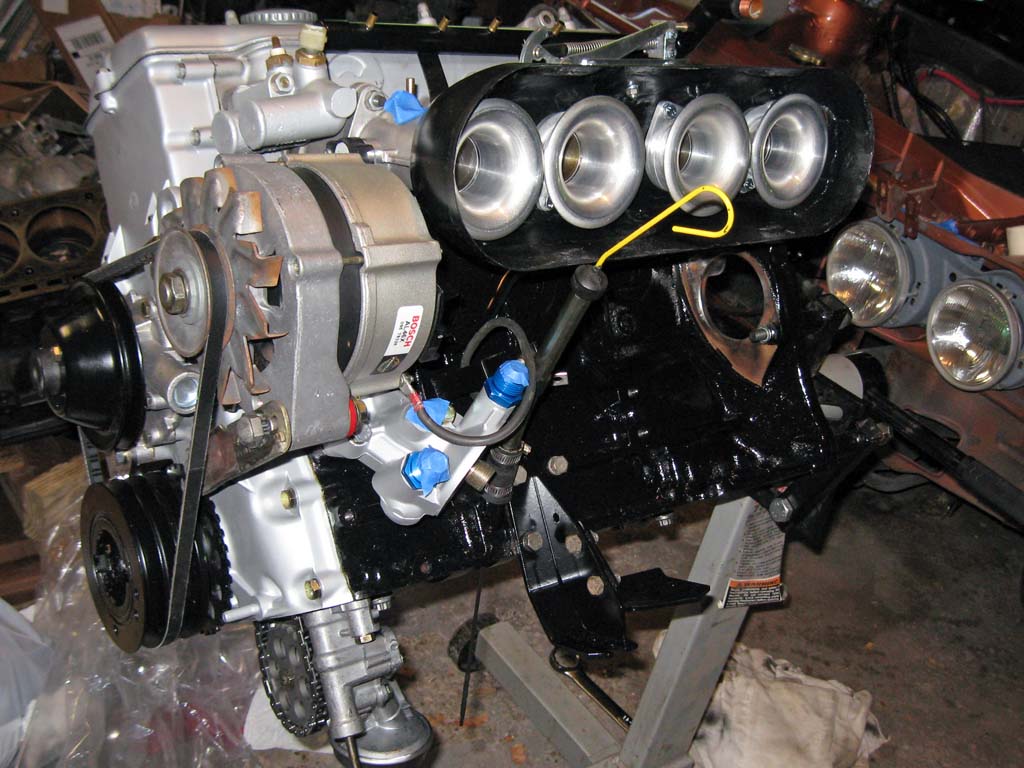
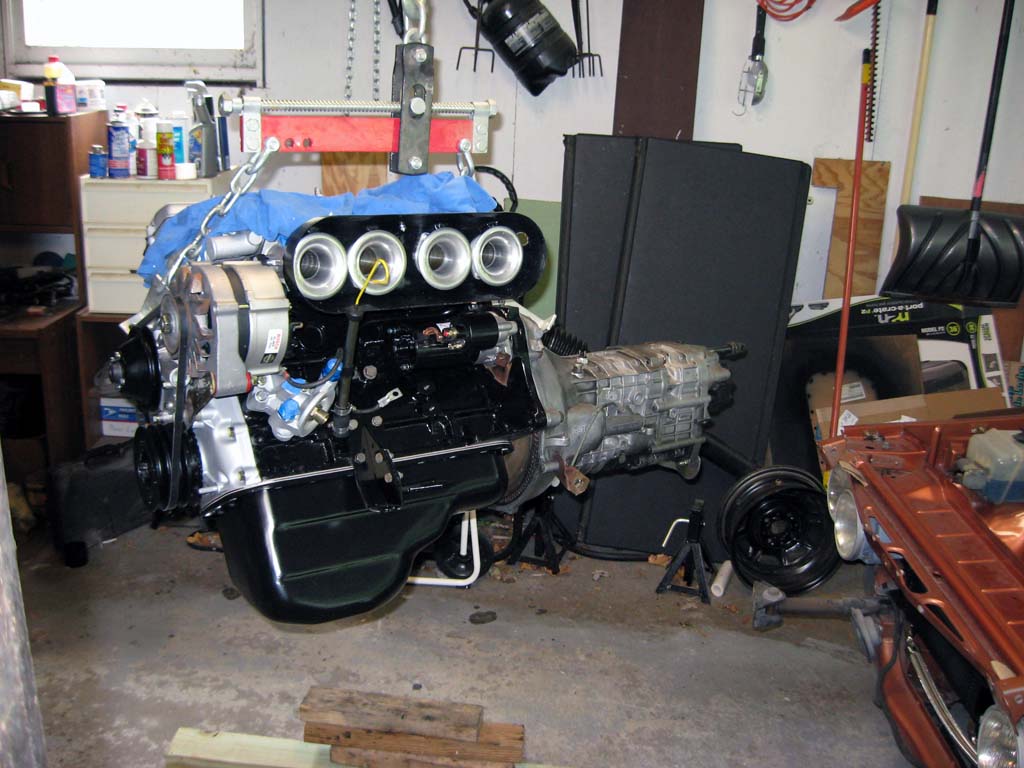
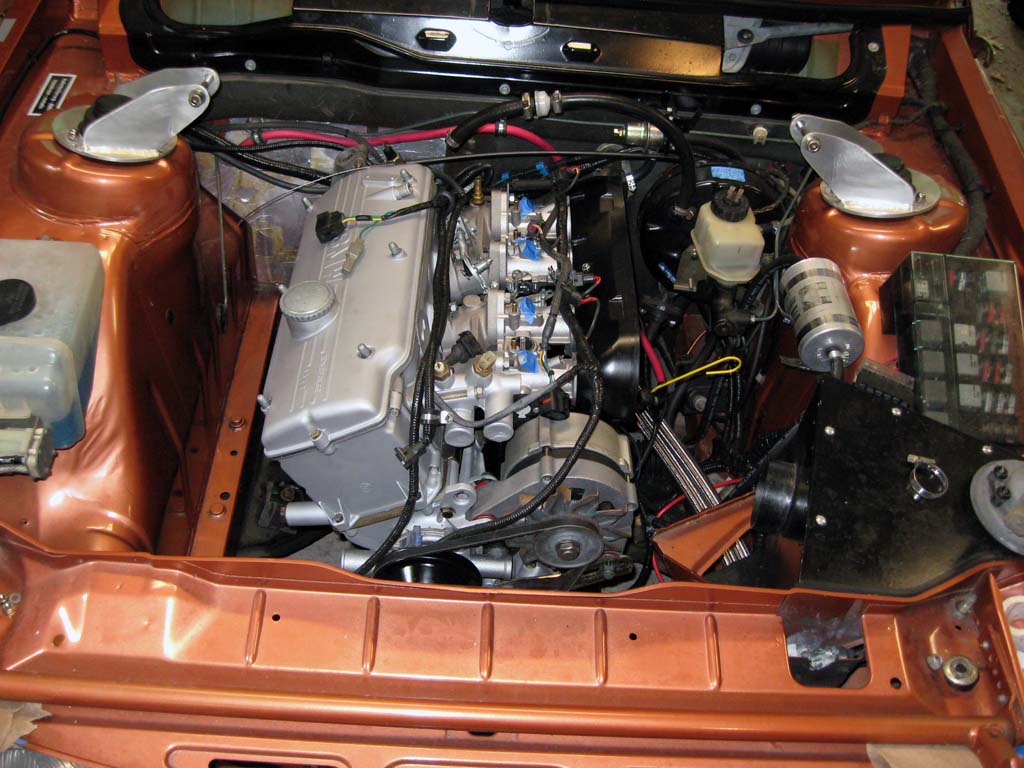
Throttle Bodies Installing the Jenvey throttle bodies is a simple enough, if somewhat tedious job. There are a lot of fasteners and a lot of tight places to work in. Doing this work on the engine outside of the car was a real treat, it is never this easy working in the engine compartment. I'm normally bent over the left front fender trying to work on these things without being able to see what I'm doing.
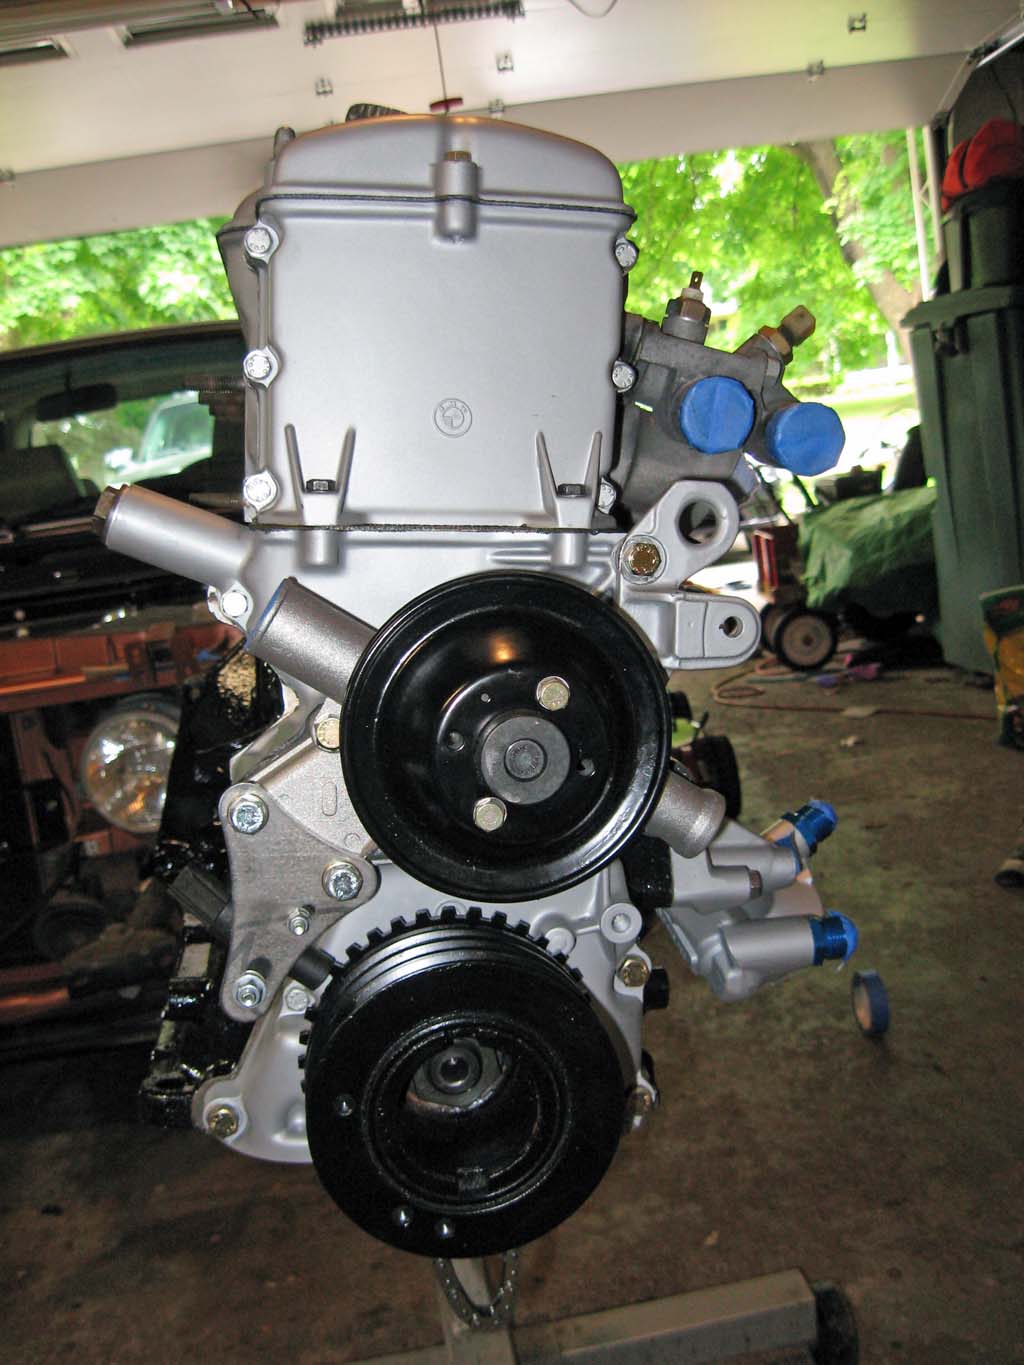
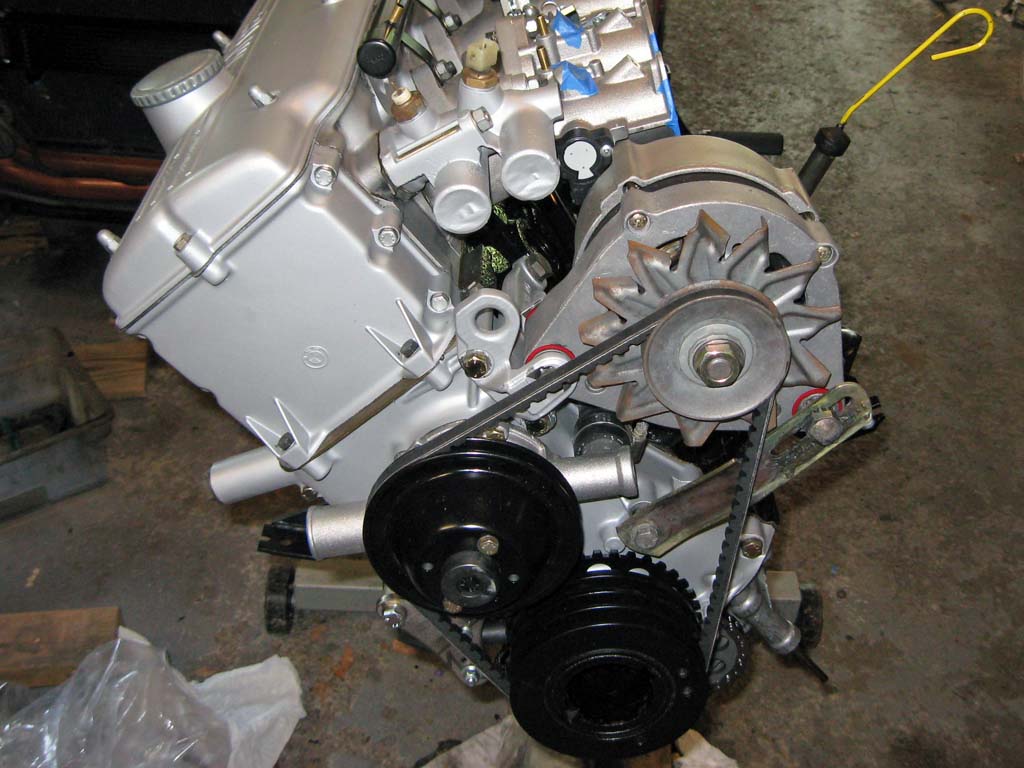
Alternator I'm using an 80 amp alternator from an E30 318i. The E21 alternator is only 55 amps. It bolts right up to the same mounting location as the M10 alternator. You need to use the E30 mounting bracket and adjuster. The 2002 water pump pulley is slightly larger in diameter than the E21 pulley. I used the 2002 fan belt which is 10mm longer than the E21 belt. This provides enough extra length to make the belt installation a lot easier.
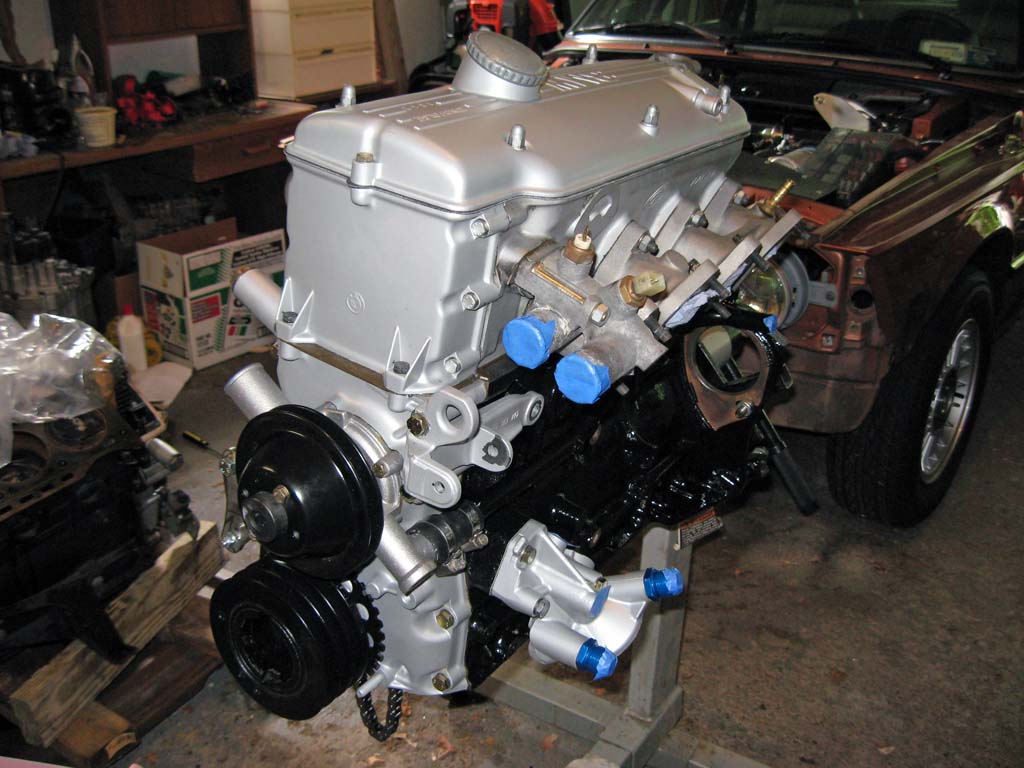
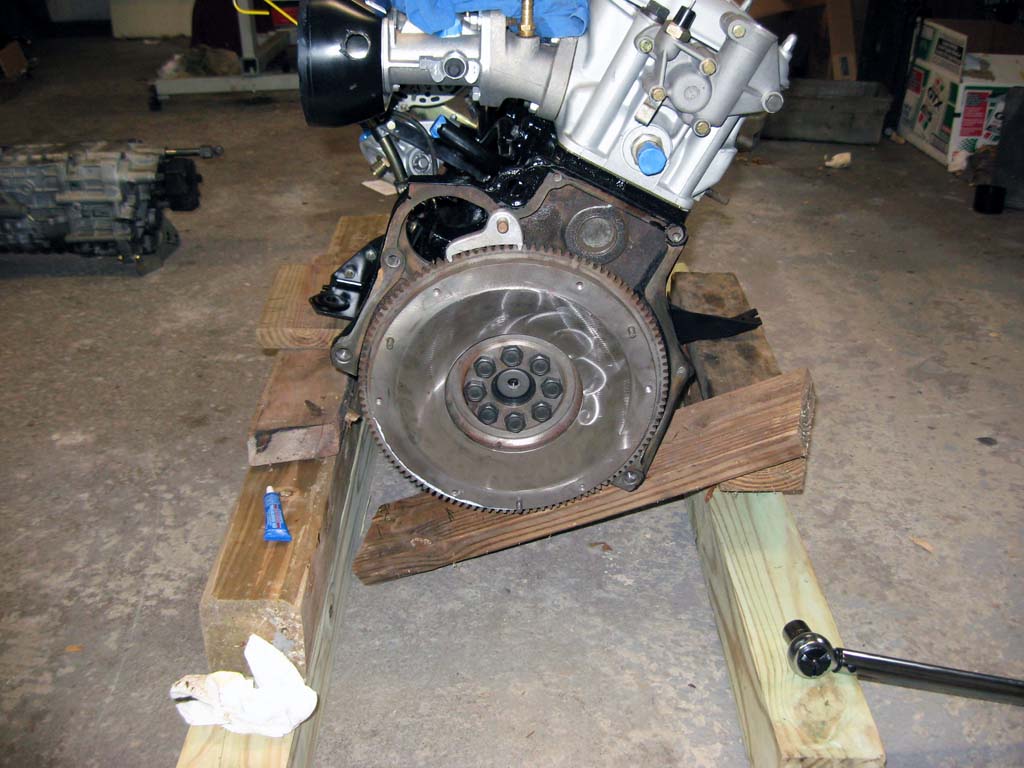
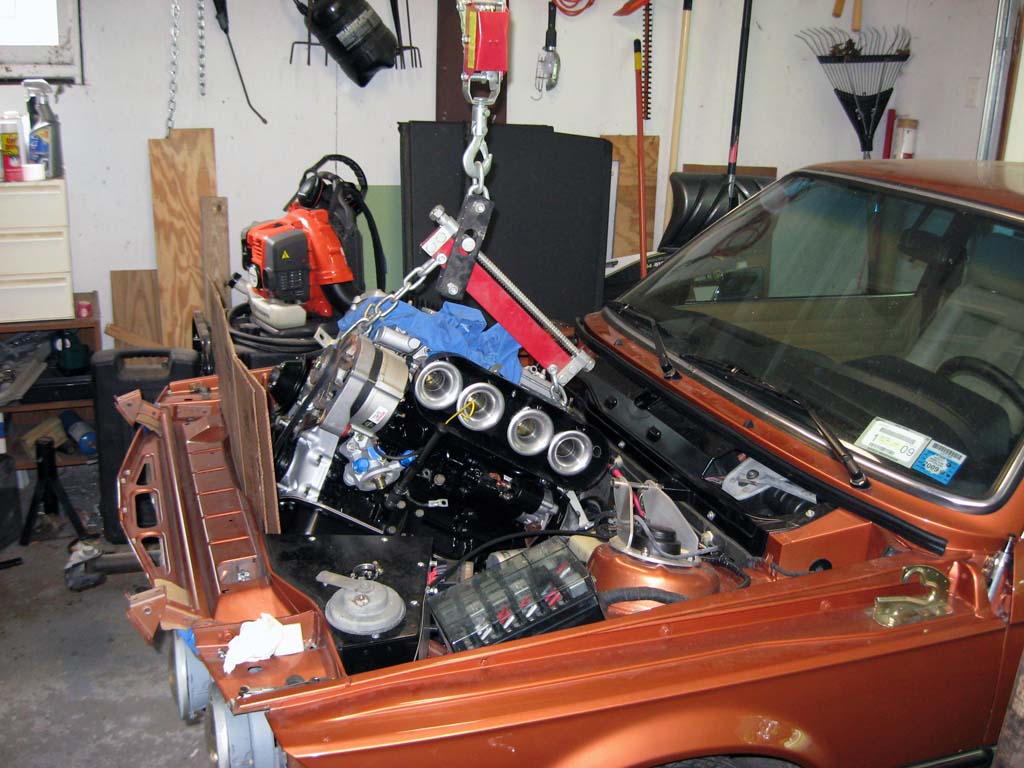
Finishing Up A couple shots of the engine just about ready to be taken off the stand. Just waiting for the crank scraper to arrive so I can install the oil pan.
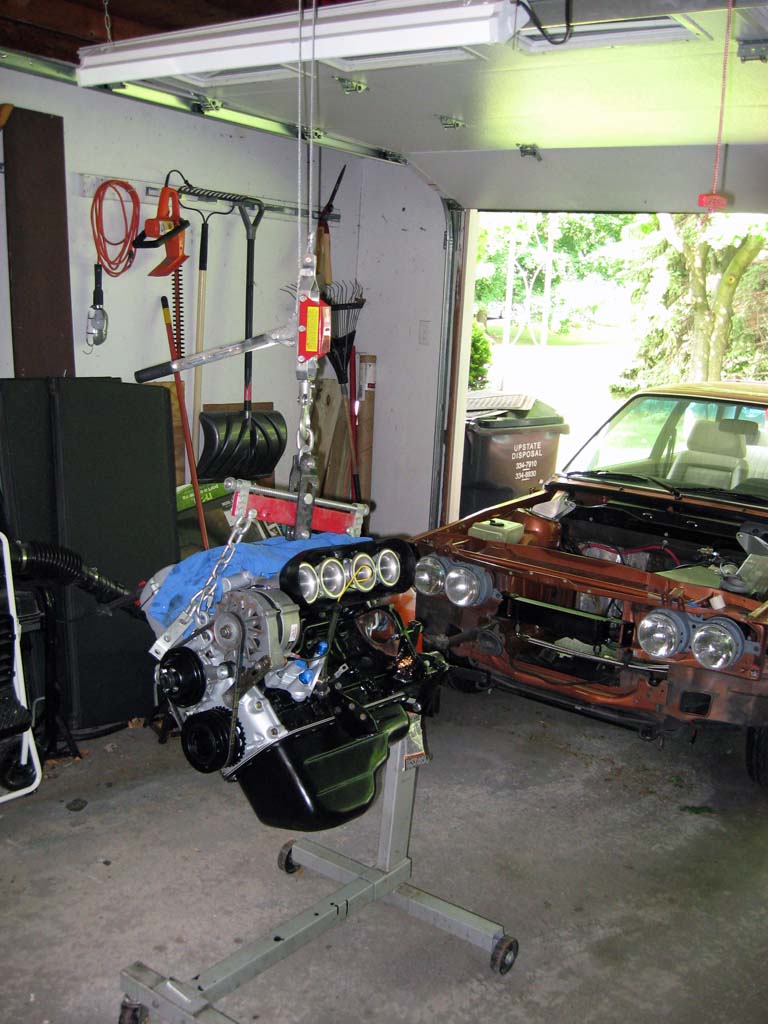
The crank scraper was installed along with the oil pan. This is documented on the oil system page. The next step was to prepare the engine
for installation into the car. I don't own an engine hoist because
this is only the second time I have had the engine out of the car.
Instead I use a hand winch attached to a beam in my garage and an engine
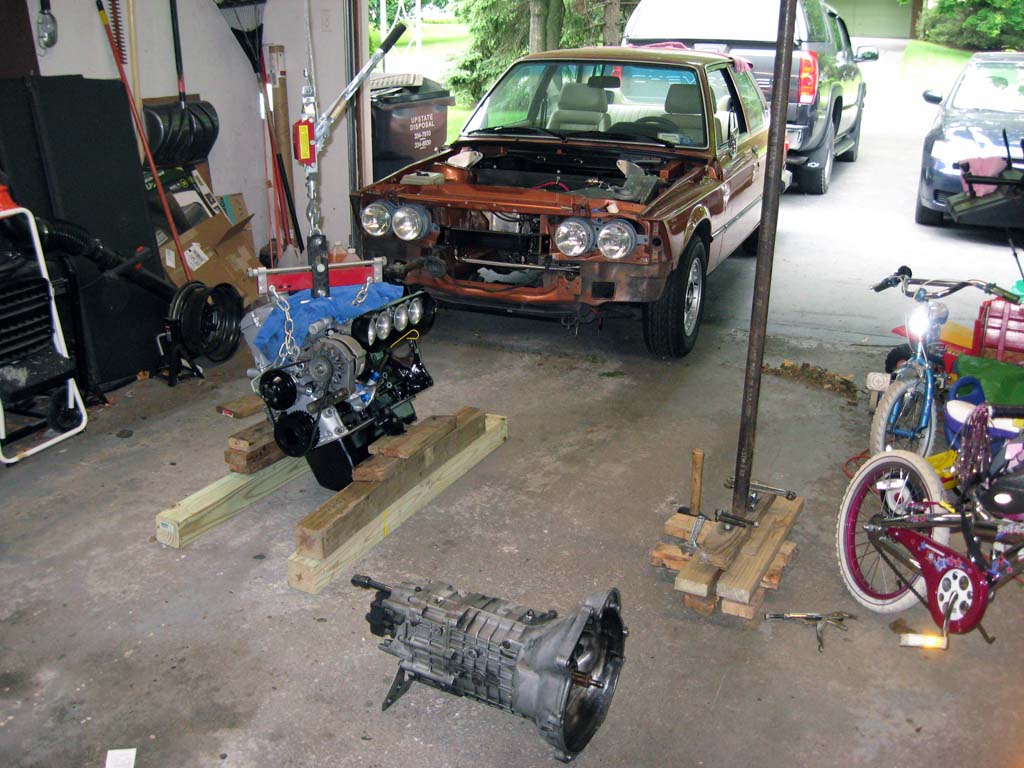
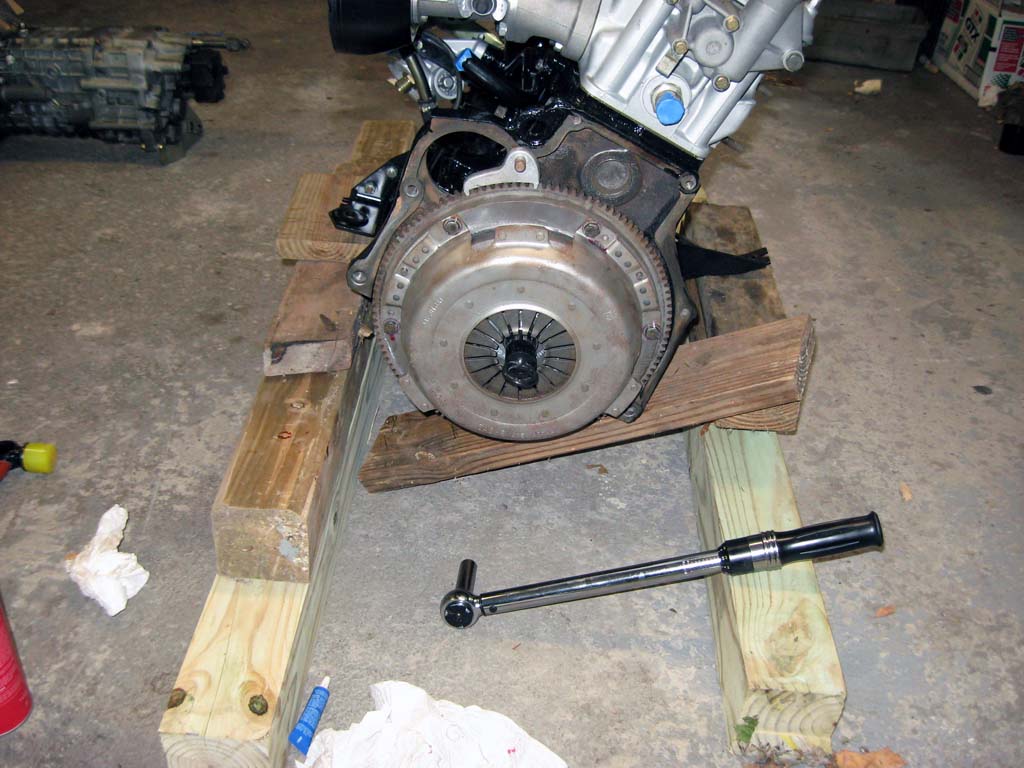
leveler. The engine was taken off the stand and places on some 4x4
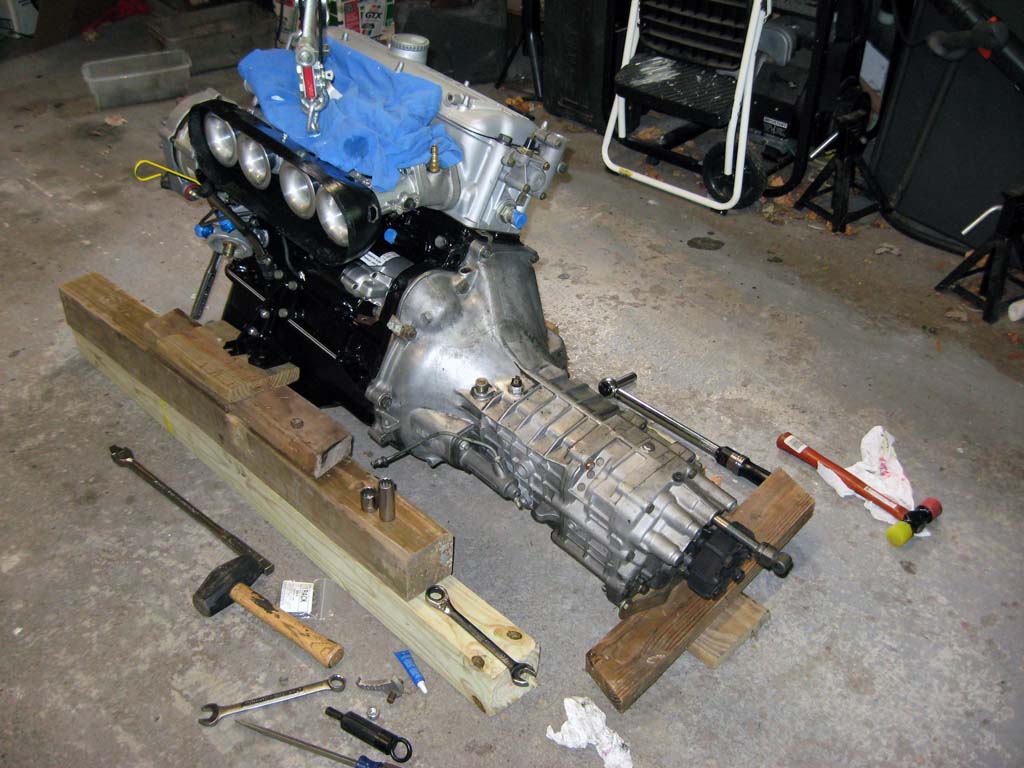
scrap on my garage floor to install the flywheel, clutch, starter, and
transmission.
|
|||||||||||||||||||||||||||||||||||||||||||||||||||||||||||||||||||||||||||||||||||||||||||||||||||||||||||||||||||||||||||||||||||||||||
This site was last updated 12/29/09